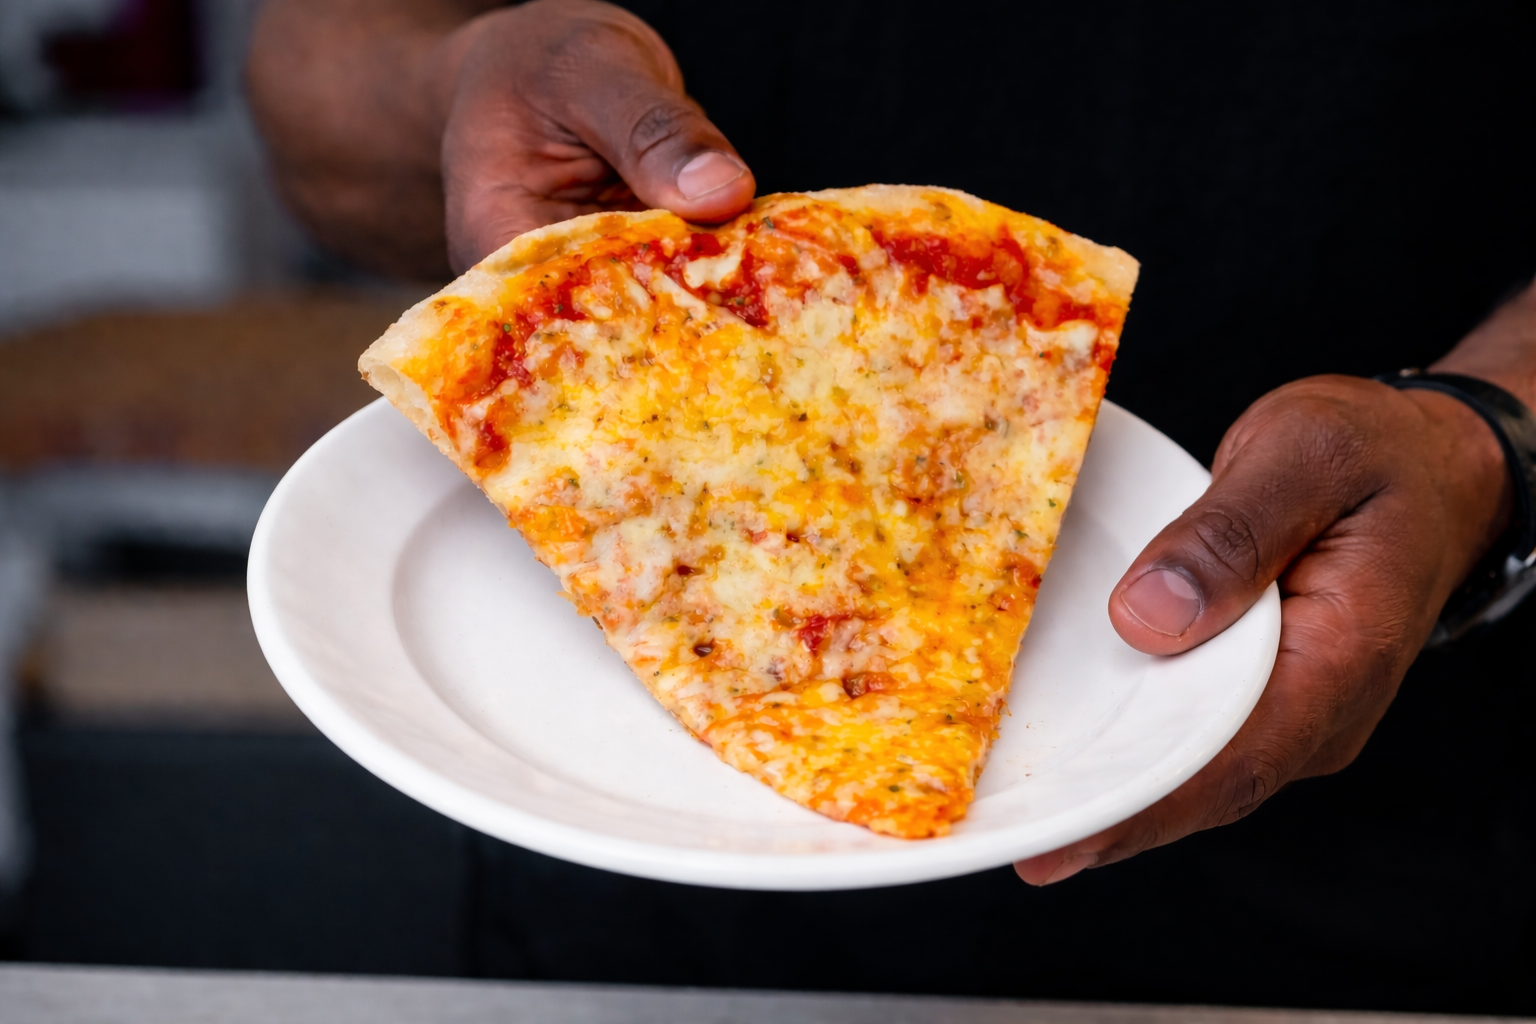
Thin, Crispy, Foldable Perfection
BeginnerNew York Style PizzaDough
by Henry Hunter Jr.
The classic pizzeria crust you've been craving. Crispy bottom, chewy interior, and that perfect fold.
Fermentation
24-72 hours
Bake Time
8-12 minutes per pizza
Yield
4 personal pizzas (12 inch) or 2 large pizzas (16 inch)

Perfection is not required
"Great bread isn't about perfect technique—it's about understanding the dough."— Henry Hunter Jr.
By Henry Hunter Jr., founder of Crust & Crumb Academy and Baking Great Bread at Home.
Authentic Flavor
This is the pizza dough that New York built. Thin enough to fold, sturdy enough to hold, with a crispy bottom and just enough chew to know it's handmade. The is optional but recommended because it develops incredible flavor while making the dough easier to stretch. You can make same-day pizza in about 3 hours, or plan ahead for 24-72 hour fermented dough that rivals your favorite pizzeria. Either way, you're never ordering delivery again.
Equipment Needed
Ingredients
Dough
High-protein bread flour is key for that NY chew
Day 1
Mix the Dough
10-15 minutes active
Bringing the dough together is straightforward. The key is proper hydration and mixing until smooth.
Click each step to mark complete
Combine dry ingredients
In a large bowl or stand mixer bowl, whisk together the bread flour, salt, sugar, and until evenly distributed.
Add wet ingredients
Add the water and olive oil to the dry ingredients.
Mix until shaggy
Using a stiff spatula, dough whisk, or the dough hook on low speed, mix until a shaggy dough forms and no dry flour remains. The dough will look rough and sticky at this point.
Rest (autolyse)
Cover and let rest for 10 minutes. This allows the flour to hydrate and makes easier.
Pro Tip
If using instead of instant, dissolve it in the warm water with the sugar first. Let it foam for 5-10 minutes before adding to flour.
Precise Timers
Use these interactive timers to track your stages.
Autolyse Rest
Day 1
Knead the Dough
8-10 minutes
develops the that gives pizza dough its characteristic chew and stretch.
Click each step to mark complete
Knead by machine
If using a stand mixer, knead on medium speed with the dough hook for 6-8 minutes until the dough is smooth, elastic, and pulls away from the sides of the bowl.
Knead by hand
Turn the dough out onto a lightly floured surface. Knead by pushing the dough away with the heel of your hand, folding it back over itself, rotating 90 degrees, and repeating. Continue for 8-10 minutes until smooth and elastic.
Windowpane test (optional)
Pull off a small piece of dough and stretch it thin. If you can stretch it thin enough to see light through without it tearing, the is fully developed.
Form a ball
Shape the dough into a smooth ball by tucking the edges underneath and rotating on the counter.
Pro Tip
The dough should be slightly tacky but not sticky. If it's sticking to everything, add flour a tablespoon at a time. If it's too dry and tough, add water a teaspoon at a time.
Precise Timers
Use these interactive timers to track your stages.
Knead Dough
Day 1
First Rise
Same-day: 1.5-2 hours | Cold ferment: 30 min then refrigerate
The first rise lets the yeast do its work. Choose your timeline based on when you want pizza.
Click each step to mark complete
Oil the bowl
Lightly oil a large bowl or container with a lid.
Add dough
Place the dough ball in the bowl, turning to coat with oil.
Cover
Cover tightly with plastic wrap or a damp towel.
Rise (Same-Day)
For same-day pizza: Let rise at room temperature (70-75°F) until doubled in size, about 1.5-2 hours.
Rise (Cold Ferment)
For : Let rest at room temperature for 30 minutes, then refrigerate for 24-72 hours. The dough will rise slowly and develop complex flavors.
⏱ Wait Time
Same-day: 1.5-2 hours at room temp | Cold ferment: 24-72 hours in fridge
Pro Tip
ed dough is easier to stretch because the relaxes over time. It also tastes noticeably better. If you can plan ahead, it's worth the wait.
Precise Timers
Use these interactive timers to track your stages.
Room Temp Rise
Day 2 (or same day)
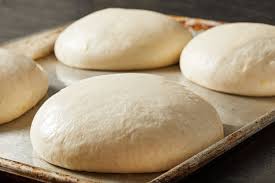
Divide and Ball
10 minutes active
Dividing and shaping the dough into balls prepares it for stretching and gives it a final rest to relax.
Click each step to mark complete
Turn out the dough
If ed, remove from fridge. Lightly flour your work surface and turn the dough out.
Divide
Using a , divide the dough into 4 equal pieces (about 215g each for 12-inch pizzas) or 2 pieces (about 430g each for 16-inch pizzas).
Shape into balls
Working with one piece at a time, pull the edges toward the center to create surface tension. Flip seam-side down and cup your hands around the ball. Rotate on the counter, tucking the edges underneath to create a smooth, taut ball.
Arrange on sheet pan
Place balls on a lightly oiled sheet pan, leaving space between them. Brush or drizzle tops with olive oil.
Cover and rest
Cover with plastic wrap. Same-day: Rest 30-60 minutes. Cold ferment: Rest 2-3 hours to warm up and relax.
Pro Tip
The dough balls should be smooth and taut on top. Surface tension helps them hold their shape during stretching.
Precise Timers
Use these interactive timers to track your stages.
Final Rest (Same-Day)
Final Rest (Cold Ferment)
Pizza Night!
Shape the Pizza
5-10 minutes per pizza
Stretching pizza dough is easier than it looks. Let the dough and gravity do most of the work.
Click each step to mark complete
Preheat your oven
Set your oven to maximum temperature (500-550°F) with your or steel inside. Preheat for at least 45-60 minutes.
Flour your work surface
Generously flour your work surface with all-purpose flour or a mix of flour and semolina.
Flour the dough
Dust one dough ball generously with flour on all sides.
Press and flatten
Using your fingertips, press from the center of the dough outward, leaving a ½-inch border around the edge for the crust. Don't press the border—that's where your puffy edge comes from.
Stretch by hand
Pick up the dough and drape it over your knuckles (not fingertips—they'll poke through). Let gravity pull the dough down while you slowly rotate it, working around the edges. The center should stay thinner than the edge.
Finish on the counter
Lay the dough back down and use your fingers to stretch any thick spots. For 12-inch pizzas, aim for roughly 12 inches diameter. For 16-inch, stretch to 16 inches.
Transfer to peel
Dust your generously with semolina or flour. Transfer the stretched dough to the peel. Give it a shake to make sure it slides freely.
Pro Tip
If the dough keeps springing back, let it rest for 5-10 minutes. needs time to relax. Don't fight it.
Precise Timers
Use these interactive timers to track your stages.
Preheat Stone
Shaping
Shaping Options
NY-style pizza is all about thin, foldable crust with a puffy cornicione (edge). Choose your style based on equipment and preference.
Classic NY Round
The traditional hand-stretched round. Thin center, puffy edge, perfect for folding.
RecommendedClick each step to mark complete
Press from center
Press dough from center outward with fingertips, leaving ½-inch border unpressed for puffy edge.
Stretch over knuckles
Drape dough over your knuckles and rotate slowly, letting gravity stretch it.
Aim for thin
For 12-inch personal pizzas or 16-inch large. Should be thin enough to see light through center.
Hand-Tossed
The showstopper technique. Advanced but impressive!
Click each step to mark complete
Press to 8-inch disc
Press and stretch dough to about 8 inches diameter.
Toss and spin
Drape over one fist, then toss to the other. Let spinning momentum stretch the dough.
Practice first
Advanced technique—practice with a room-temp dough ball before pizza night!
Sheet Pan (Grandma Style)
Thick, rectangular, crispy-bottomed pan pizza. Different vibe, equally delicious.
Click each step to mark complete
Oil the pan
Oil a sheet pan generously with olive oil.
Press into pan
Press dough into pan, stretching to corners. If dough springs back, rest 15 minutes and try again.
Rest before topping
Let rest 30-45 minutes before topping.
Bake lower
Bake at 475°F on bottom rack, 15-20 minutes.
Proof Test: The dough should stretch easily without tearing or springing back aggressively. If it keeps snapping back, let it rest another 10-15 minutes.
Pizza Night!
Top and Bake
Top sparingly and bake fast. A hot oven is the key to NY-style pizza perfection.
Step by Step
Add sauce
Spoon 3-4 tablespoons of pizza sauce onto the center of the dough. Use the back of a ladle to spread in a spiral motion, leaving the border clean.
Add cheese
For classic NY style, use low-moisture whole milk mozzarella, shredded or sliced. Don't overload—you should still see sauce peeking through.
Add toppings
Add any additional toppings sparingly. Less is more.
Launch
Give the peel one final shake to confirm the pizza slides. Open the oven and use a quick forward motion to slide the pizza onto the hot stone.
Bake
Bake for 8-12 minutes until the crust is golden brown with some charred spots, the cheese is bubbling with light brown spots, and the bottom is crispy (lift with a spatula to check).
Rotate
If your oven has hot spots, rotate the pizza 180 degrees halfway through baking.
Broiler finish (optional)
For extra char, turn on the broiler for the last 60-90 seconds. Watch carefully!
Rest and slice
Remove pizza to a wire rack or cutting board. Let rest 2 minutes before slicing. This lets the cheese set slightly.
Bake Pizza
Rest Before Cutting
The bottom of your pizza should be crispy with some leopard-spotting (charred spots). If it's pale, your stone wasn't hot enough.
Baking Methods
The gold standard for home pizza. A baking steel transfers heat faster and gives crispier bottoms.
Equipment: Pizza stone/steel, Pizza peel, Oven at max temp
Position the stone
Place stone or steel on middle or upper-middle rack.
Preheat fully
Preheat at max temp for 45-60 minutes minimum.
Prep on peel
Stretch dough, add toppings on floured peel.
Launch
Slide pizza onto stone with a quick forward motion.
Bake and rotate
Bake 8-12 minutes, rotating halfway if needed.
Optional broiler finish
Broil for 60-90 seconds at end for extra char.
Nutrition Facts
Per 1 slice (⅛ of 16-inch pizza) • 8 slices per large pizza servings per recipe
* Values are estimates based on standard ingredients
Storage
Room Temperature
Dough balls can sit at room temp for up to 4 hours after balling before over-proofing.
Frozen
Coat with oil, place in freezer bags with air removed. Freeze for up to 3 months. Thaw overnight in refrigerator.
💡 Pro tip for reheating: Place cold pizza in a cold skillet, cover, and heat on medium. The bottom crisps while the cheese re-melts perfectly.
Your Feedback
Rate This Recipe
Loading ratings...
Troubleshooting
Baker's Notes
Common questions and solutions for perfect results
If you're serious about scoring, you need the right blade in your hand. Wire Monkey makes handcrafted bread lames from black walnut — built to last, balanced in the hand, and sharp enough to glide through cold dough cleanly every single time. No dragging, no hesitation marks. Just a clean cut.

Wire Monkey Handcrafted Bread Lames
You Might Also Enjoy
More recipes from our pantry that pair well with this bake.

Get More Recipes in Your Inbox
Join thousands of home bakers receiving weekly recipes, tips, and techniques to elevate your bread game.
No spam, ever. Unsubscribe anytime.
More from Baking Great Bread at Home
Tools, resources, and community to help you bake better bread

Crust & Crumb Academy
Go deeper into your craft. FREE courses, challenges, and real feedback. No gatekeeping. Perfection is not required.

Sourdough Starter Companion
Your AI-powered starter assistant. Track feedings, troubleshoot issues, and keep your starter thriving.

BakingGreatBread.com
Real bread for the rest of us

Baking Great Bread Blog
Recipes, tips, and stories from the bread journey

Recipe Converter
Convert sourdough recipes to yeast and back again

Crust & Crumb App
Your AI-powered baking assistant

Facebook Community
Join 50,000+ bakers sharing, learning, and supporting each other

Sourdough for the Rest of Us
Free beginner's guide to sourdough