48-Hour Cold Fermented Crust
IntermediateClassic Neapolitan PizzaDough
by Henry Hunter Jr.
Four ingredients. Two days. One unforgettable crust.
Rise Time
50-52 hours
Bake Time
6-8 minutes
Yield
4 dough balls for 10-12" pizzas (~265g each)


Perfection is not required
"Great bread isn't about perfect technique—it's about understanding the dough."— Henry Hunter Jr.
By Henry Hunter Jr., founder of Crust & Crumb Academy and Baking Great Bread at Home.
Authentic Flavor
True Neapolitan pizza is beautifully simple: flour, water, salt, yeast. This 48-hour cold ferment develops deep flavor and signature leopard-spotted char.
Equipment Needed
Ingredients
Dough
Pro Tip
Cool water slows fermentation and gives you more control. By the time you finish kneading, your body heat brings the dough to the right temperature.
Day 1
Mix the Dough
15 minutes
Combine ingredients and develop gluten through kneading. No fancy equipment needed.
Click each step to mark complete
Dissolve salt
Add salt to cool water in a large bowl. Stir until dissolved.
Add flour slurry
Add about 10% of the flour (50g) to the salt water. Mix to create a slurry. This prevents direct salt-yeast contact.
Add yeast
Sprinkle yeast into the slurry. Mix to dissolve.
Add remaining flour
Pour in the rest of the flour. Mix with a stiff spatula or your hand until no dry flour remains.
Rest ()
Cover and let sit for 15-20 minutes. This lets the flour hydrate.
Knead
Turn dough onto a clean surface. Knead for 8-10 minutes until smooth and elastic. The dough should pass the .
Pro Tip
If the dough feels too dry, wet your hands slightly while kneading. Don't add more water directly.
Day 1
Bulk Fermentation
2 hours
Room temperature rise to kick-start fermentation before cold retard.
Click each step to mark complete
Shape into ball
Form dough into a smooth ball by pulling edges underneath.
Place in container
Put in a lightly oiled bowl or container. Cover tightly.
Ferment at room temp
Let rise at room temperature (70-75°F / 21-24°C) for 2 hours. Dough should look slightly puffy but won't double.
⏱ Wait Time
Wait 2 hours for bulk fermentation
Precise Timers
Use these interactive timers to track your stages.
Bulk Ferment
Day 1
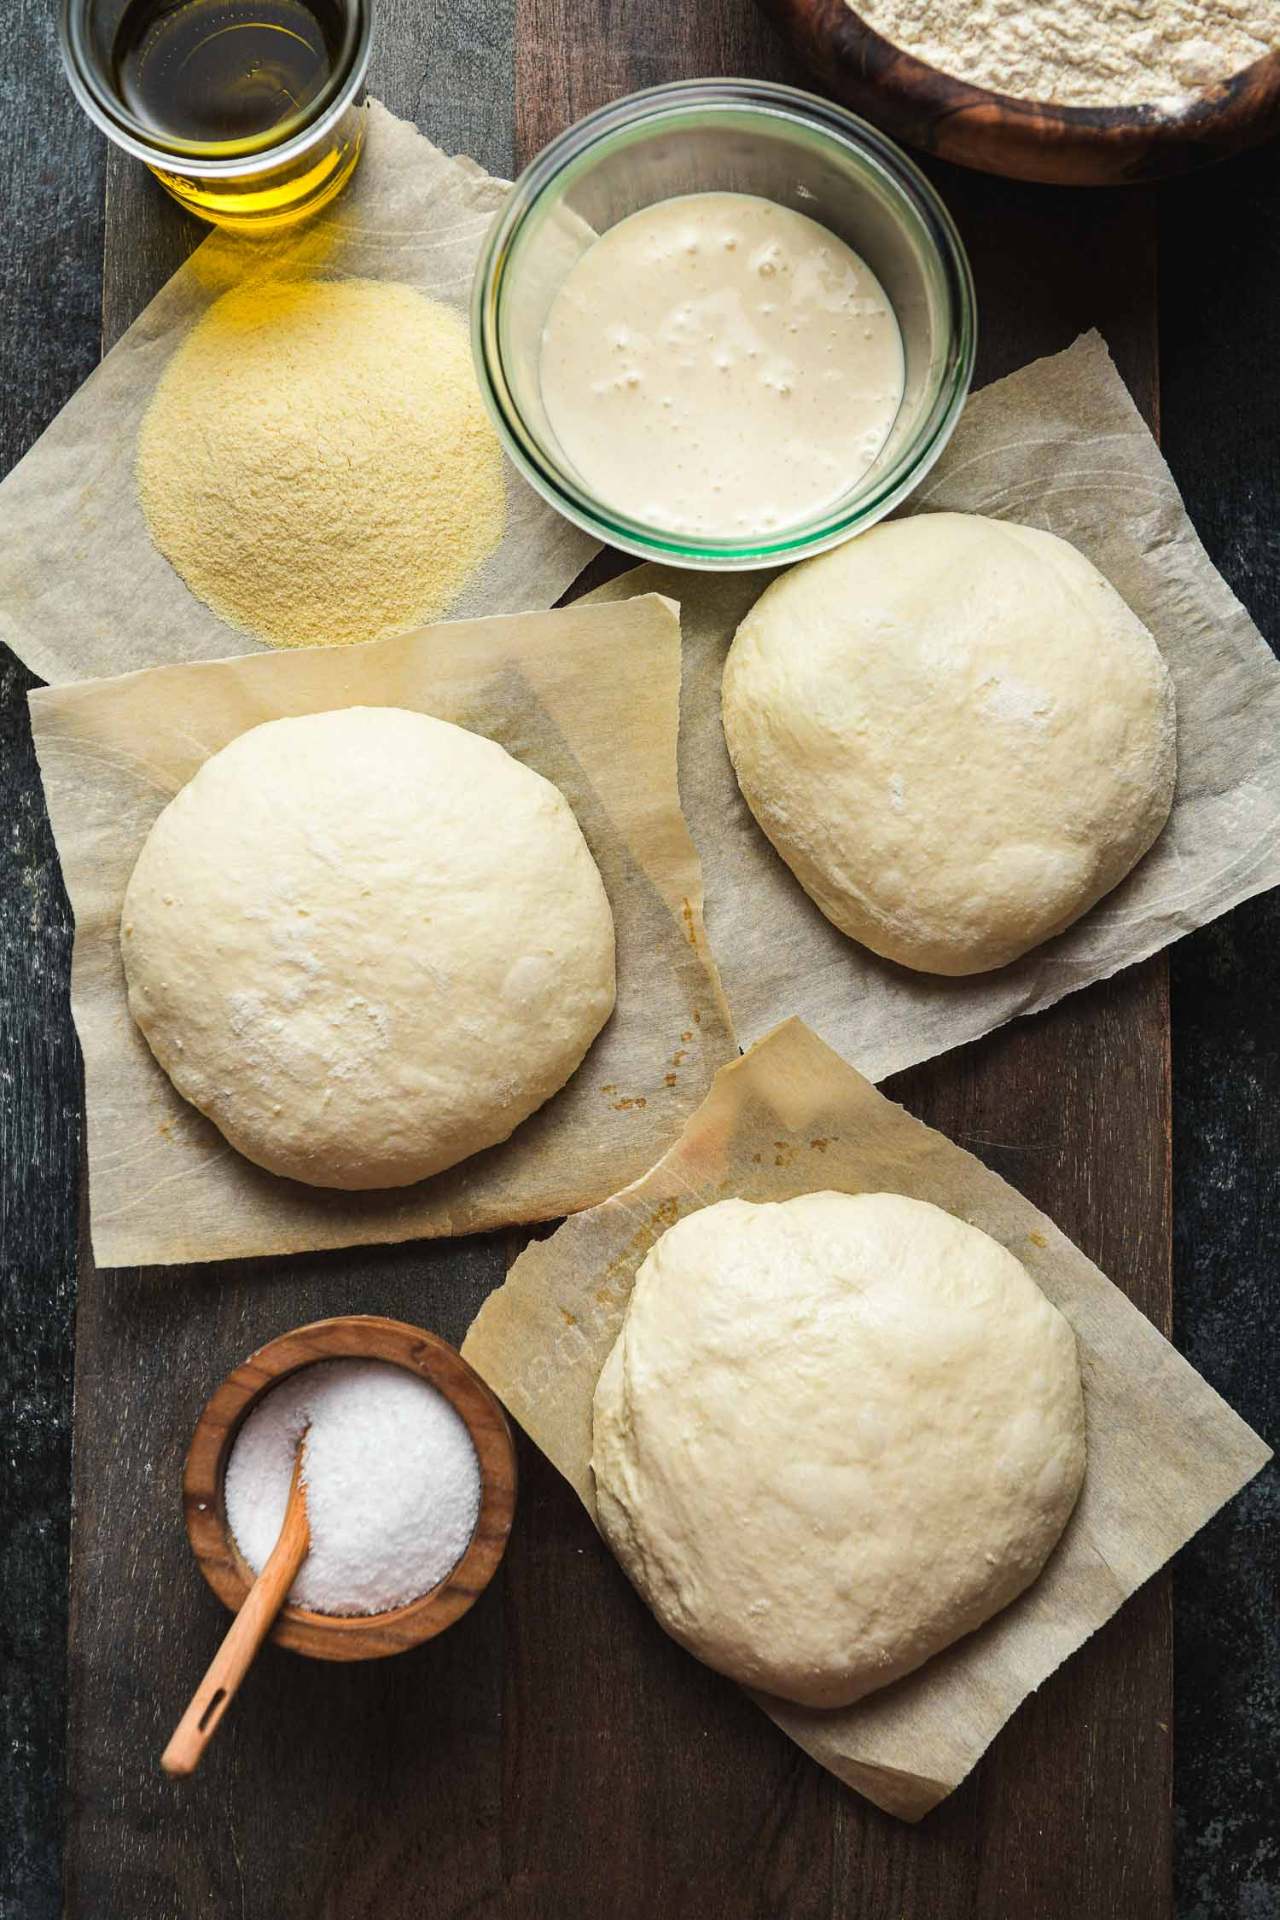
Divide and Ball
10 minutes
Divide into individual portions and shape into tight balls for cold ferment.
Click each step to mark complete
Turn out dough
Gently turn dough onto a lightly floured surface.
Divide
Using a , divide into 4 equal pieces (~265g each). Use a scale for consistency.
Shape balls
Working with one piece at a time, pull the edges underneath to create surface tension. Rotate on the counter using cupped hands to form a tight, smooth ball.
Place in containers
Put each ball in a lightly oiled individual container or zip-lock bag. Leave room for expansion.
Refrigerate
Cover tightly and place in refrigerator.
Pro Tip
Tight, smooth balls = better oven spring and a puffier (the rim).
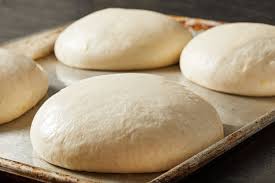
Days 1-3
Cold Ferment
48-72 hours
The magic happens here. Cold, slow fermentation develops complex flavor and improves texture.
Click each step to mark complete
Refrigerate
Keep dough balls in the refrigerator at 38-40°F (3-4°C) for 48-72 hours.
Check daily
Balls will slowly expand. This is normal.
Don't rush
48 hours minimum. 72 hours gives deeper flavor.
⏱ Wait Time
Cold ferment 48-72 hours for best flavor
Pro Tip
Longer cold ferment = more flavor and better leopard spotting. If dough balls over-proof (flatten out, lose tension), they've gone too long.
Bake Day
Warm Up and Final Proof
3-4 hours
Bring dough to room temperature before stretching. Cold dough won't stretch properly.
Click each step to mark complete
Remove from fridge
Take dough balls out 3-4 hours before you plan to bake.
Keep covered
Leave in containers or cover with a damp towel to prevent drying.
Check readiness
Dough is ready when it's relaxed, puffy, and jiggly when you shake the container. : press gently with a floured finger. It should spring back slowly.
⏱ Wait Time
Wait 3-4 hours to reach room temperature
Precise Timers
Use these interactive timers to track your stages.
Final Proof
Bake Day
Stretch and Shape
2-3 minutes per pizza
Gentle hands-only stretching. No rolling pin. Ever.
Click each step to mark complete
Flour surface
Generously flour your work surface with AP flour or semolina.
Transfer dough
Gently flip dough ball onto floured surface.
Press center
Using fingertips, press from the center outward, leaving the outer 1" untouched. This creates the .
Stretch
Pick up the dough. Let gravity help. Rotate and gently stretch, passing it hand to hand. Work from the center, not the edges.
Target size
Stretch to 10-12" diameter. The center should be thin (almost translucent), edges puffy.
Transfer to peel
Place stretched dough on a floured pizza peel. Work quickly. Give it a shake to make sure it slides.
Pro Tip
If dough springs back or tears, let it rest 5 minutes and try again. Fighting the gluten never works.
Shaping
Shaping Options
Choose your pizza size based on preference
Classic Round (10-12")
RecommendedClick each step to mark complete
Step 1
Press center with fingertips, leaving 1" rim untouched
Step 2
Pick up dough, rotate and stretch using gravity
Step 3
Pass hand to hand, gently pulling from center
Step 4
Place on floured peel, adjust shape as needed
Personal Size (8-9")
Click each step to mark complete
Step 1
Divide dough into 6 balls instead of 4 (~175g each)
Step 2
Follow same stretching technique
Step 3
Great for kids or appetizer-sized pizzas
Proof Test: Press a floured finger gently into the dough ball. If it springs back slowly and leaves a slight indent, it's ready. If it snaps back quickly, let it proof longer. If it doesn't spring back at all, it's over-proofed.
The Final Step
Baking Methods
Choose based on your equipment
Baking Methods
Equipment: Baking steel or pizza stone, Pizza peel
Position rack
Position rack in upper third of oven
Preheat
Place steel/stone on rack. Preheat oven to maximum (500-550°F / 260-288°C) for at least 45-60 minutes
Broiler boost
Turn broiler to high for the last 5 minutes of preheat
Top and launch
Stretch dough, add toppings sparingly. Slide pizza onto steel/stone using a quick shimmy motion
Bake
Switch between broiler and bake as needed. Bake 6-8 minutes until crust is golden with some char, cheese is bubbling
Remove
Remove with peel, let rest 1 minute before slicing
Nutrition Facts
Per 1 dough ball (265g) • 4 servings per recipe
* Values are estimates based on standard ingredients
Storage
Room Temperature
Not recommended for raw dough
Frozen
Up to 3 months. Freeze after shaping into balls but before final proof. Thaw overnight in refrigerator, then warm at room temp 4-5 hours before use.
Your Feedback
Rate This Recipe
Loading ratings...
Troubleshooting
Baker's Notes
Common questions and solutions for perfect results
If you're serious about scoring, you need the right blade in your hand. Wire Monkey makes handcrafted bread lames from black walnut — built to last, balanced in the hand, and sharp enough to glide through cold dough cleanly every single time. No dragging, no hesitation marks. Just a clean cut.

Wire Monkey Handcrafted Bread Lames
You Might Also Enjoy
More recipes from our pantry that pair well with this bake.


Get More Recipes in Your Inbox
Join thousands of home bakers receiving weekly recipes, tips, and techniques to elevate your bread game.
No spam, ever. Unsubscribe anytime.
More from Baking Great Bread at Home
Tools, resources, and community to help you bake better bread

Crust & Crumb Academy
Go deeper into your craft. FREE courses, challenges, and real feedback. No gatekeeping. Perfection is not required.

Sourdough Starter Companion
Your AI-powered starter assistant. Track feedings, troubleshoot issues, and keep your starter thriving.

BakingGreatBread.com
Real bread for the rest of us

Baking Great Bread Blog
Recipes, tips, and stories from the bread journey

Recipe Converter
Convert sourdough recipes to yeast and back again

Crust & Crumb App
Your AI-powered baking assistant

Facebook Community
Join 50,000+ bakers sharing, learning, and supporting each other

Sourdough for the Rest of Us
Free beginner's guide to sourdough