The Ultimate Guide: Yeasted & Sourdough Versions
BeginnerLigurian-StyleFocaccia
by Henry Hunter
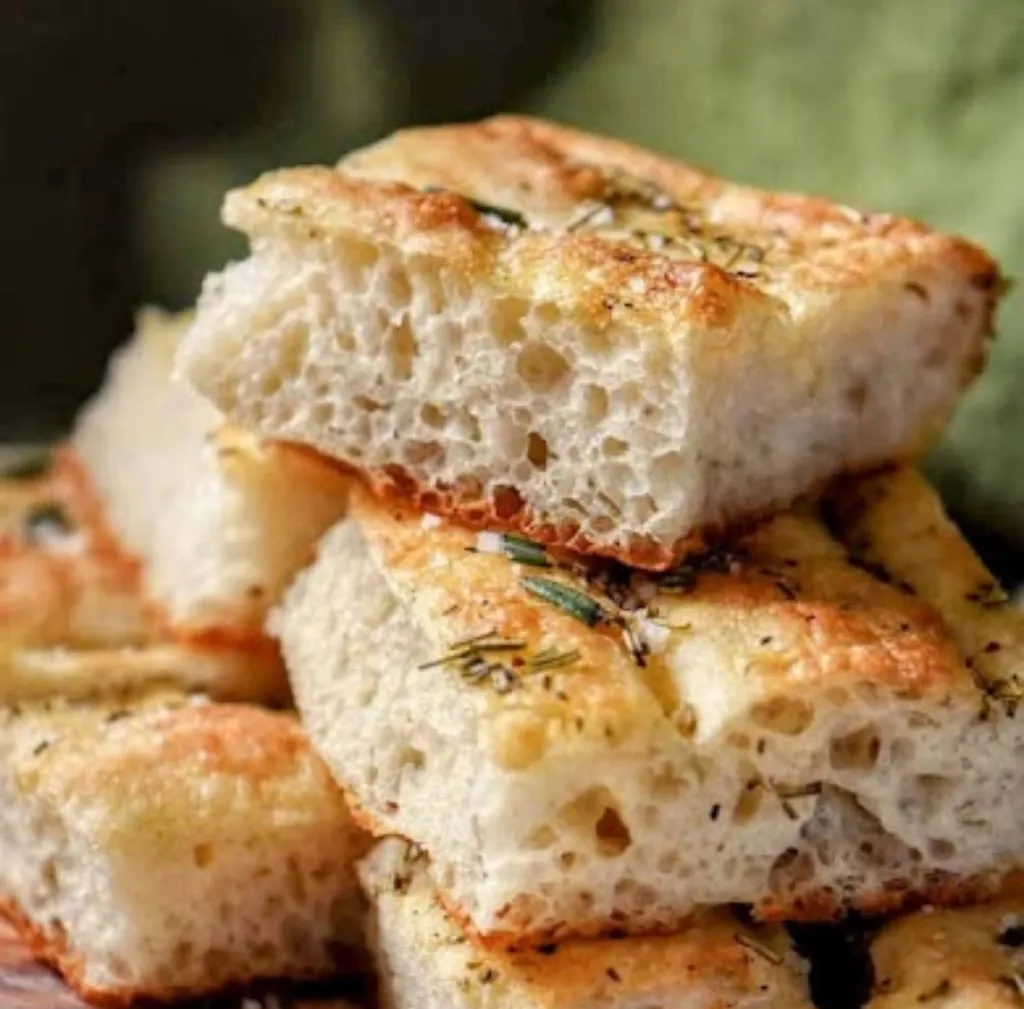
Golden, crispy perfection with an impossibly soft interior – featuring the traditional technique that makes Ligurian legendary.
Fermentation
2-3 hours
Bake Time
25-30 minutes
Yield
One 9x13-inch focaccia

Perfection is not required
"Great bread isn't about perfect technique—it's about understanding the dough."— Henry Hunter
By Henry Hunter Jr., founder of Crust & Crumb Academy and Baking Great Bread at Home.
Authentic Flavor
Authentic Ligurian-style focaccia features a signature brine technique that creates an impossibly crispy crust while keeping the interior light and airy. This recipe offers both yeasted (same-day) and sourdough (24-hour) versions, so you can choose your adventure.
Equipment Needed
Ingredients
Dough
Brine
For Pan & Topping
Adjust to taste
Choose Your Path
How do you want to bake this?
Both paths use the same ingredients and produce an incredible focaccia. Pick the one that fits your schedule.
Step 1
Mix the Dough
5 minutes active time
A simple mix that brings together a wet, shaggy dough – the foundation for those big, beautiful bubbles.
Click each step to mark complete
Bloom the yeast
In a large bowl, combine warm water, honey, and . Let sit 5 minutes until slightly foamy.
Add dry ingredients
Add , salt, and olive oil. Mix with a spatula or your hands until no dry flour remains. The dough will be very wet and shaggy.
Rest
Cover and rest 15 minutes. This short rest begins development.
Pro Tip
Don't worry about the sticky mess – high- doughs are supposed to look like this!
Precise Timers
Use these interactive timers to track your stages.
Yeast Bloom
Initial Rest
Step 2
Building Strength
2 hours with coil folds
Use to develop without deflating the delicate air bubbles.
Click each step to mark complete
Coil fold set 1
With wet hands, lift the dough from the center, letting the sides fold under. Rotate the bowl 90° and repeat. Do this until you've gone around the bowl. Cover and rest 30 minutes.
Coil fold set 2
Repeat the process. The dough should feel smoother and more elastic. Cover and rest 30 minutes.
Coil fold set 3
Repeat the process. The dough is transforming from shaggy to smooth. Cover and rest 30 minutes.
Coil fold set 4
Final set. The dough should now be smooth, elastic, and hold its shape better.
Pro Tip
Keep your hands wet to prevent sticking. Work quickly and gently.
Precise Timers
Use these interactive timers to track your stages.
Fold Set 1
Fold Set 2
Fold Set 3
Fold Set 4
Step 3A
Bulk Fermentation
1-2 hours rising time
Let time and yeast work their magic as the dough develops flavor and rises.
Click each step to mark complete
Let it rise
After the final fold, cover and let rise at room temperature for 1-2 hours until doubled. The dough should be puffy and jiggly.
Precise Timers
Use these interactive timers to track your stages.
Bulk Rise
Step 4
Shaping & Final Proof
1 hour proofing time
Gently coax the dough into your oiled pan without deflating those precious bubbles.
Click each step to mark complete
Prepare the pan
Pour 2 Tbsp olive oil into a 9x13-inch metal pan. Tip the pan to coat the bottom evenly.
Shape the dough
Gently scrape the dough into the oiled pan. Using oiled hands, press and stretch the dough toward the corners. If it springs back, let it rest 10 minutes and try again. Don't force it.
Final proof
Drizzle another 1 Tbsp oil over the dough. Cover loosely and let rise 45-60 minutes until puffy and nearly filling the pan. The dough should jiggle when you shake the pan.
Precise Timers
Use these interactive timers to track your stages.
Final Proof (Same-Day)
Step 5
Dimple, Brine & Top
The signature technique
The signature Ligurian technique: and brining for that legendary crispy crust.
Click each step to mark complete
Preheat
30 minutes before baking, preheat your oven to 450°F (230°C) with a rack in the lower third.
Dimple the dough
Oil your fingertips generously. Press deep dimples into the dough, all the way to the bottom of the pan. Those dimples hold oil, , and toppings – shallow dimples are missed opportunities.
Apply the brine
Stir together the warm water and salt until dissolved. Pour the evenly over the dimpled dough, letting it pool in the indentations. This creates the impossibly crispy crust.
Add toppings
Drizzle with remaining olive oil (about 1 Tbsp). Scatter fresh rosemary and flaky sea salt over the top.
Pro Tip
Don't skip the ! It's the secret to authentic Ligurian 's legendary crust.
Precise Timers
Use these interactive timers to track your stages.
Preheat Oven
Shaping
Shaping Options
Two great ways to shape your .
Standard Pan Focaccia
The classic 9x13 rectangle – crispy edges and even thickness.
RecommendedClick each step to mark complete
Oil the pan
Pour olive oil into a 9x13-inch metal pan. Tilt to coat evenly.
Stretch into pan
Scrape dough into pan, stretch gently toward corners with oiled hands.
Rest and re-stretch
Rest and re-stretch as needed until dough fills the pan.
Cover and proof
Cover and proof until puffy and jiggly.
Round (Cast Iron Skillet)
A thicker focaccia with gorgeous crispy edges from the cast iron.
Click each step to mark complete
Oil the skillet
Oil a 12-inch cast iron skillet generously.
Stretch to edges
Scrape dough into skillet, stretch to edges.
Proof and bake
Proof and bake as directed, adding 2-3 minutes bake time for thicker center.
Proof Test: The dough is ready to dimple and bake when it jiggles like a waterbed when you shake the pan and springs back slowly when poked with a floured finger. If it springs back quickly, give it more time.
The Final Step
Baking
High heat transforms your oiled, brined dough into golden, crispy perfection.
Baking Methods
The classic method for . A metal pan ensures a crispy bottom.
Equipment: 9x13-inch metal baking pan, Wire cooling rack
Bake
Place the pan on the lower rack. Bake 25-30 minutes until the top is deeply golden brown and the edges are crispy and pulling away from the pan.
Check the bottom
Carefully lift a corner with a spatula. The bottom should be golden and crispy. If not, bake 3-5 more minutes.
Cool
Let cool in the pan for 5 minutes, then use a spatula to transfer to a wire rack. This prevents the bottom from getting soggy.
"Best eaten the day it's made. Reheat in a 350°F (175°C) oven for 8-10 minutes to restore crispness."
Nutrition Facts
Per 1/12 of focaccia (approx. 85g) • 12 servings per recipe
* Values are estimates based on standard ingredients; actual values vary by brands and portion size.
Storage
Room Temperature
Best eaten the day it's baked. Keeps 1-2 days wrapped in foil at room temperature.
Refrigerated
Up to 3 days, wrapped in foil. The texture changes but it reheats well.
Frozen
Up to 2 months. Cut into portions and wrap tightly before freezing.
Refresh
Reheat at 375°F (190°C) for 8-10 minutes to restore the crust. A quick pass under the broiler at the end brings back crispness.
💡 Reheat in a 350°F (175°C) oven for 8-10 minutes to restore crispness. Avoid the microwave – it makes the crust chewy.
Your Feedback
Rate This Recipe
Loading ratings...
Troubleshooting
Baker's Notes
Common questions and solutions for perfect results

If you're serious about scoring, you need the right blade in your hand. Wire Monkey makes handcrafted bread lames from black walnut — built to last, balanced in the hand, and sharp enough to glide through cold dough cleanly every single time. No dragging, no hesitation marks. Just a clean cut.

Wire Monkey Handcrafted Bread Lames

You Might Also Enjoy
More recipes from our pantry that pair well with this bake.
Get More Recipes in Your Inbox
Join thousands of home bakers receiving weekly recipes, tips, and techniques to elevate your bread game.
No spam, ever. Unsubscribe anytime.
More from Baking Great Bread at Home
Tools, resources, and community to help you bake better bread

Crust & Crumb Academy
Go deeper into your craft. FREE courses, challenges, and real feedback. No gatekeeping. Perfection is not required.

Sourdough Starter Companion
Your AI-powered starter assistant. Track feedings, troubleshoot issues, and keep your starter thriving.

Fermentation Compass
Stop guessing when bulk fermentation is finished. Read your dough. Nail your bake.

BakingGreatBread.com
Real bread for the rest of us

Baking Great Bread Blog
Recipes, tips, and stories from the bread journey

Recipe Converter
Convert sourdough recipes to yeast and back again

Crust & Crumb App
Your AI-powered baking assistant

Facebook Community
Join 50,000+ bakers sharing, learning, and supporting each other

Sourdough for the Rest of Us
Free beginner's guide to sourdough