A buttery, herb-swirled babka that belongs on every dinner table
IntermediateRoasted Garlic and Gruyère Savory Babka | Baking Great Bread atHome
by Henry Hunter Jr.
Where garlic bread meets artisan babka.
Rise Time
Overnight plus 2-3 hours
Bake Time
35-40 minutes
Yield
2 full loaves or 4 mini loaves, about 16 servings


Perfection is not required
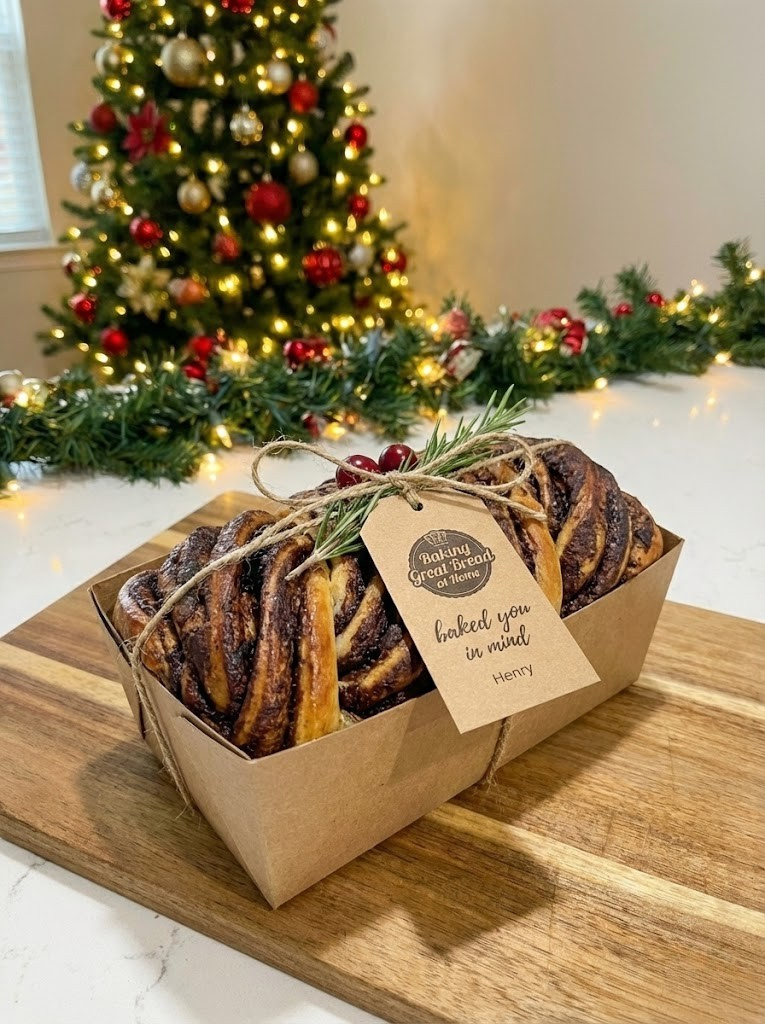
"Don't stress about perfection. A messier twist means more dramatic swirls in the finished loaf. The imperfection is part of the beauty."— Henry Hunter Jr.
By Henry Hunter Jr., founder of Crust & Crumb Academy and Baking Great Bread at Home.
Authentic Flavor
This is the savory babka your table has been waiting for. Roasted garlic, fresh herbs, and melted Gruyère swirled through a buttery enriched dough that belongs right next to your best pasta or your holiday spread.
Equipment Needed
For mixing and developing the enriched dough
For rolling dough into rectangles
For warming milk
For egg wash application
For checking internal temperature of 190°F (88°C)
For slicing the log lengthwise to expose layers
Ingredients
The Dough
About 95-100°F (35-38°C)
Must be fully softened but not melted
Roasted Garlic Herb Butter Filling
Tops sliced off for roasting
Egg Wash
Finishing
Pro Tip
Roast your garlic the night before or earlier in the day. It needs to cool completely before going into the butter or it will melt the filling and cause it to seep out during shaping.
Roast the Garlic
Roasting transforms raw garlic into something sweet, caramelized, and spreadable. This is the foundation of the entire filling and cannot be rushed.
Click each step to mark complete
Prep the Garlic
Slice the top quarter off two full heads of garlic to expose the cloves. Drizzle with olive oil and season with a pinch of salt. Wrap tightly in foil.
Roast
Bake at 400°F (205°C) for 40 to 45 minutes until the cloves are deeply golden, soft, and caramelized throughout.
Cool and Squeeze
Let cool completely. Squeeze the roasted cloves directly into a small bowl. Mash with a fork until smooth.
⏱ Wait Time
40-45 minutes plus full cooling time
Pro Tip
Roasted garlic keeps in the fridge for up to a week. Make extra. It belongs on everything.
Make the Dough
This is the same base used in the chocolate babka. Butter-rich, egg-forward, and built for the overnight that makes clean and effortless.
Click each step to mark complete
Combine Dry Ingredients
Whisk bread flour, sugar, and instant yeast in the bowl of your stand mixer.
Add Wet Ingredients
Add lukewarm milk, eggs, and vanilla extract. Mix on low until a shaggy mass forms, about 2 minutes.
Add Salt
Add fine sea salt and mix for one minute until incorporated.
Add Butter
Add softened butter one tablespoon at a time with the mixer running on medium-low. Wait for each addition to be mostly absorbed before adding the next. This takes 8 to 10 minutes.
Develop Gluten
Increase to medium speed and knead for another 5 to 8 minutes until the dough is smooth, shiny, slightly tacky, and passes the .
First Rise
Transfer to a lightly oiled bowl. Cover and let rest at room temperature for 1 hour until slightly puffed.
Pro Tip
Don't rush the butter. Adding it too fast breaks the emulsification and leaves you with a greasy, unworkable dough. Low and slow wins here.
Overnight Cold Retard
The is not optional. It firms the butter in the dough, develops flavor, and makes the dough dramatically easier to roll out cleanly without tearing.
Click each step to mark complete
Cover Tightly
Cover the bowl with plastic wrap pressed directly against the dough surface.
Refrigerate
Place in the refrigerator for a minimum of 8 hours and up to 24 hours.
⏱ Wait Time
8-24 hours
Pro Tip
If you're baking Saturday morning, mix the dough Friday evening and it will be perfectly ready when you wake up.
Make the Filling
The filling comes together quickly once your garlic is roasted. The key is keeping it spreadable but not runny. Too warm and it seeps out during . Too cold and it tears the dough.
Click each step to mark complete
Combine Butter and Garlic
In a bowl, beat the softened butter until smooth. Add the mashed roasted garlic and beat until fully combined and spreadable.
Add Herbs
Fold in the finely chopped rosemary and thyme. Taste and adjust seasoning.
Prep the Cheese
Have the grated Gruyère ready in a separate bowl. It gets applied over the butter layer, not mixed in.
Pro Tip
The filling should be the consistency of soft peanut butter. If your kitchen is warm and it feels loose, refrigerate it for 10 minutes before spreading.
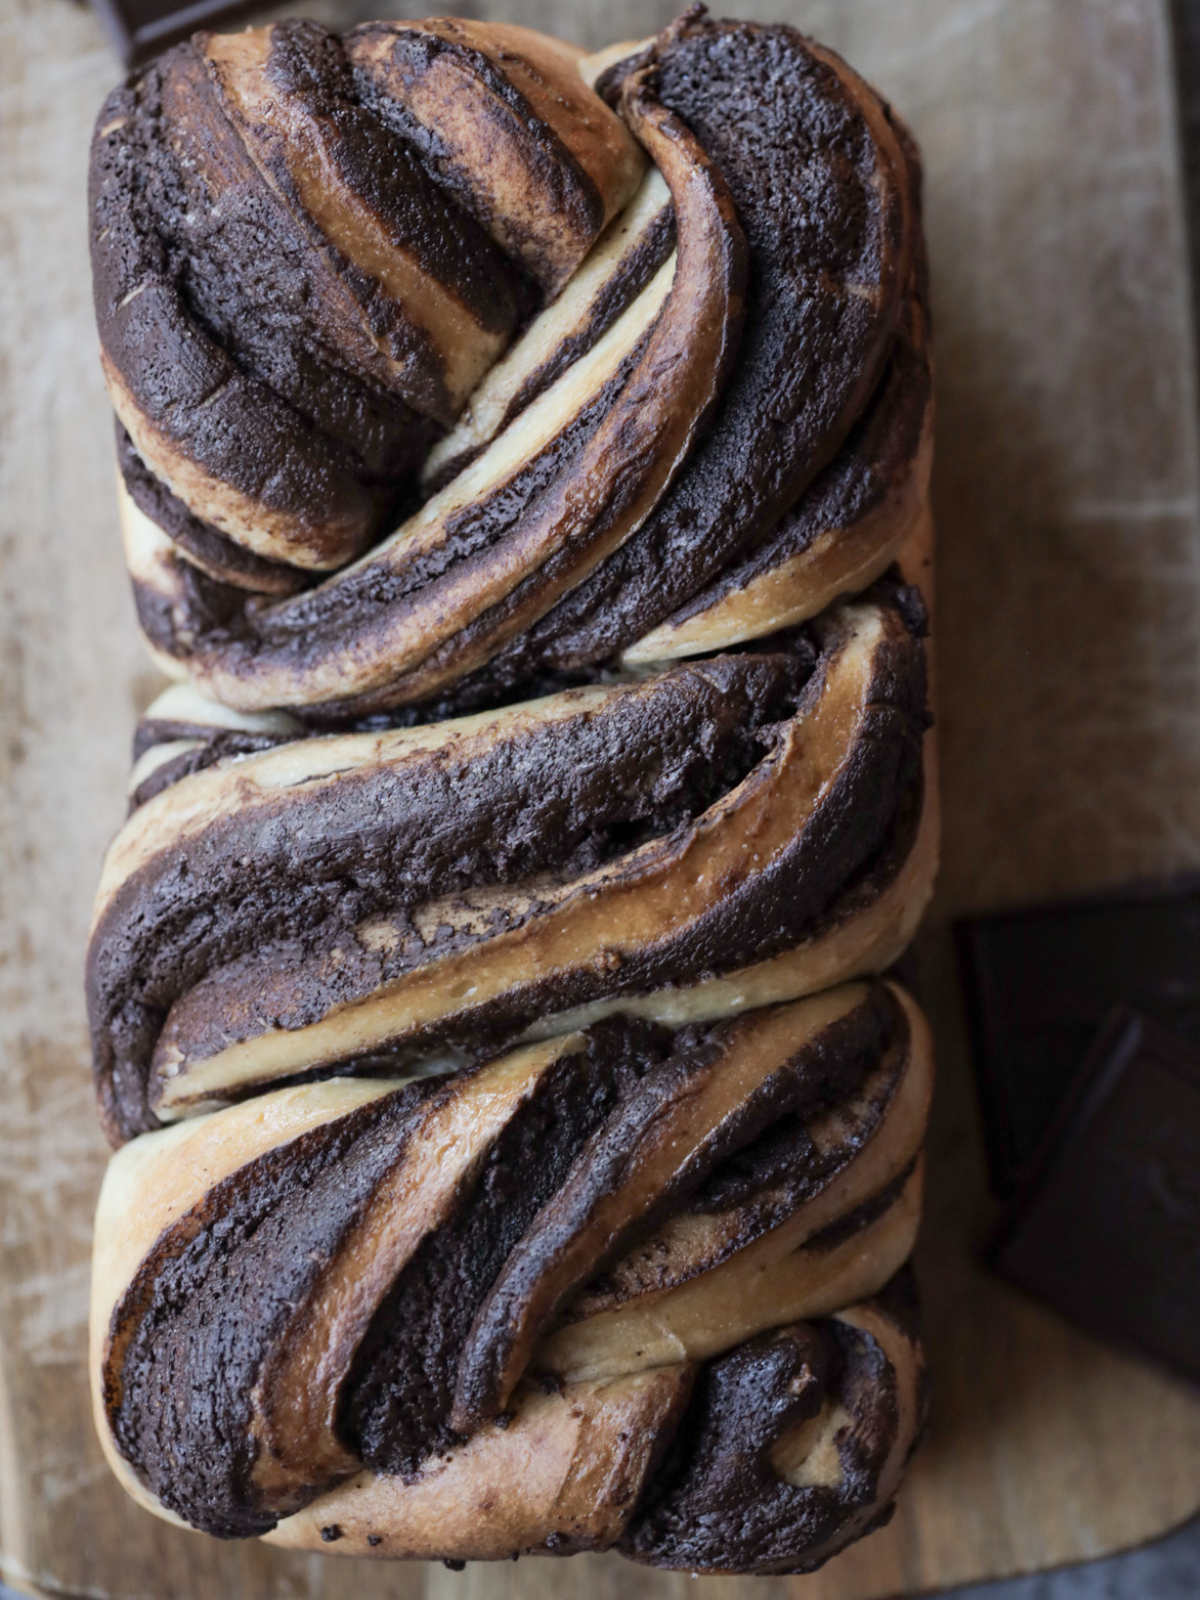
Roll, Fill, and Shape
This is where the babka comes to life. The twist exposes the layers and creates those dramatic swirls of herb butter and melted cheese in every slice.
Click each step to mark complete
Divide the Dough
Remove dough from the refrigerator. Divide into two equal portions on a lightly floured surface.
Roll Out
Working with one portion at a time, roll into a 10 by 16 inch rectangle approximately ¼ inch thick. Keep the dough cold. If it starts to resist or tear, cover and rest for 5 minutes.
Spread the Filling
Spread half the herb butter filling evenly across the dough leaving a ½ inch border on all sides.
Add the Cheese
Scatter half the grated Gruyère evenly over the butter layer. Press gently so it adheres. Season with flaky salt and cracked pepper.
Roll Tightly
Starting from the long edge closest to you, roll the dough into a tight log. Pinch the seam firmly to seal.
Slice Lengthwise
Using a sharp serrated knife, cut the log in half lengthwise, exposing all the layers. Keep the cut sides facing up throughout .
Twist
Cross one half over the other, keeping cut sides up, and continue twisting to the end. Pinch both ends to seal.
Transfer to Pan
Carefully lift into a parchment-lined 9x5 inch loaf pan. Press gently to fit.
Pro Tip
Don't stress about perfection. A messier twist means more dramatic swirls in the finished loaf. The imperfection is part of the beauty.
Shaping
Shape the Babka
The classic twist exposes the layers and creates dramatic swirls of herb butter and melted cheese.
Classic Twist
RecommendedClick each step to mark complete
Roll dough into 10 by 16 inch rectangle
Spread filling and cheese to within ½ inch of all edges
Roll tightly from the long edge into a log
Slice lengthwise keeping cut sides up
Cross one half over the other and continue twisting
Transfer to loaf pan cut sides facing up
Mini Loaves
Click each step to mark complete
Divide each portion into two smaller portions before rolling
Follow the same rolling, filling, and twisting process
Bake in mini loaf pans at 350°F (175°C) for 25 to 30 minutes
The Final Step
Final Proof and Bake
The final proof lets the shaped babka relax and puff before baking. Watch for the dough to rise about one inch above the rim of the pan and jiggle slightly when shaken.
Step by Step
Cover and Proof
Cover loosely with a damp towel or plastic wrap. Proof at room temperature, 74 to 78°F (23 to 26°C), for 2 to 3 hours until puffy and risen about 1 inch above the pan rim.
Preheat
During the last 30 minutes of , preheat the oven to 350°F (175°C).
Egg Wash
Whisk egg and milk together. Brush gently over the top of each loaf. Sprinkle with flaky sea salt and extra Gruyère if desired.
Bake
Bake for 35 to 40 minutes until deep golden brown and internal temperature reaches 190°F (88°C). Tent loosely with foil after 20 minutes if browning too fast.
Cool
Cool in the pan for 15 minutes, then transfer to a wire rack. Best served warm.
This babka is at its absolute best within the first two hours of baking. Warm from the oven the cheese is still melty and the garlic aroma fills the room. Plan accordingly.
Baking Methods
Equipment: Two 9x5 inch loaf pans, parchment paper
Preheat
Preheat to 350°F (175°C) during final 30 minutes of proof.
Egg Wash and Top
Apply egg wash and toppings.
Bake
Bake 35 to 40 minutes, tenting with foil at 20 minutes if needed.
Check Temp
Pull at 190°F (88°C) internal temperature.
Nutrition Facts
Per 1 slice (about 110g) • servings per recipe
* Values are estimates based on standard ingredients
Storage
Room Temperature
2-3 days wrapped tightly. Warm individual slices in a 325°F (165°C) oven for 8 minutes or toast in a dry skillet.
Refrigerated
Up to 5 days. The cheese firms up when cold so always warm before serving.
Frozen
Up to 2 months. Slice before freezing for easy individual portions. Thaw at room temperature and warm in the oven.
Refresh
325°F (165°C) for 8 to 10 minutes wrapped loosely in foil.
Your Feedback
Rate This Recipe
Loading ratings...
Troubleshooting
Baker's Notes
Common questions and solutions for perfect results
If you're serious about scoring, you need the right blade in your hand. Wire Monkey makes handcrafted bread lames from black walnut — built to last, balanced in the hand, and sharp enough to glide through cold dough cleanly every single time. No dragging, no hesitation marks. Just a clean cut.

Wire Monkey Handcrafted Bread Lames
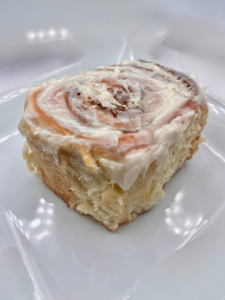
You Might Also Enjoy
More recipes from our pantry that pair well with this bake.

Get More Recipes in Your Inbox
Join thousands of home bakers receiving weekly recipes, tips, and techniques to elevate your bread game.
No spam, ever. Unsubscribe anytime.
More from Baking Great Bread at Home
Tools, resources, and community to help you bake better bread

Crust & Crumb Academy
Go deeper into your craft. FREE courses, challenges, and real feedback. No gatekeeping. Perfection is not required.

Sourdough Starter Companion
Your AI-powered starter assistant. Track feedings, troubleshoot issues, and keep your starter thriving.

BakingGreatBread.com
Real bread for the rest of us

Baking Great Bread Blog
Recipes, tips, and stories from the bread journey

Recipe Converter
Convert sourdough recipes to yeast and back again

Crust & Crumb App
Your AI-powered baking assistant

Facebook Community
Join 50,000+ bakers sharing, learning, and supporting each other

Sourdough for the Rest of Us
Free beginner's guide to sourdough