The Ultimate Make-Ahead Rolls That'll Make You a Legend
IntermediateHenry's Big, Gooey CinnamonRolls
by Henry Hunter
12 perfectly tender rolls using the tangzhong method
Rise Time
60-90 minutes (same-day) or 8-48 hours (overnight)
Bake Time
24-28 minutes
Yield
12 large cinnamon rolls (1 pan)


Perfection is not required
"Great bread isn't about perfect technique—it's about understanding the dough."— Henry Hunter
By Henry Hunter Jr., founder of Crust & Crumb Academy and Baking Great Bread at Home.
Authentic Flavor
These aren't your average cinnamon rolls. Using the method (a Japanese technique that creates incredibly soft, long-lasting bread), these beauties stay tender for days. The overnight develops deep flavor while making your morning routine easier. When Ryan called asking for cinnamon rolls for his track teammates, I knew these had to be perfect. By the end of the day, half the track and field team was in his dorm and all those rolls were gone.
Equipment Needed
Ingredients
Tangzhong (Flour Paste)
This Japanese technique is the secret to incredibly soft, long-lasting rolls
Dough
A rich, enriched dough that stays soft for days
Adds extra browning, softness, and extends how long the rolls stay fresh. Not required, but worth it.
Cinnamon Filling
The cornstarch prevents the filling from getting too liquidy during baking
For Baking Day
The cream creates gooey, caramelized edges
Cream Cheese Frosting
Rich, tangy, and perfectly spreadable
Pro Tip
Making rolls for a crowd? Use the 2x button for 24 rolls across two 9×13 pans. The 0.5x setting gives you 6 rolls in a 9-inch round pan, perfect for a smaller household.
Step 1
Make the Tangzhong
5 minutes active time
The is a cooked flour paste that's the secret to incredibly soft bread. By pre-cooking some of the flour, you're creating , which traps moisture and keeps these rolls tender for days.
Watch the Technique
Click each step to mark complete
Combine flour and milk
Whisk and milk together in a small saucepan until no lumps remain.
Cook until thickened
Cook over medium heat, whisking constantly, until the mixture thickens to pudding consistency, about 2-3 minutes. You'll know it's ready when the whisk leaves clear trails.
Cool completely
Transfer to a bowl and cool to room temperature before using. You can speed this up in the refrigerator, but make sure it's not cold when you add it to the dough.
⏱ Wait Time
Let the tangzhong cool to room temperature
Pro Tip
The tangzhong should be the consistency of thick pudding or mashed potatoes. If it's too thin, cook it a bit longer. If it's lumpy, strain it through a fine mesh sieve.
Precise Timers
Use these interactive timers to track your stages.
Tangzhong Cooking
Tangzhong Cooling
Step 2
Prepare the Dough
20-30 minutes active time
This is an loaded with butter, eggs, and sugar. The gives it that pillowy softness you find in the best .
Click each step to mark complete
Combine wet ingredients
In your stand mixer bowl, combine the cooled tangzhong, cold milk, eggs, sugar, , and . Add milk powder if using.
Initial mix
Using the dough hook, mix on low speed until you have a . Let rest 10 minutes. This helps development.
Add salt and knead
Add salt and knead on medium-low speed for 5-8 minutes until the dough becomes smooth and elastic. It should pull away from the sides but still stick slightly to the bottom.
Add butter gradually
With mixer running on low, add soft butter a few pieces at a time. Don't rush this step. Continue until the butter is fully incorporated and the dough is silky, smooth, and slightly tacky, about 5-7 more minutes.
Windowpane test
Pinch off a small piece of dough and stretch it thin. If you can stretch it until light passes through without tearing, your is developed. If not, knead another 2-3 minutes.
Bulk fermentation
Place dough in a lightly oiled bowl, cover, and let rise in a warm spot for 60-90 minutes until noticeably puffy (about 60% larger).
⏱ Wait Time
Let the dough rise until about 60% larger
Pro Tip
The works here too. Take a small piece of dough and stretch it. If it stretches thin enough to see light through without tearing, your is developed.
Precise Timers
Use these interactive timers to track your stages.
Initial Mix / Autolyse
Knead with Salt
Butter Incorporation
First Rise
Step 3
Make the Filling
5 minutes
The cornstarch in this filling is the secret weapon. It absorbs excess moisture during baking so your filling stays thick and gooey instead of running out.
Click each step to mark complete
Mash everything together
Combine soft butter, brown sugar, cinnamon, nutmeg, cloves (if using), salt, cornstarch, and vanilla in a bowl. Mash with a fork until you have a smooth, spreadable paste.
Pro Tip
Don't over-cinnamon. More isn't always better. Too much cinnamon can turn bitter and overpower the sweet, buttery flavors.
Step 4
Assembly Time
30 minutes
This is where it all comes together. Good technique here means beautiful spirals later.
Click each step to mark complete
Turn out the dough
Gently transfer the dough to a lightly floured surface. Don't punch it down aggressively, just deflate it gently.
Roll out the dough
Roll the dough into a 16×20-inch rectangle, about ¼-inch thick.
Spread the filling
Spread all the cinnamon filling evenly over the rectangle, going all the way to the edges. Don't be shy.
Roll into a log
Starting from a long side, roll the dough into a tight log. Don't worry if some filling squeezes out, that's normal and delicious.
Cut into rolls
Using a sharp knife or unflavored dental floss, trim the rough ends, then cut the log into 12 equal pieces, about 1½ inches thick.
Arrange in pan
Place the 12 rolls in a parchment-lined 9×13-inch pan, arranging them in a 3×4 grid. They should just touch each other.
Let the rolls rise
Let the rolls rise in the pan at room temperature for 60-90 minutes, until they're puffy and pressing against each other. They should feel soft when you gently poke one. Once they look pillowy and are touching, they're ready to bake.
⏱ Wait Time
Let the rolls rise until puffy and pressing against each other
Pro Tip
Room temperature rising gives you rolls the same day. If you want even deeper flavor, use the overnight cold proof option below.
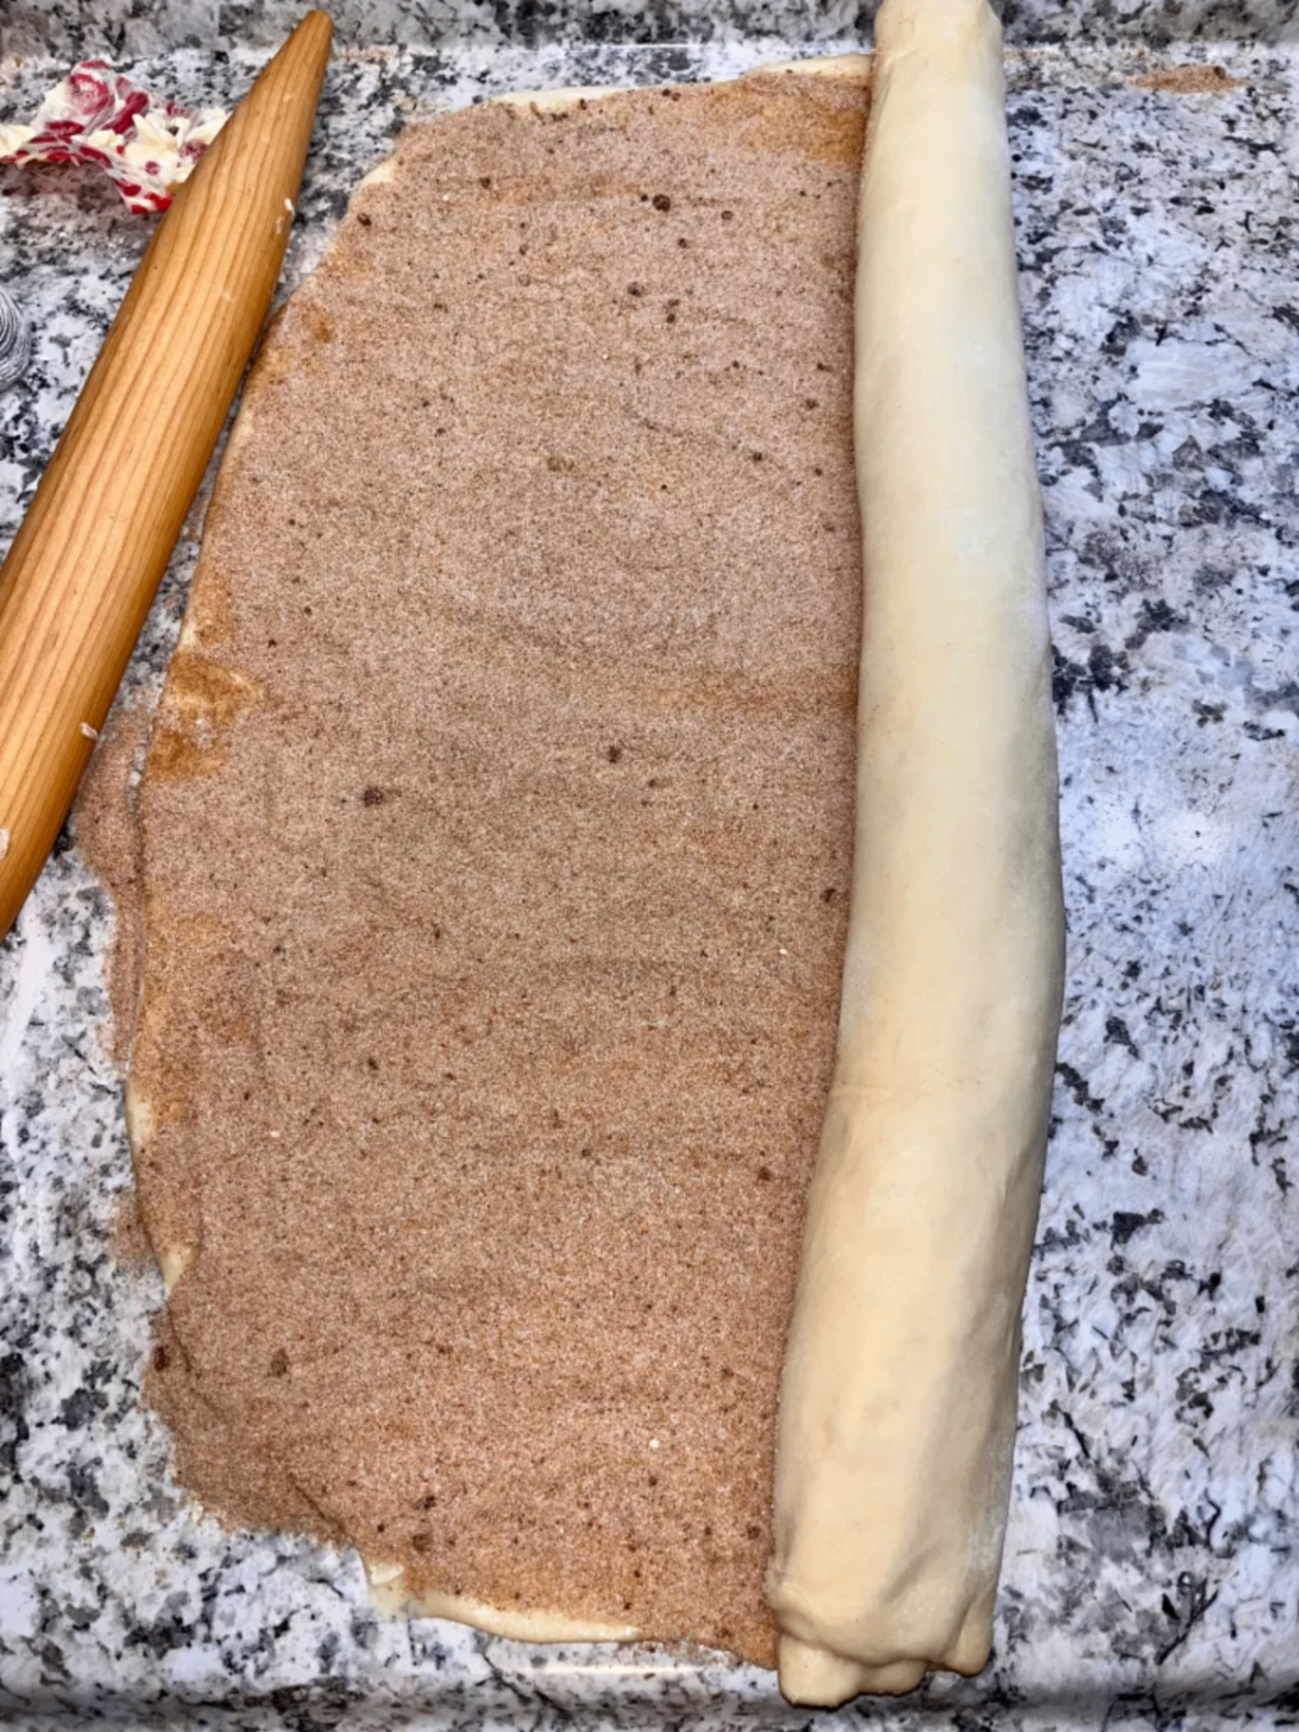
Roll tightly from the long edge
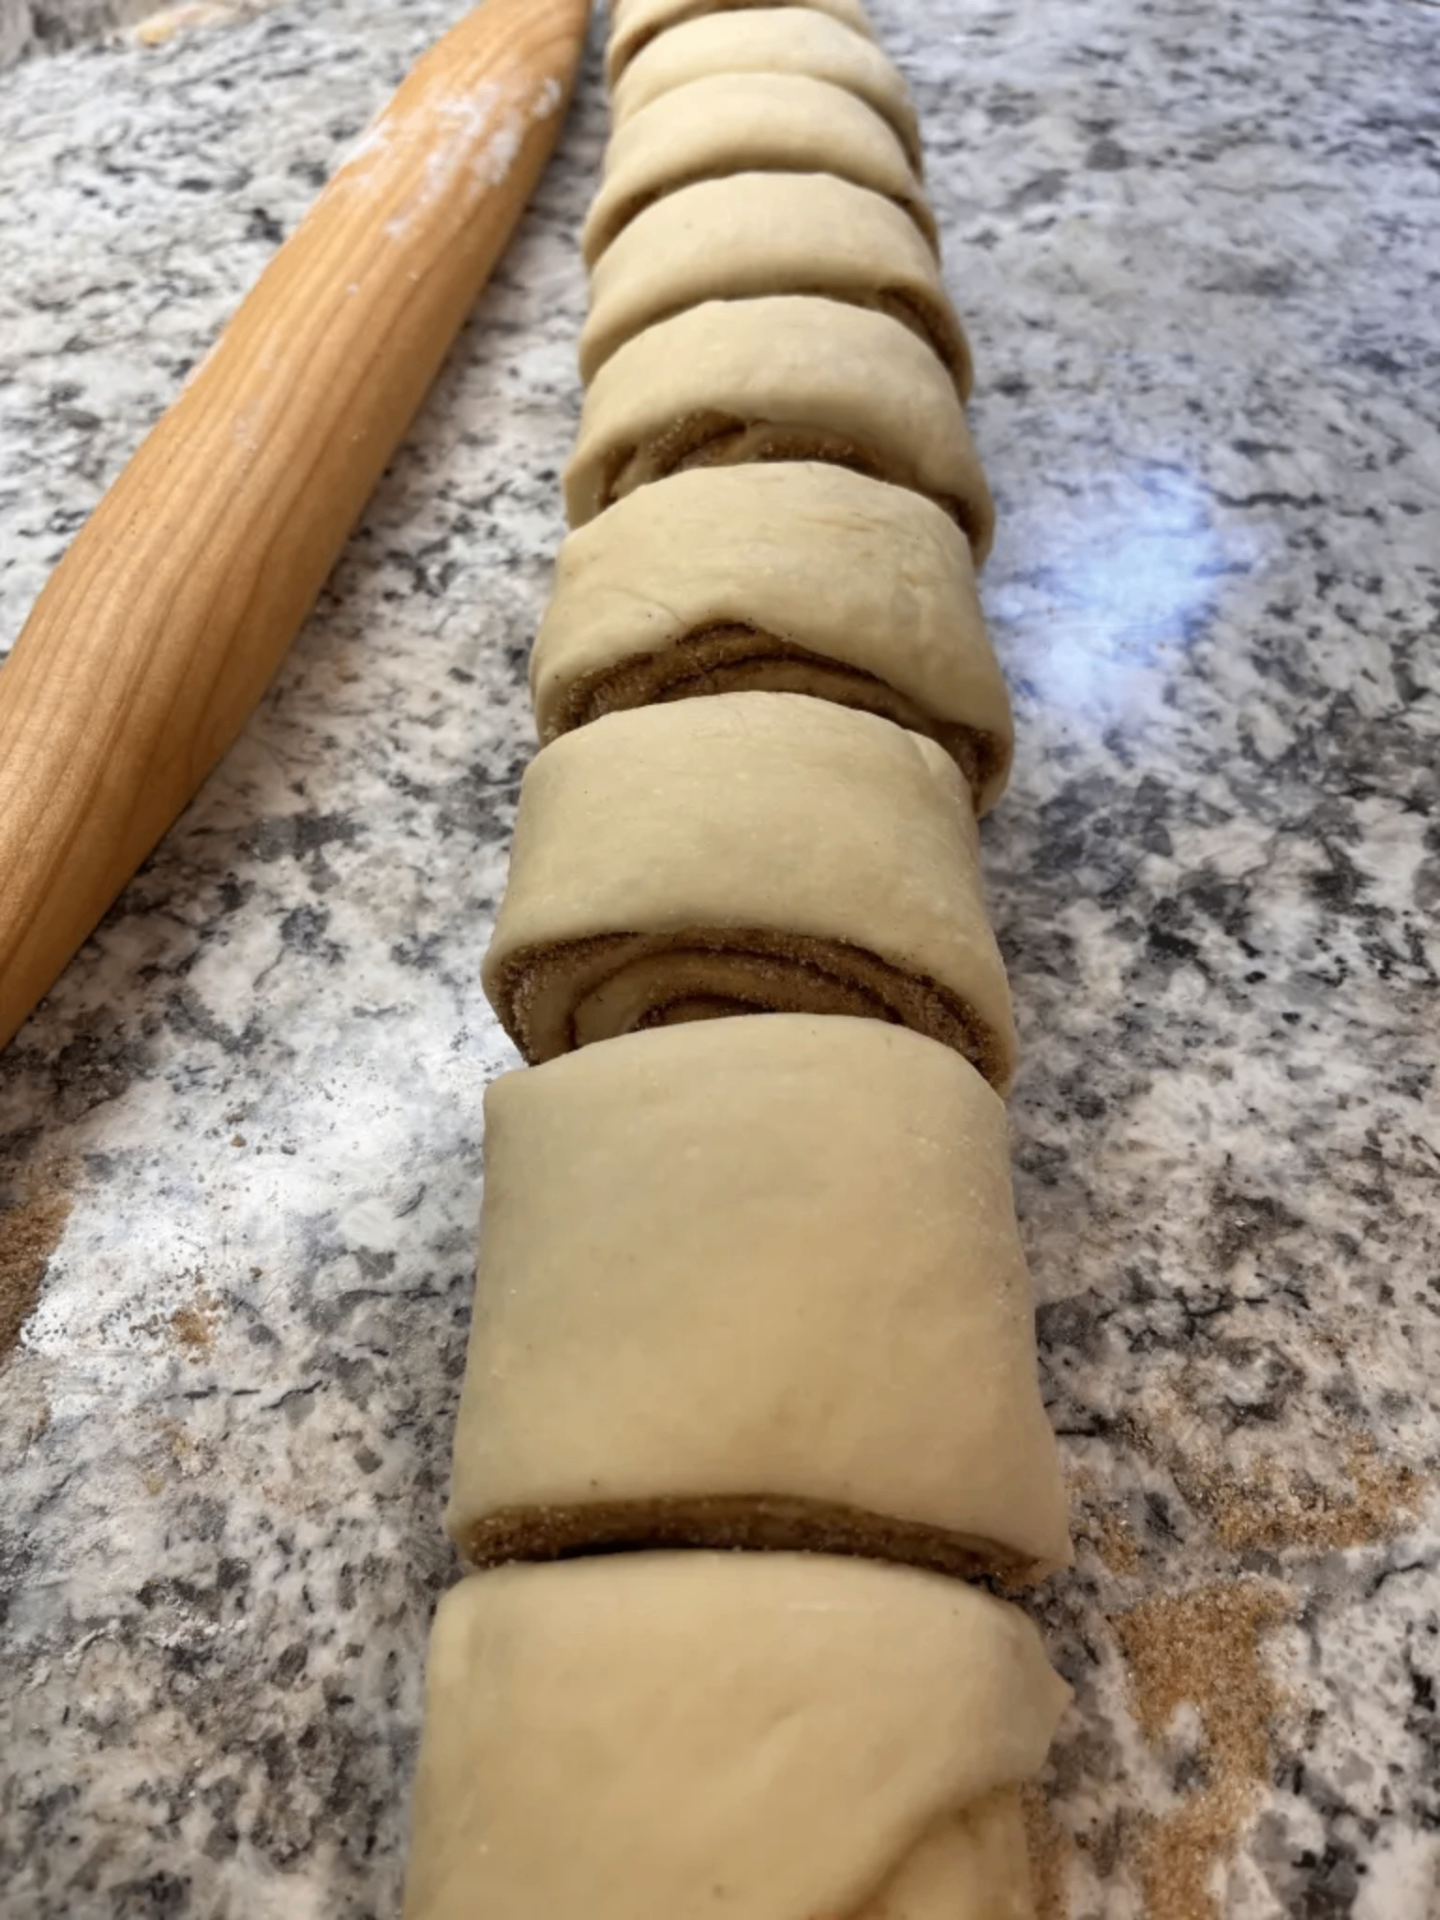
Cut into 12 equal pieces
Precise Timers
Use these interactive timers to track your stages.
Assembly Time
Room Temp Rise
Shaping
Shaping
The key to beautiful spirals is even rolling and tight rolling. Don't rush the roll-up.
Classic Spiral Roll
The traditional method that creates those iconic cinnamon roll spirals.
RecommendedClick each step to mark complete
Roll evenly
Roll the dough to an even ¼-inch thickness. Uneven dough means uneven rolls.
Spread to edges
Don't leave bare edges. The filling should go all the way to the edges for maximum flavor in every bite.
Roll tightly
Start from the long side and roll tightly but gently. Too loose and you'll have gaps. Too tight and you'll squeeze out all the filling.
Cut cleanly
Use a sharp knife or unflavored dental floss. Sawing motions compress the rolls. One clean cut is better.
Proof Test: After the overnight rest and warm-up, the rolls should be puffy and touching each other. They should feel soft and pillowy when gently pressed.
Step 5
Baking Day Magic
The heavy cream pour isn't just for show. It creates steam that keeps the rolls moist and caramelizes the bottom for incredible flavor.
Step by Step
Coming from the fridge? Warm up first.
If you refrigerated your rolls overnight, remove the pan and let them come to room temperature until puffy and touching, 60-120 minutes depending on your kitchen. They should feel soft, not dense and cold in the center. If they still feel heavy, give them more time.
Preheat the oven
Preheat your oven to 350°F (175°C). Make sure it's fully heated and stable.
Add the cream
Warm the heavy cream to about 95-100°F, warm to the touch but not hot. Ten seconds in the microwave usually does it. Cold cream works too, it just won't distribute as evenly. Just before baking, gently pour the cream around (not over) the rolls. It'll pool at the bottom and create those gooey, caramelized edges.
Bake until golden
Bake for 24-28 minutes until tops are golden brown and internal temperature reaches 195°F (90°C). When you tap the center, it should spring back without feeling doughy underneath.
Warm Up
Bake
Don't skip the warm-up time. You want the rolls to shake off that chill and get slightly puffy again. Not ice-cold, not fully , just awake.
Baking Methods
Bake until golden brown with gooey centers
Equipment: 9×13-inch baking pan, parchment paper
Position rack
Place rack in center of oven. Preheat to 350°F (175°C).
Add cream
Pour warmed heavy cream around (not over) the rolls just before baking.
Bake
Bake 24-28 minutes until golden brown on top and internal temperature reaches 195°F (90°C).
Check doneness
The center roll should spring back when gently pressed. If it feels doughy, give it 2-3 more minutes.
Frost while warm
Let cool for just 5 minutes, then apply first layer of frosting while still warm.
Step 6
The Frosting Finale
10 minutes
The two-stage frosting technique creates those beautiful swirls. First application melts slightly, second application stays visible.
Click each step to mark complete
Make the frosting
Beat cream cheese and butter until light and fluffy, about 3 minutes. Add powdered sugar gradually, then vanilla and salt. Add cream as needed for spreading consistency.
First frosting layer
Apply half the frosting while rolls are still warm so it melts and creates swirls. The warmth helps it settle into all the crevices.
Second frosting layer
Wait 5 minutes, then add the remaining frosting. This layer stays more visible and gives you that bakery look.
Pro Tip
Apply frosting while the rolls are warm enough to make it slightly glossy, but not so hot that the frosting runs off completely.
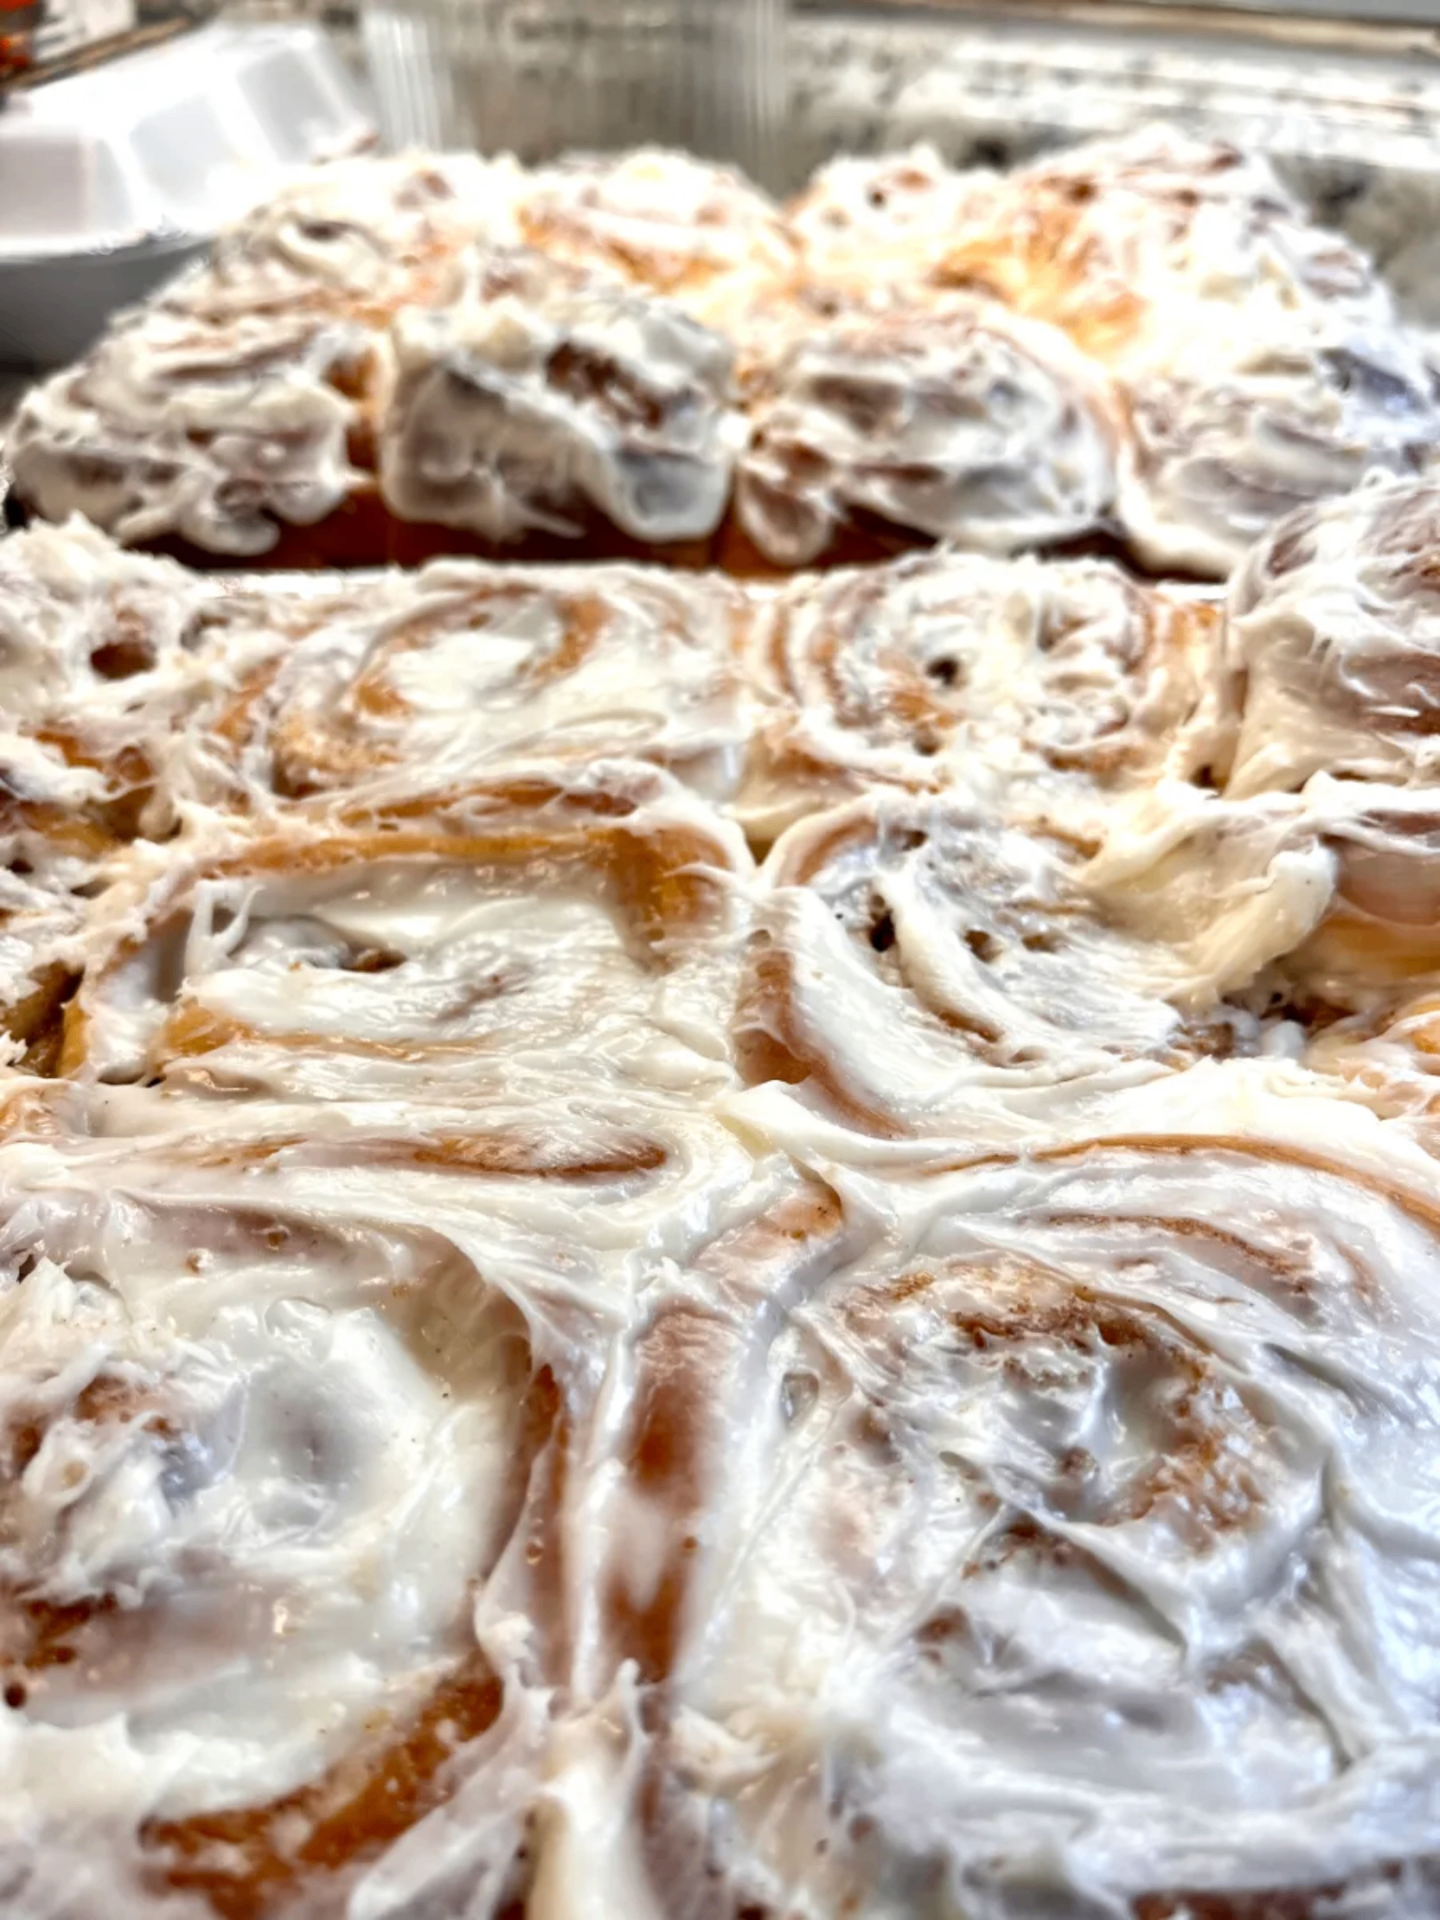
The finished rolls with cream cheese frosting
Nutrition Facts
Per 1 roll • 12 servings per recipe
* Values are estimates based on standard ingredients; actual values vary by brands and portion size.
Storage
Room Temperature
Store covered at room temperature for up to 3 days. They'll stay softer than regular cinnamon rolls thanks to the tangzhong. The sourdough version may stay soft slightly longer due to the acids in the dough.
Refrigerated
Up to 5 days, tightly wrapped. Bring to room temperature or warm briefly before serving.
Frozen
Freeze baked rolls (unfrosted) for up to 2 months. Thaw and frost before serving.
Refresh
Warm at 325°F (165°C) for 8-10 minutes, or microwave individual portions for 15-20 seconds.
💡 Reheat individual rolls in the microwave for 15-20 seconds to restore that fresh-baked softness.
Your Feedback
Rate This Recipe
Loading ratings...
Troubleshooting
Baker's Notes
Common questions and solutions for perfect results

If you're serious about scoring, you need the right blade in your hand. Wire Monkey makes handcrafted bread lames from black walnut — built to last, balanced in the hand, and sharp enough to glide through cold dough cleanly every single time. No dragging, no hesitation marks. Just a clean cut.

Wire Monkey Handcrafted Bread Lames

You Might Also Enjoy
More recipes from our pantry that pair well with this bake.
Get More Recipes in Your Inbox
Join thousands of home bakers receiving weekly recipes, tips, and techniques to elevate your bread game.
No spam, ever. Unsubscribe anytime.
More from Baking Great Bread at Home
Tools, resources, and community to help you bake better bread

Crust & Crumb Academy
Go deeper into your craft. FREE courses, challenges, and real feedback. No gatekeeping. Perfection is not required.

Sourdough Starter Companion
Your AI-powered starter assistant. Track feedings, troubleshoot issues, and keep your starter thriving.

Fermentation Compass
Stop guessing when bulk fermentation is finished. Read your dough. Nail your bake.

BakingGreatBread.com
Real bread for the rest of us

Baking Great Bread Blog
Recipes, tips, and stories from the bread journey

Recipe Converter
Convert sourdough recipes to yeast and back again

Crust & Crumb App
Your AI-powered baking assistant

Facebook Community
Join 50,000+ bakers sharing, learning, and supporting each other

Sourdough for the Rest of Us
Free beginner's guide to sourdough