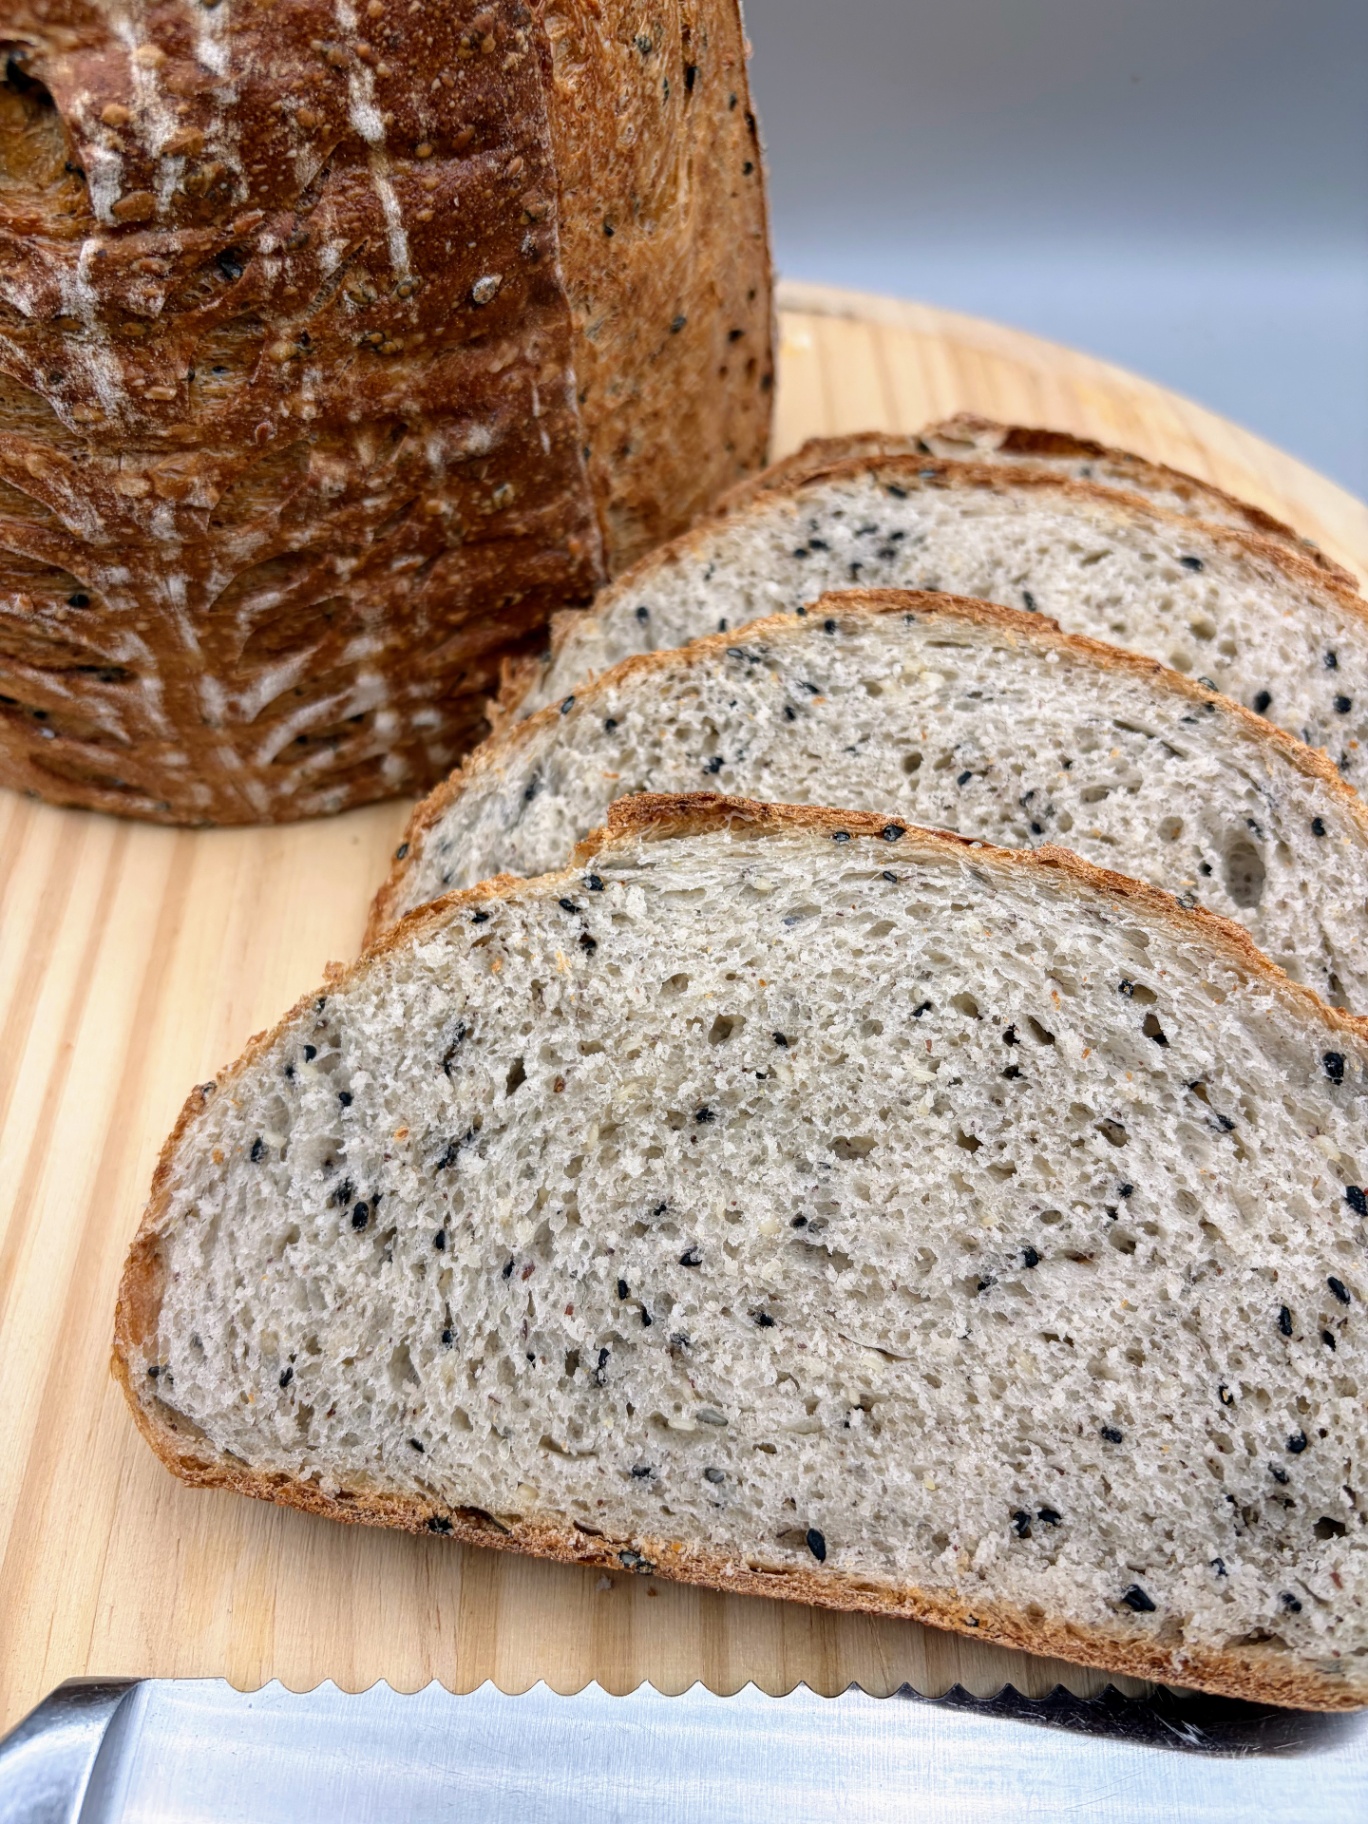
The Market Day White — now with toasted sesame and ground flax built in
BeginnerHenry's Seeded MarketLoaf
by Henry Hunter Jr.
The loaf that got an upgrade.
Fermentation
1-2 hours bulk + optional 4-48 hour cold retard
Bake Time
30 minutes
Yield
Approximately 820-840g finished loaf

Perfection is not required
"Perfection is not required. Progress is."— Henry Hunter Jr.
By Henry Hunter Jr., founder of Crust & Crumb Academy and Baking Great Bread at Home.
Authentic Bread Flavor
This loaf grew out of the Market Day White — the recipe I baked every week for farmers markets. Adding toasted sesame and flax was one of those changes that seems small until you pull it out of the oven. The crust smells different. People stop at the table.
Equipment Needed
Ingredients
Seed Prep (Do First)
Main Dough
Prep
Toast the Sesame Seeds
Don't skip this. Raw sesame seeds taste flat. Toasted sesame seeds smell like the reason this loaf gets bought at a market table before anything else does.
Click each step to mark complete
Toast white and black sesame together
Add white and black sesame seeds to a dry skillet over medium heat. Stir or shake constantly for 2-3 minutes until fragrant and the white seeds are lightly golden.
Cool completely
Spread the toasted seeds on a plate or sheet pan and let them cool to room temperature. This takes about 10 minutes.
Combine all seeds
Once cooled, combine the toasted sesame seeds with the ground flaxseed in a small bowl.
Pro Tip
Black sesame seeds don't show color change the way white seeds do. Use your nose, not your eyes.
The flavor difference
Raw sesame seeds have a mild, slightly grassy flavor. Toasting drives off moisture, triggers Maillard browning, and develops the nutty, rich flavor compounds that make sesame bread actually taste like sesame bread.
Why they must be cool
Hot seeds added to dough create two problems: they raise the dough temperature unevenly, and they can shock the yeast cells in direct contact. Five extra minutes of waiting is worth it every time.
The Takeaway
Toast first. Cool completely. Then mix. In that order, every time.
Precise Timers
Use these interactive timers to track your stages.
Toast Sesame
Cool Seeds
Mix
Mix the Dough
Everything together before resting. The seeds go in at the start — mixed into the dry flour before the water touches anything.
Click each step to mark complete
Combine dry ingredients
In a large bowl, whisk together bread flour, salt, instant yeast, and the cooled seed mixture until evenly distributed.
Add water and mix
Pour the room temperature water into the flour mixture. Stir with a dough whisk or your hand until a shaggy dough forms with no dry flour patches at the bottom.
Cover and rest
Cover the bowl with plastic wrap or a damp towel. Let the dough rest for 30 minutes.
⏱ Wait Time
30 minutes
Pro Tip
The flaxseed will absorb some moisture as the dough rests. After 30 minutes the dough should feel noticeably more cohesive than when you first mixed it.
Precise Timers
Use these interactive timers to track your stages.
Autolyse Rest
Knead
Knead the Dough
development through traditional kneading. The seeds make this dough slightly more textured to work with than the plain version.
Click each step to mark complete
Turn out and knead
Transfer dough to a lightly floured surface. Knead for 8-10 minutes using a push-fold-rotate motion until the dough is smooth and elastic.
Windowpane test
Stretch a small piece of dough between your fingers. If it stretches thin without tearing and you can almost see light through it, the gluten is developed.
Pro Tip
Seeded doughs feel slightly rougher and less silky than plain doughs. Don't chase the same texture as a plain loaf.
Precise Timers
Use these interactive timers to track your stages.
Knead
Bulk Rise
First Rise (Bulk Fermentation)
Let the do the work. The dough should roughly double in size.
Click each step to mark complete
Oil the bowl
Lightly coat a clean bowl with oil. Place the kneaded dough inside and turn once to coat.
Cover and rise
Cover with plastic wrap or a damp towel. Let sit in a warm spot until doubled in size, 1-2 hours. Aim for 75-78°F (24-26°C).
⏱ Wait Time
1-2 hours
Pro Tip
A warm oven with just the light on works well as a proofing environment.
Precise Timers
Use these interactive timers to track your stages.
First Rise
Shape
Shape the Loaf
Surface tension is the goal. A well-shaped loaf gives you better and a more dramatic ear when you score it.
Click each step to mark complete
Turn out
Gently transfer the dough to a lightly floured surface. Press down gently to release large gas bubbles.
Shape
Form into a round boule or oblong batard using your preferred shaping method.
Transfer to banneton
Place shaped dough seam-side up in a well-floured banneton or a bowl lined with a floured towel.
Pro Tip
A light dusting of rice flour in the banneton prevents sticking better than bread flour.
Proof
Second Rise (Proof)
Final before baking. The is your guide.
Click each step to mark complete
Cover and proof
Drape a damp cloth or plastic wrap over the banneton. Let proof at room temperature until puffy, about 30-60 minutes.
Poke test
Gently press the edge of the dough with a floured fingertip. If it springs back slowly and leaves a slight indent, it's ready.
⏱ Wait Time
30-60 minutes
Precise Timers
Use these interactive timers to track your stages.
Second Rise
Optional
Cold Retard (Optional but Recommended)
This step is optional, but if you've got the time, it's worth doing. Cold fermentation builds complexity in a yeasted loaf the same way it builds complexity in sourdough.
Click each step to mark complete
Cover the banneton
Wrap tightly with plastic wrap or use a shower cap. Make sure it's sealed.
Refrigerate
Place in the refrigerator for a minimum of 4 hours and up to 48 hours.
Bake from cold
When ready, go straight from the fridge to the preheated Dutch oven. No need to bring it to room temperature first.
⏱ Wait Time
4-48 hours
Pro Tip
Cold dough scores cleaner. Two days in the fridge turns a good loaf into a great one.
Preheat
Preheat the Oven
The Dutch oven needs to be screaming hot. Don't cut this short.
Click each step to mark complete
Preheat oven to 450°F (230°C)
Set your oven to 450°F (230°C) with the Dutch oven and lid inside from the start.
Preheat for 30-45 minutes
The Dutch oven needs at least 30 minutes at full temperature. 45 minutes is better. Position the rack in the lower third.
Precise Timers
Use these interactive timers to track your stages.
Preheat
Shaping
Shape the Loaf
Good surface tension means better oven spring and a cleaner ear.
Boule (Round)
RecommendedClick each step to mark complete
Turn out
After first rise, turn dough onto a lightly floured surface.
Gather and tuck
Gently deflate and pull edges toward the center, rotating as you go.
Flip
Flip seam-side down.
Build tension
Cup hands around the dough and drag it toward you to tighten the surface.
Transfer
Place in a banneton seam-side up.
Batard (Oval)
Click each step to mark complete
Turn out
After first rise, turn dough onto a lightly floured surface.
Pat and fold
Gently deflate and pat into a rough rectangle. Fold top third down, bottom third up.
Seal
Seal the seam with the heel of your hand.
Taper
Roll gently to taper the ends into an oval shape.
Bake
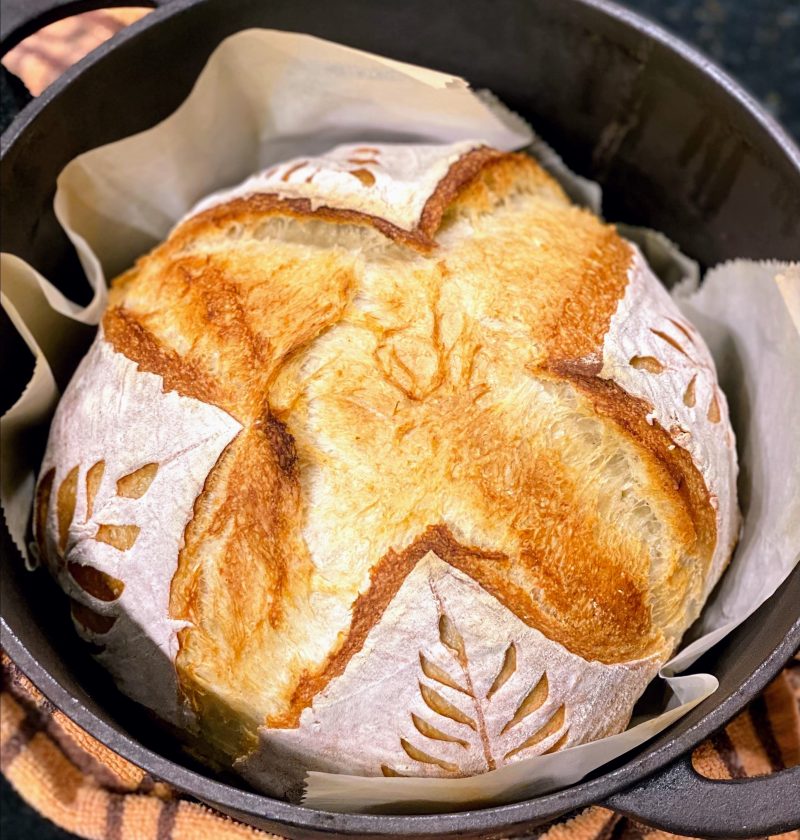
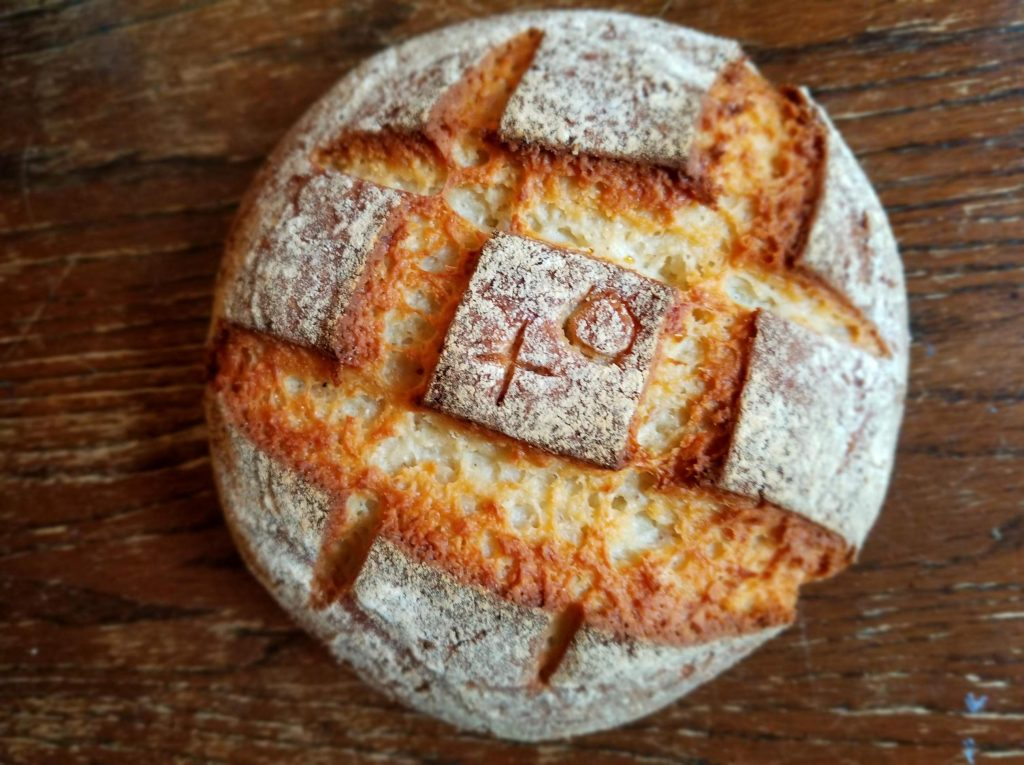
Score and Bake
controls where the bread opens. At least one deep expansion cut, half an inch minimum.
Step by Step
Turn out and score
Invert the dough onto parchment paper, seam-side down. Score immediately with a decisive slash at least 1/2 inch deep.
Load the Dutch oven
Carefully remove the Dutch oven from the oven. Lower the scored dough in using the parchment as a sling. Replace the lid immediately.
Bake covered — steam phase
Bake covered at 450°F (230°C) for 15 minutes. The lid traps steam for maximum oven spring.
Bake uncovered — browning phase
Remove the lid. Continue baking 10-15 minutes until deep golden brown and the internal temperature reaches 205-210°F (96-99°C).
Bake Covered
Bake Uncovered
If using a Dutch oven, bake covered for the first 15 minutes, then remove the lid to finish.
Baking Methods
Best results. Creates the steam environment that develops the crust.
Equipment: Dutch oven with lid, parchment paper
Preheat
Preheat Dutch oven for 30-45 minutes at 450°F (230°C).
Bake covered
Bake covered 15-20 minutes to trap steam.
Bake uncovered
Remove lid and bake 10-15 minutes until deep golden brown.
Cool
Cool Before Slicing
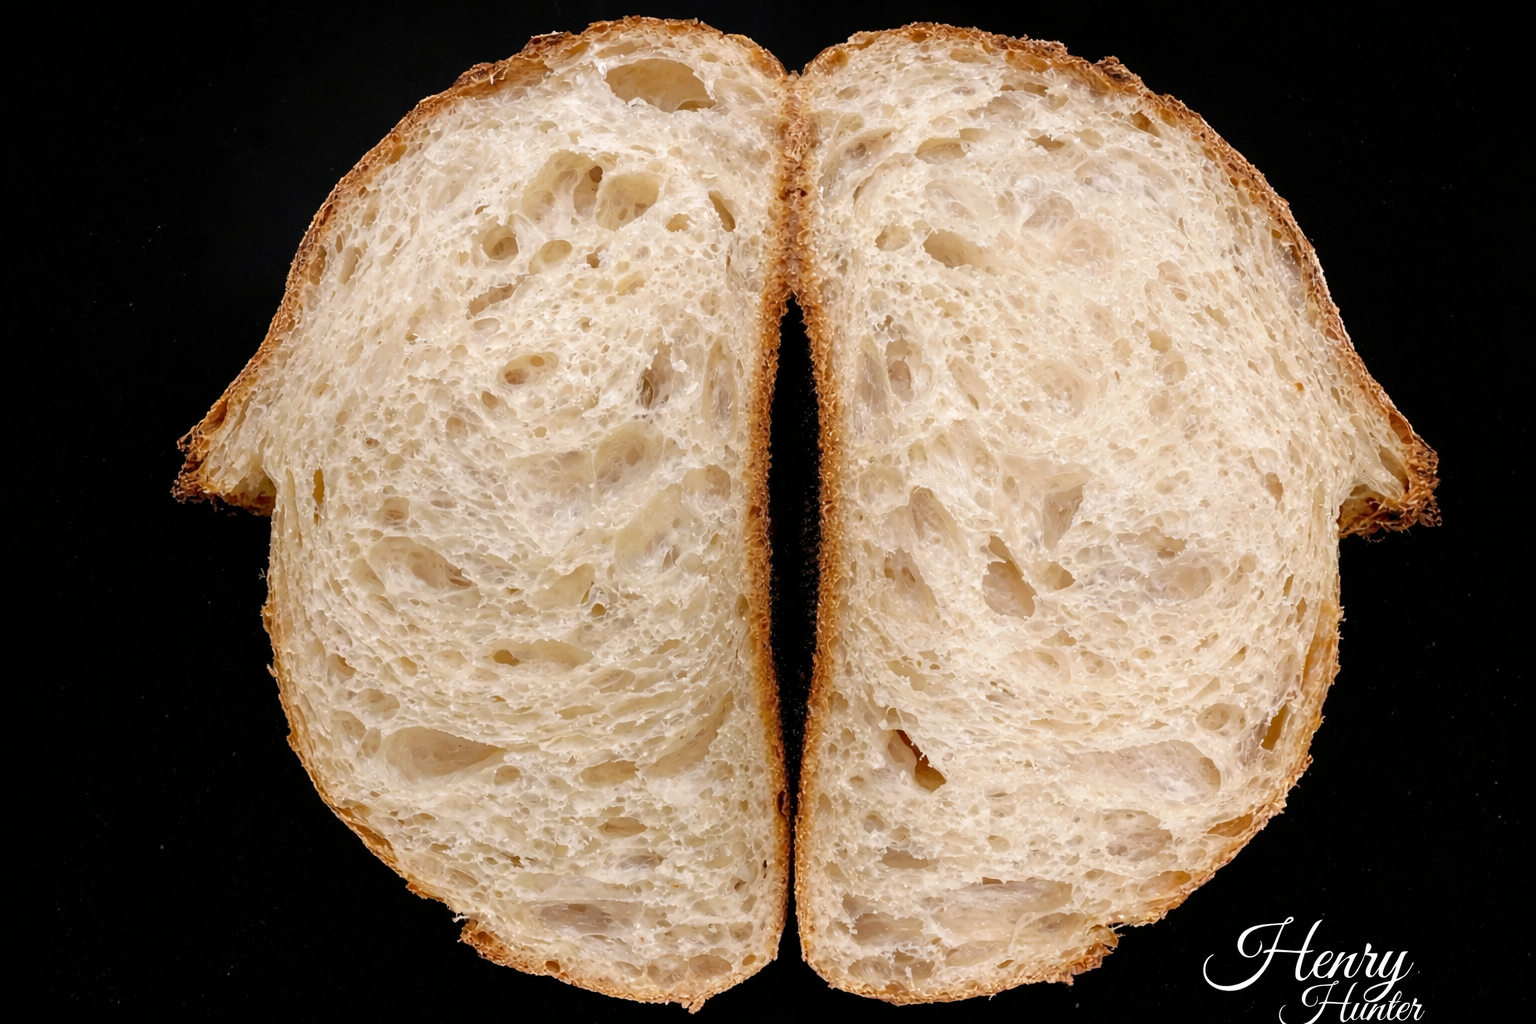
The crumb is still setting. Cutting early releases steam and makes the interior gummy.
Click each step to mark complete
Transfer to rack
Remove bread from Dutch oven immediately and place on a wire cooling rack.
Cool at least 1 hour
Let cool completely before slicing, at least 1 hour. The seeded crust will crackle as it cools — that's the sound of a good loaf.
⏱ Wait Time
1-2 hours
Precise Timers
Use these interactive timers to track your stages.
Cool
Nutrition Facts
Per 1 slice (about 60g) • 14 servings per recipe
* Values are estimates based on standard ingredients
Storage
Room Temperature
2-3 days in a paper bag or bread box. Avoid plastic — it softens the crust.
Refrigerated
Not recommended. Refrigeration stales this loaf faster than room temperature storage.
Frozen
Up to 3 months. Slice before freezing for easy access. Toast directly from frozen.
Refresh
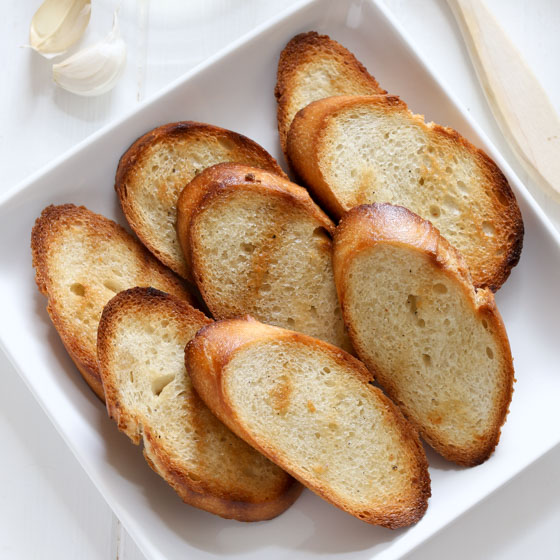
Run the loaf briefly under water and bake at 375°F (190°C) for 10 minutes to revive a day-old crust.
Your Feedback
Rate This Recipe
Loading ratings...
Troubleshooting
Baker's Notes
Common questions and solutions for perfect results
Temperature is the invisible ingredient. I use the Goldie and DoughBed from SourHouse to keep my starter and dough at the perfect temperature, every time.

SourHouse Temperature Control Products
You Might Also Enjoy
More recipes from our pantry that pair well with this bake.
Get More Recipes in Your Inbox
Join thousands of home bakers receiving weekly recipes, tips, and techniques to elevate your bread game.
No spam, ever. Unsubscribe anytime.
More from Baking Great Bread at Home
Tools, resources, and community to help you bake better bread

Crust & Crumb Academy
Go deeper into your craft. FREE courses, challenges, and real feedback. No gatekeeping. Perfection is not required.

Sourdough Starter Companion
Your AI-powered starter assistant. Track feedings, troubleshoot issues, and keep your starter thriving.

BakingGreatBread.com
Real bread for the rest of us

Baking Great Bread Blog
Recipes, tips, and stories from the bread journey

Recipe Converter
Convert sourdough recipes to yeast and back again

Crust & Crumb App
Your AI-powered baking assistant

Facebook Community
Join 50,000+ bakers sharing, learning, and supporting each other

Sourdough for the Rest of Us
Free beginner's guide to sourdough