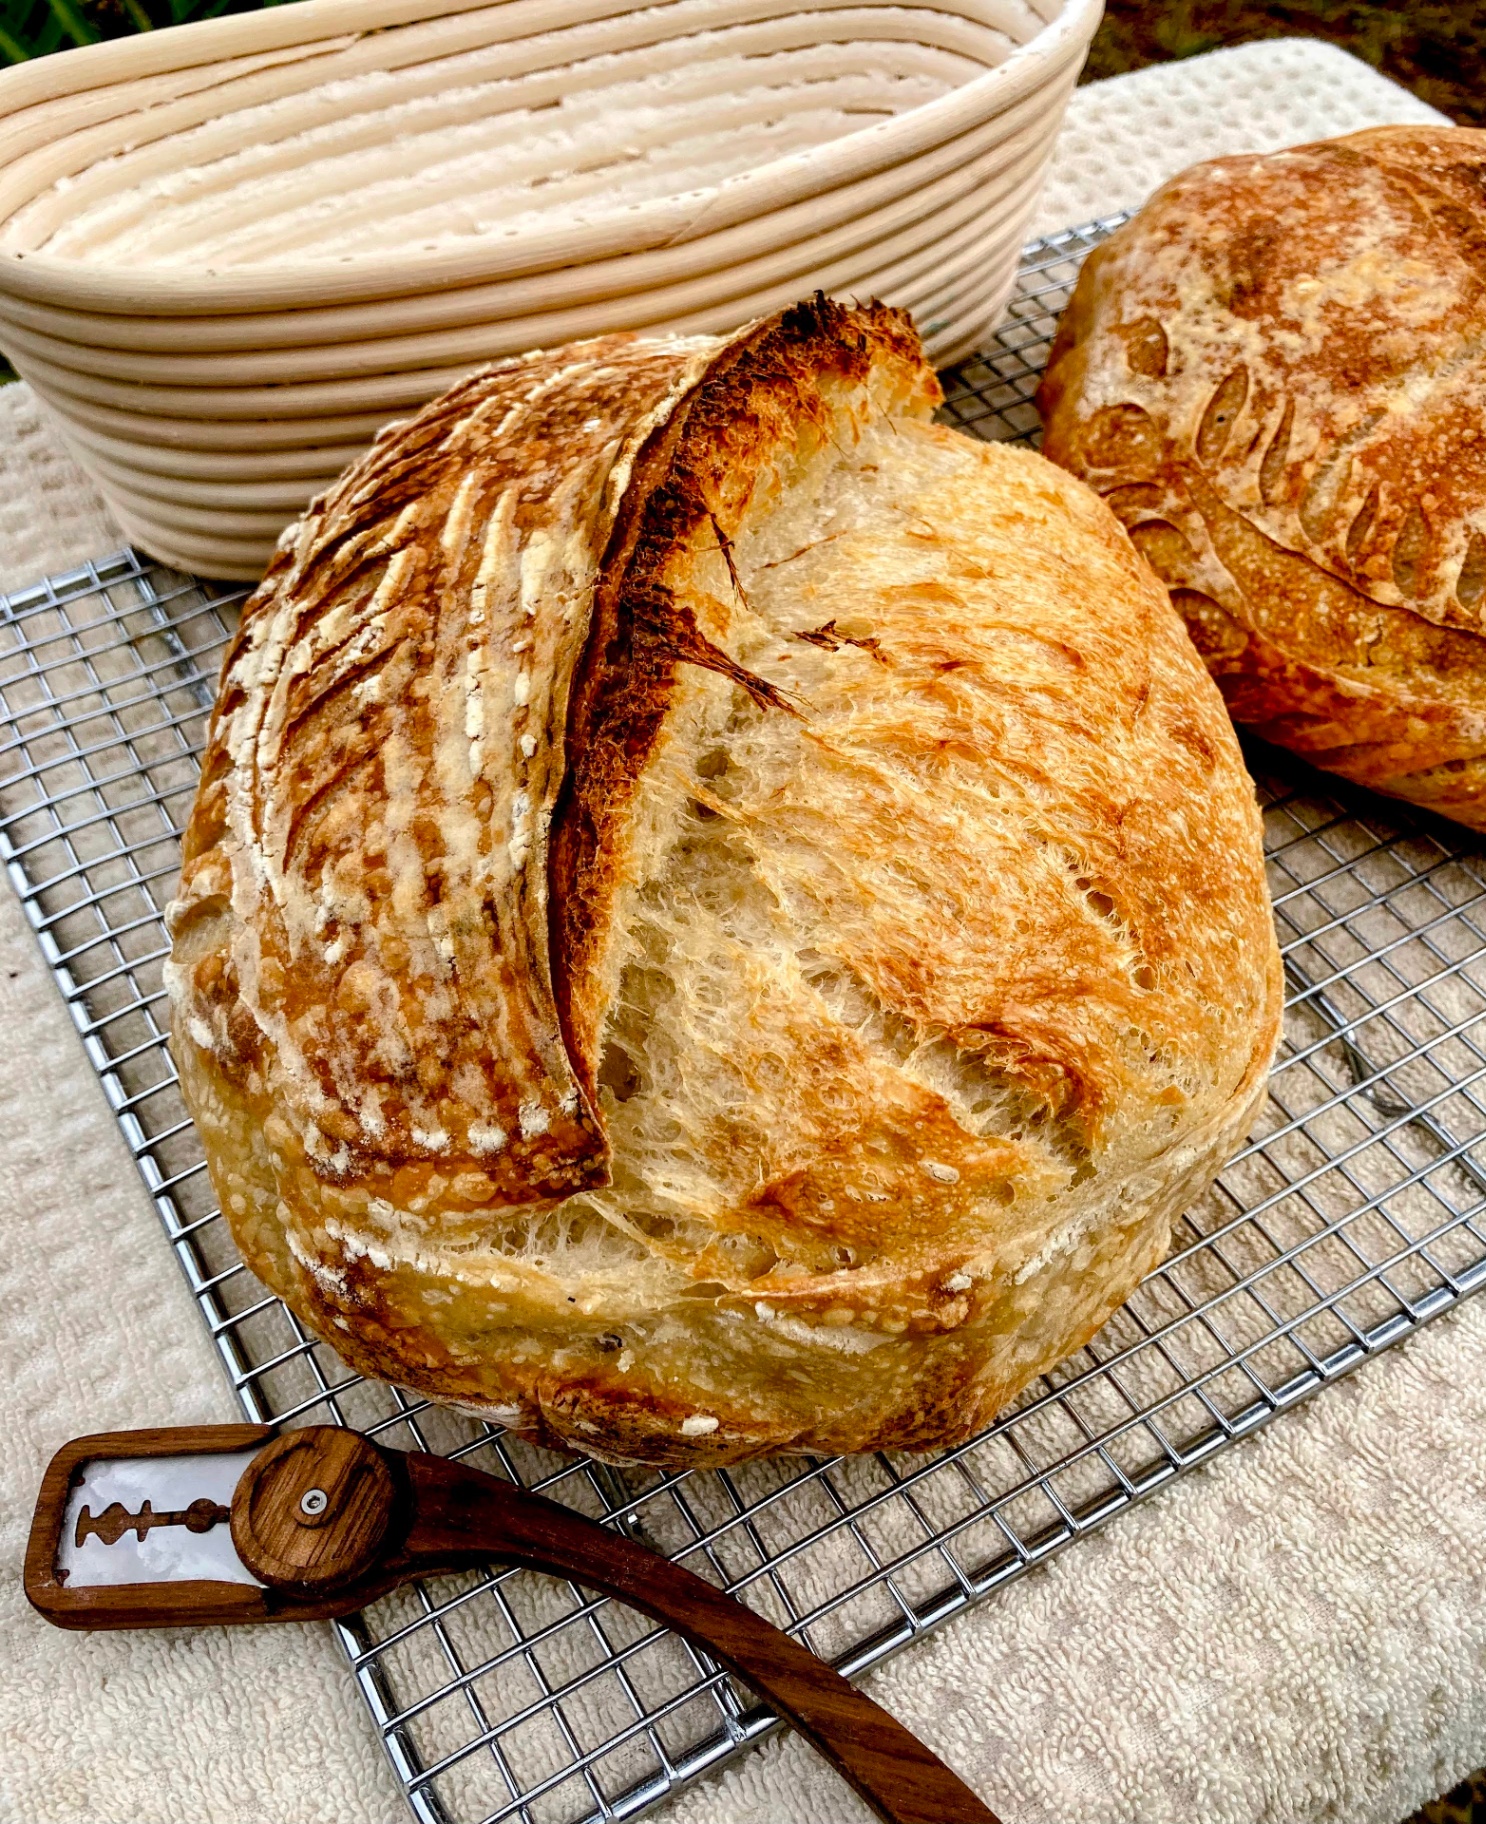
The Loaf That Started It All
IntermediateHenry's Foolproof SourdoughLoaf
by Henry Hunter Jr.
A simple, reliable, and flavorful sourdough recipe that delivers great results every time
Fermentation
10-26 hours
Bake Time
32-37 minutes
Yield
1 round boule

Perfection is not required
"Great bread isn't about perfect technique—it's about understanding the dough."— Henry Hunter Jr.
By Henry Hunter Jr., founder of Crust & Crumb Academy and Baking Great Bread at Home.
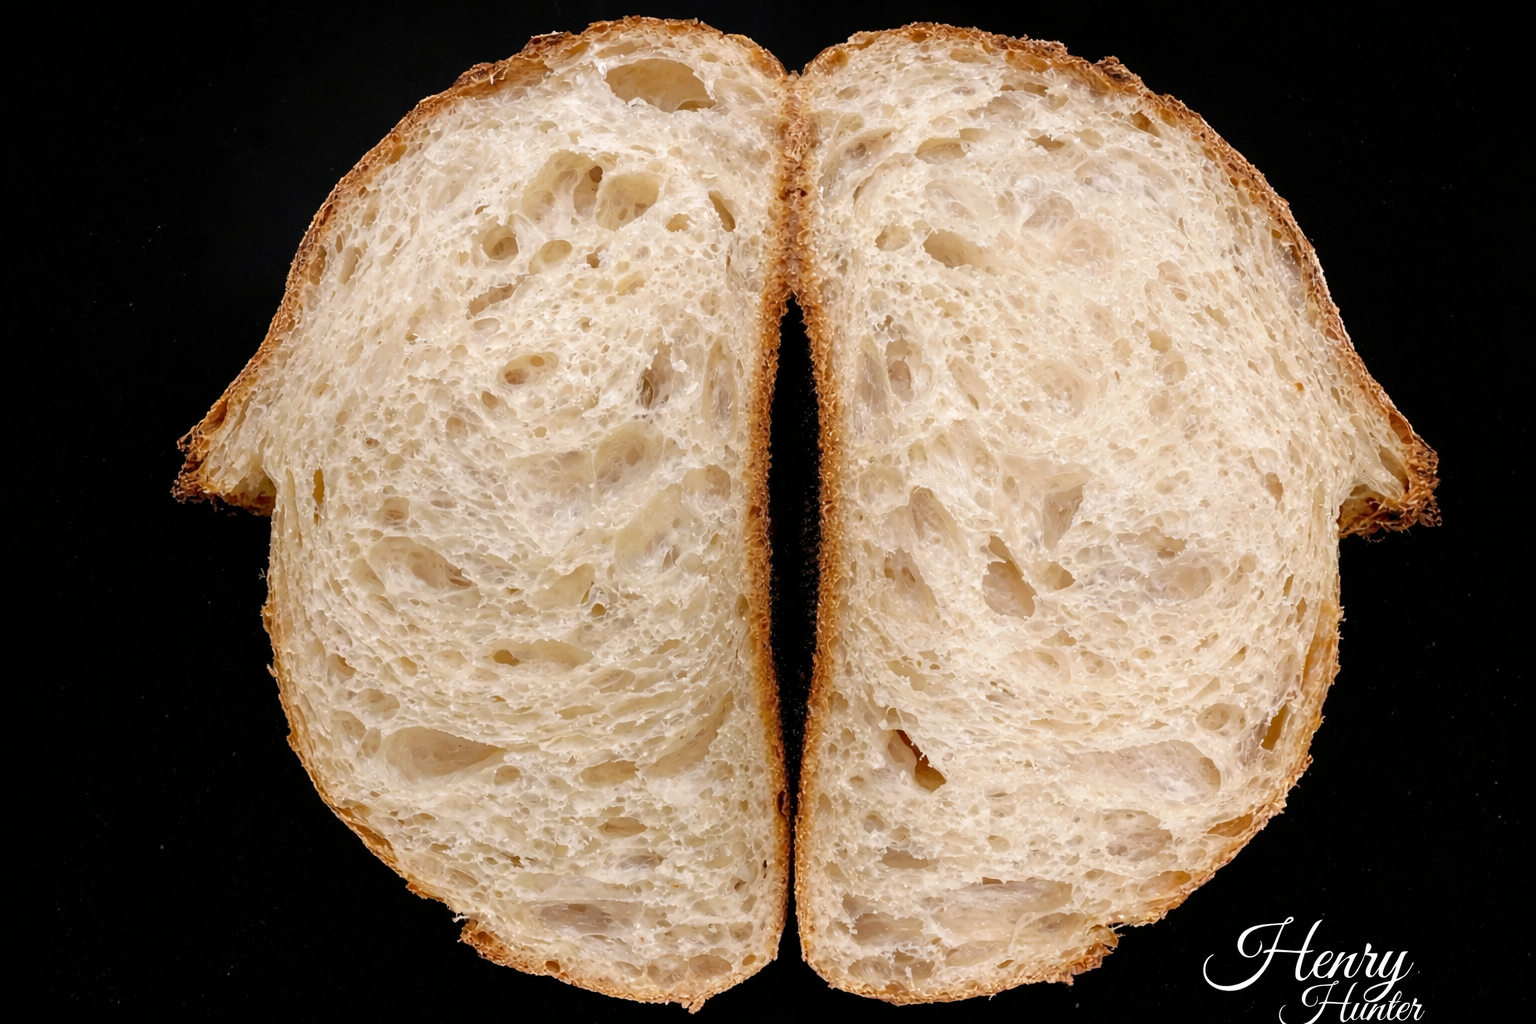
Authentic Bread Flavor
When I first started baking sourdough, I was determined to master the perfect loaf, a balance of crisp , soft , and deep, complex flavor. I experimented endlessly, trying different methods, flour blends, and levels, and what I discovered was that simplicity often wins. This recipe is the culmination of years of trial and error. It's been tested in kitchens around the world, shared by thousands of bakers, and designed to eliminate guesswork. Whether you're a beginner or an experienced sourdough enthusiast, this loaf is approachable and consistent.
Equipment Needed
Ingredients
Dough
Simple ingredients, extraordinary results
Pro Tip
Make sure your is active and bubbly, having doubled within 4-6 hours of . A weak starter is the #1 cause of dense loaves.
Step 1
Mix & Fermentolyse
10 minutes active, 45 minutes rest
We're skipping the traditional and going straight to mixing everything upfront. This is my method, and it works.
Click each step to mark complete
Combine ingredients
In a large bowl, mix flour, water, and until no dry flour remains.
Rest the dough
Cover and let the mixture rest for 45 minutes. This allows the flour to fully hydrate and to begin developing.
Add salt and mix
After resting, add the salt and mix by hand using the Rubaud method: Cup your hand and scoop from underneath the dough. Lift the dough upward, allowing it to fall back on itself. Repeat for about 10 minutes until the dough looks smooth and holds its shape.
45 minutes
Let the dough rest before adding salt
Pro Tip
The Rubaud method develops without traditional . You'll feel the dough transform from shaggy to smooth and elastic.
Precise Timers
Use these interactive timers to track your stages.
Fermentolyse Rest
Rubaud Mixing
Step 2
Stretch & Fold (or Coil Fold)
3 sets, 45 minutes apart
Building dough strength is essential, especially for high- recipes like this one. Choose between or the gentler method.
Click each step to mark complete
Stretch & Fold method
Lift one side of the dough upward and fold it over itself. Rotate the bowl and repeat on all four sides.
Coil Fold alternative
Wet your hands to prevent sticking. Gently lift the center of the dough with both hands. Allow the dough to naturally coil under itself as you lift and fold. Rotate the bowl 180 degrees and repeat.
Build strength over time
Perform 3 sets, with 45 minutes between each set. By the end, the dough should feel strong, elastic, and less sticky.
2.5 hours
3 sets of folds with 45 minutes rest between each
Pro Tip
Wet hands for sticky dough. The is gentler and works great for very wet doughs.
Precise Timers
Use these interactive timers to track your stages.
Fold Set 1
Fold Set 2
Fold Set 3
Step 3
Shape the Dough
Create tension for oven spring
After the final fold, let the dough rest in the bowl for 30 minutes, then shape it directly. Good creates the surface tension that gives you beautiful .
Click each step to mark complete
Turn out the dough
Turn the dough out onto a lightly floured surface, letting gravity help pull it out of the bowl.
Stretch into a square
Gently stretch the dough into a square without pressing out the gas.
Letter fold
Fold it like a letter: Take the bottom edge and fold it up to the center. Stretch the bottom corners outward and fold them inward to slightly overlap. Take the top edge, stretch slightly, and fold it down towards the bottom to create a square bundle.
Build extra tension
Fold the top corners to the center, repeat with the middle and bottom, then roll the dough up tightly, bottom to top, to form a taut package.
Final proof
Place the shaped dough seam-side up in a floured . Cover and place it straight into the refrigerator for 8-24 hours.
8-24 hours
in refrigerator develops flavor and makes scoring easier
Pro Tip
The is where the magic happens. Longer cold proofs (up to 24 hours) develop more complex, tangy flavor.
It Starts with the Fermentolyse
In this method, the starter goes in with the flour and water right at the beginning. That's a , and it means fermentation starts from minute one — including during that first 45-minute rest before you even add salt.
Every Fold Is Part of the Fermentation
Each 45-minute rest between folds isn't downtime. It's active . You're building structure with each fold and developing flavor in every rest. By the time you finish your last fold, the bulk fermentation is essentially done.
So the Counter Proof Isn't Needed
Most recipes front-load the folding into tight 30-minute intervals, then back-load the fermentation by having you wait on the counter after shaping. Same total fermentation time — just distributed differently. My method spreads it evenly across the entire process, so there's nothing left to do at the end except shape and refrigerate.
The Bonus: It Reduces Overproofing Risk
That counter proof after shaping is where a lot of home bakers get into trouble. The dough is already well-fermented, and now you're asking it to keep going at room temperature. That's a narrow window, and it's easy to miss. By going straight into the fridge, you take that risk off the table. The cold slows fermentation way down, giving you a controlled environment instead of a race against the clock.
Reading the Dough in Different Seasons
In cooler weather, 45 minutes between folds is what the dough needs. But in summer when your kitchen hits 78-82°F (26-28°C), you can tighten those last couple of folds down to 30 minutes. By your third or fourth fold, you'll feel it — the dough will be more billowy and airy. That's the dough telling you it's ready to be shaped sooner. Listen to it.
The Takeaway
45 minutes between folds instead of 30. No counter proof after final shaping. Both exist because this method builds fermentation into every step of the process instead of saving it for the end. It's more efficient, more forgiving, and it dramatically reduces the chance of .
Precise Timers
Use these interactive timers to track your stages.
Cold Proof
Step 4
Preheat & Score
Get your oven screaming hot
A properly preheated oven and baking vessel are non-negotiable for great and development.
Click each step to mark complete
Preheat everything
Preheat your oven to 475°F (245°C) with your baking vessel inside. Give it at least 30-45 minutes.
Pro tip for scoring
If you plan intricate , place the dough in the freezer for 15 minutes during the preheat. This firms up the surface, making it easier to score, especially in warm weather.
30-45 minutes
Let your oven and baking vessel fully preheat
Pro Tip
Don't rush the preheat. A fully heated baking vessel is the difference between good and great .
Precise Timers
Use these interactive timers to track your stages.
Preheat Oven
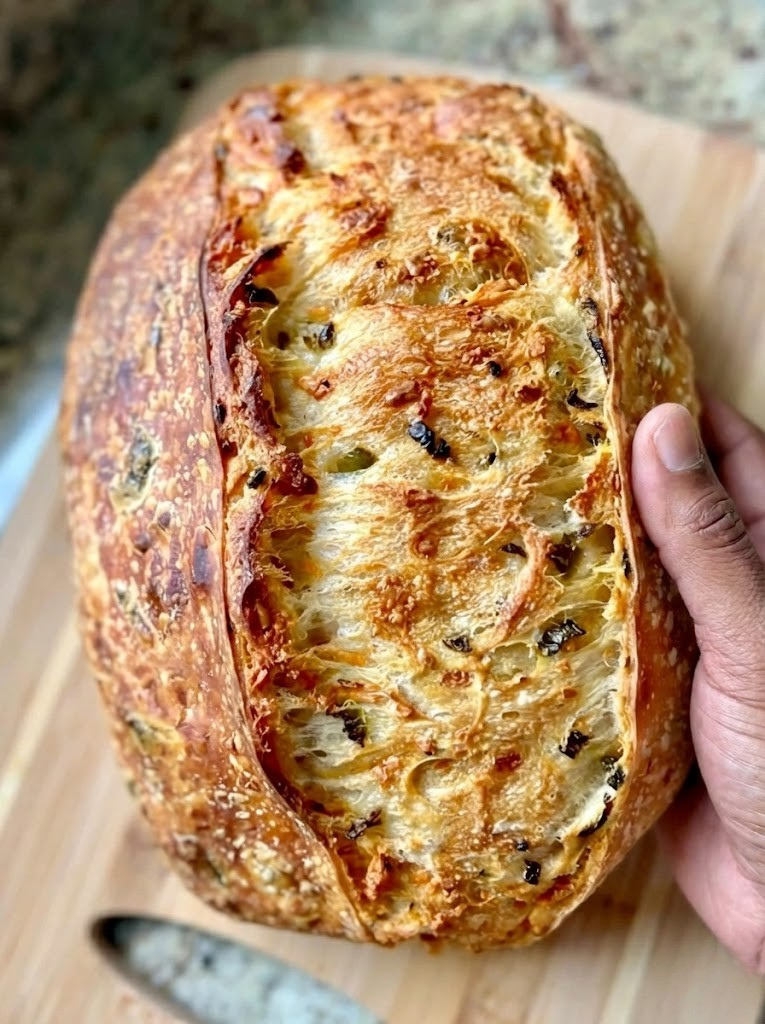
Shaping
Shaping
This recipe produces a classic round . The letter fold method creates excellent structure.
Boule (Round Loaf)
The classic shape for this recipe. Works perfectly with s and baking shells.
RecommendedClick each step to mark complete
Pre-shape
After , gently turn the dough onto a lightly floured surface.
Letter fold technique
Stretch into a square, fold bottom to center, fold corners inward, fold top down. Roll tightly from bottom to top.
Build tension
Use the to drag the dough toward you on an unfloured surface, building surface tension.
Into the basket
Place seam-side up in a well-floured . The seam becomes the bottom after flipping.
Proof Test: The : Gently poke the dough with a floured finger. If it springs back slowly and leaves a slight indent, it's ready. If it springs back fast, give it more time.
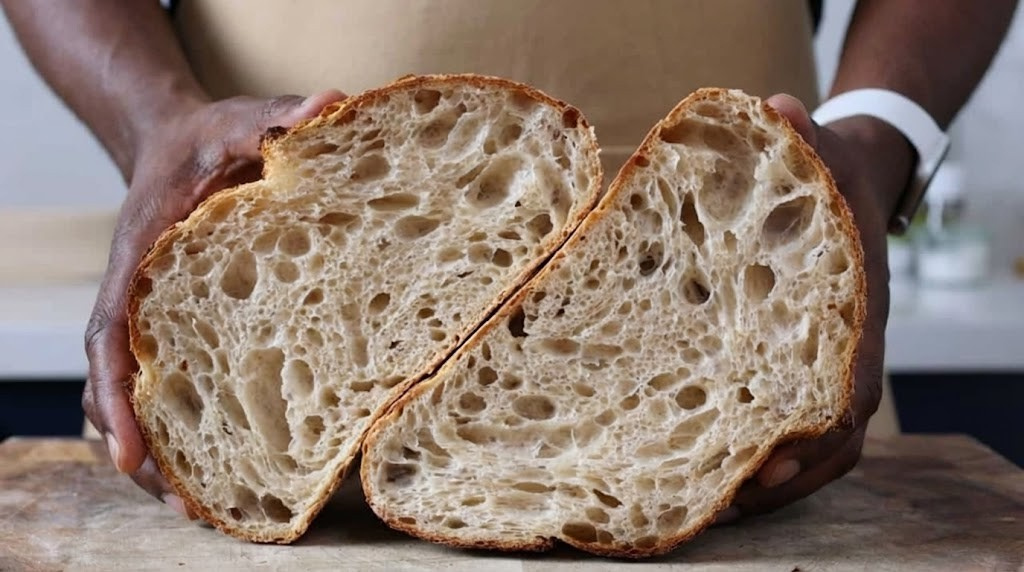
The Final Step
Baking
The covered phase traps steam for . The uncovered phase develops color and .
Baking Methods
The trapped steam creates incredible and that signature crackly .
Equipment: Dutch oven, combo cooker, or Brød & Taylor Baking Shell
Transfer the dough
Remove the dough from the fridge, transfer it to a piece of parchment paper or bread sling, and the top using a or sharp knife.
Load the dough
Using the parchment or sling, carefully lower the dough into the preheated baking vessel.
Bake covered
Cover and bake for 22 minutes. The trapped steam allows maximum .
Bake uncovered
Remove the lid and bake for 10-15 minutes more, or until the is golden brown and the internal temperature reaches 200°F (93°C).
Cool completely
Let the loaf cool completely before slicing. It's worth the wait! The is still setting for the first hour.
Nutrition Facts
Per 1 slice (about 50g) • 12 slices servings per recipe
* Values are estimates based on standard ingredients
Your Feedback
Rate This Recipe
Loading ratings...
Troubleshooting
Baker's Notes
Common questions and solutions for perfect results
Temperature is the invisible ingredient. I use the Goldie and DoughBed from SourHouse to keep my starter and dough at the perfect temperature, every time.

SourHouse Temperature Control Products
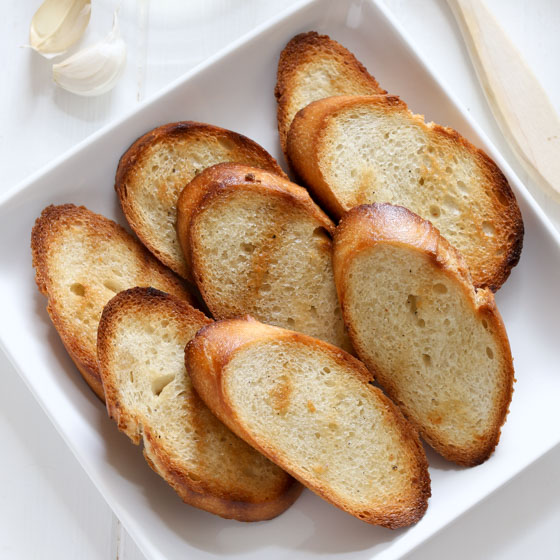
You Might Also Enjoy
More recipes from our pantry that pair well with this bake.
Get More Recipes in Your Inbox
Join thousands of home bakers receiving weekly recipes, tips, and techniques to elevate your bread game.
No spam, ever. Unsubscribe anytime.
More from Baking Great Bread at Home
Tools, resources, and community to help you bake better bread

Crust & Crumb Academy
Go deeper into your craft. FREE courses, challenges, and real feedback. No gatekeeping. Perfection is not required.

Sourdough Starter Companion
Your AI-powered starter assistant. Track feedings, troubleshoot issues, and keep your starter thriving.

BakingGreatBread.com
Real bread for the rest of us

Baking Great Bread Blog
Recipes, tips, and stories from the bread journey

Recipe Converter
Convert sourdough recipes to yeast and back again

Crust & Crumb App
Your AI-powered baking assistant

Facebook Community
Join 50,000+ bakers sharing, learning, and supporting each other

Sourdough for the Rest of Us
Free beginner's guide to sourdough