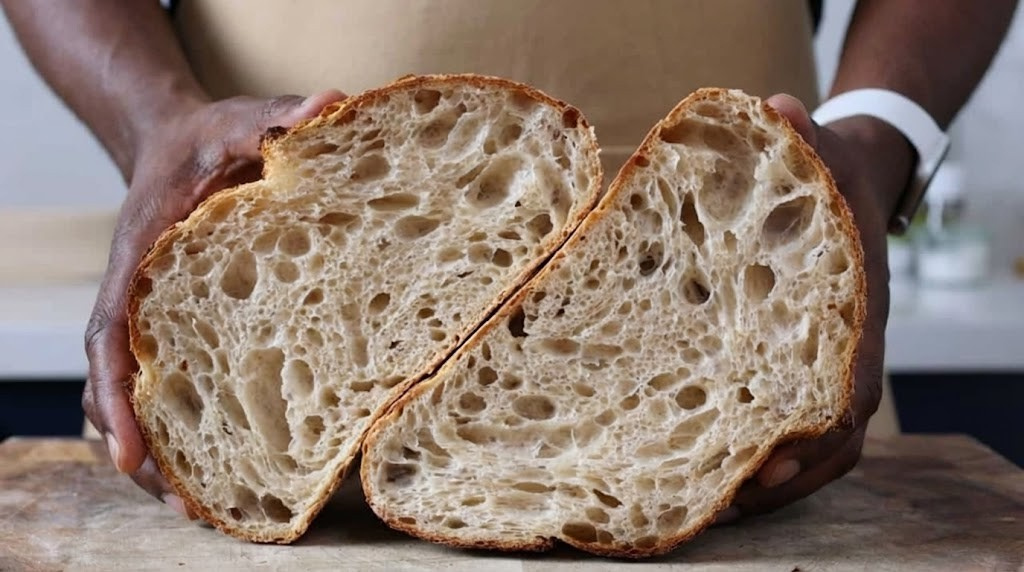
The "Almost No-Knead" Method
BeginnerYour First SourdoughLoaf
by Henry Hunter Jr.
A forgiving, beginner-friendly recipe designed for your first sourdough win
Fermentation
3-5 hours
Bake Time
40-45 minutes
Yield
One 700g baked loaf

Perfection is not required
"Your first win matters more than perfection."— Henry Hunter Jr.
By Henry Hunter Jr., founder of Crust & Crumb Academy and Baking Great Bread at Home.
Authentic Flavor
This is the recipe I wish someone had handed me when I was starting out. It's forgiving, it works, and it'll give you a beautiful loaf without requiring you to master a dozen techniques at once.
Equipment Needed
Ingredients
Dough
A lower hydration (65%) dough that actually behaves for beginners
Pro Tip
Lower hydration means the dough actually holds its shape. This is intentional for beginners—you'll work up to higher hydration doughs as you gain confidence.
Before You Start
Is Your Starter Ready?
This is where most first loaves fail
Not technique. Not timing. A sluggish . The float test is your friend here.
Click each step to mark complete
The Float Test
Drop a small spoonful of starter into room temperature water. If it floats, you're good. If it sinks, feed your starter and wait until it doubles and passes the test.
Visual Check
Your starter should have doubled (or nearly doubled) from its last feeding and look bubbly throughout, not just on top.
Smell Check
It should smell pleasantly tangy, like yogurt or mild vinegar. Not like nail polish remover or alcohol.
Pro Tip
An active starter is the single most important factor in your success. Don't skip this check.
Day 1 - 6:00 PM
Combine Everything
5 minutes of work
We're combining everything at once — flour, water, and — then letting time do the work. This is called a , and it's one of the simplest ways to build flavor and structure.
Click each step to mark complete
Weigh your water
Weigh 260g of room temperature water into your mixing bowl.
Add starter
Add your active and stir until it dissolves (it won't fully dissolve, and that's fine).
Add flour
Add the bread flour and mix with your hand or a sturdy spoon until no dry flour remains.
Rest (Fermentolyse)
Cover with a damp towel or plastic wrap. Let it rest 30 minutes. This is the — the starter is already in the mix, so fermentation begins right away.
⏱ Wait Time
Let the flour hydrate
Pro Tip
The dough will look shaggy and rough. That's exactly right at this stage.
Precise Timers
Use these interactive timers to track your stages.
Fermentolyse Rest
Day 1 - 6:30 PM
Add Salt and Fold
Your one and only fold
This single set of folds develops structure without kneading. That's the magic of this method.
Click each step to mark complete
Sprinkle salt
Sprinkle the salt evenly over the surface of the dough.
Wet your hands
Wet hands for sticky dough, always. This prevents sticking and makes handling much easier.
Stretch and fold
Reach under the dough, stretch it up, and fold it over itself. Turn the bowl 90 degrees and repeat. Do this 4 times total, working around the bowl.
Cover
Cover and leave it alone. Your work is mostly done.
Pro Tip
What you just did: You developed gluten structure without kneading. The salt is now incorporated. Your active hands-on work is complete.
Day 1 - 7:00 PM
Bulk Fermentation
3-5 hours of patience
This is where patience comes in. You're waiting for the dough to rise, develop flavor, and build strength. Watch the dough, not the clock.
Click each step to mark complete
Volume check
Look for the dough to increase by 50-75% (not doubled—we're not there yet).
Visual cues
The surface should look slightly domed and puffy. You might see some bubbles on the sides of the bowl.
Poke test
When you gently poke it, it springs back slowly. If it springs back fast, give it more time.
Optional extra fold
If you want to add one more fold around the 1-hour mark, go for it. Just one set of like before. But honestly, you can skip it. This dough is forgiving.
⏱ Wait Time
Temperature matters: In a 70-75°F kitchen, expect 3-4 hours. Warmer? 2-3 hours. Cooler? 5-6 hours.
Pro Tip
Watch the dough, not the clock. Your starter, your kitchen, your flour—they're all different from mine.
Precise Timers
Use these interactive timers to track your stages.
Bulk Ferment (min)
Bulk Ferment (max)
Overnight
Cold Proof
8-16 hours in the fridge
This develops incredible flavor and makes scoring much easier. It's also what makes this recipe practical—you mix at night, bake in the morning.
Click each step to mark complete
Cover
Cover with plastic wrap or slide the whole thing into a plastic bag.
Refrigerate
Refrigerate overnight, anywhere from 8-16 hours. This cold proof develops flavor and makes scoring easier.
Flexibility
You can bake it after 8 hours, or let it go up to 16. The longer it sits, the more tangy the flavor.
⏱ Wait Time
Flavor develops while you sleep
Pro Tip
The cold dough is much easier to score than room temperature dough. This is a feature, not a bug.
Precise Timers
Use these interactive timers to track your stages.
Cold Proof (min)
Cold Proof (max)
Shaping
Shaping Summary
A simple round shape () is all you need for your first loaf.
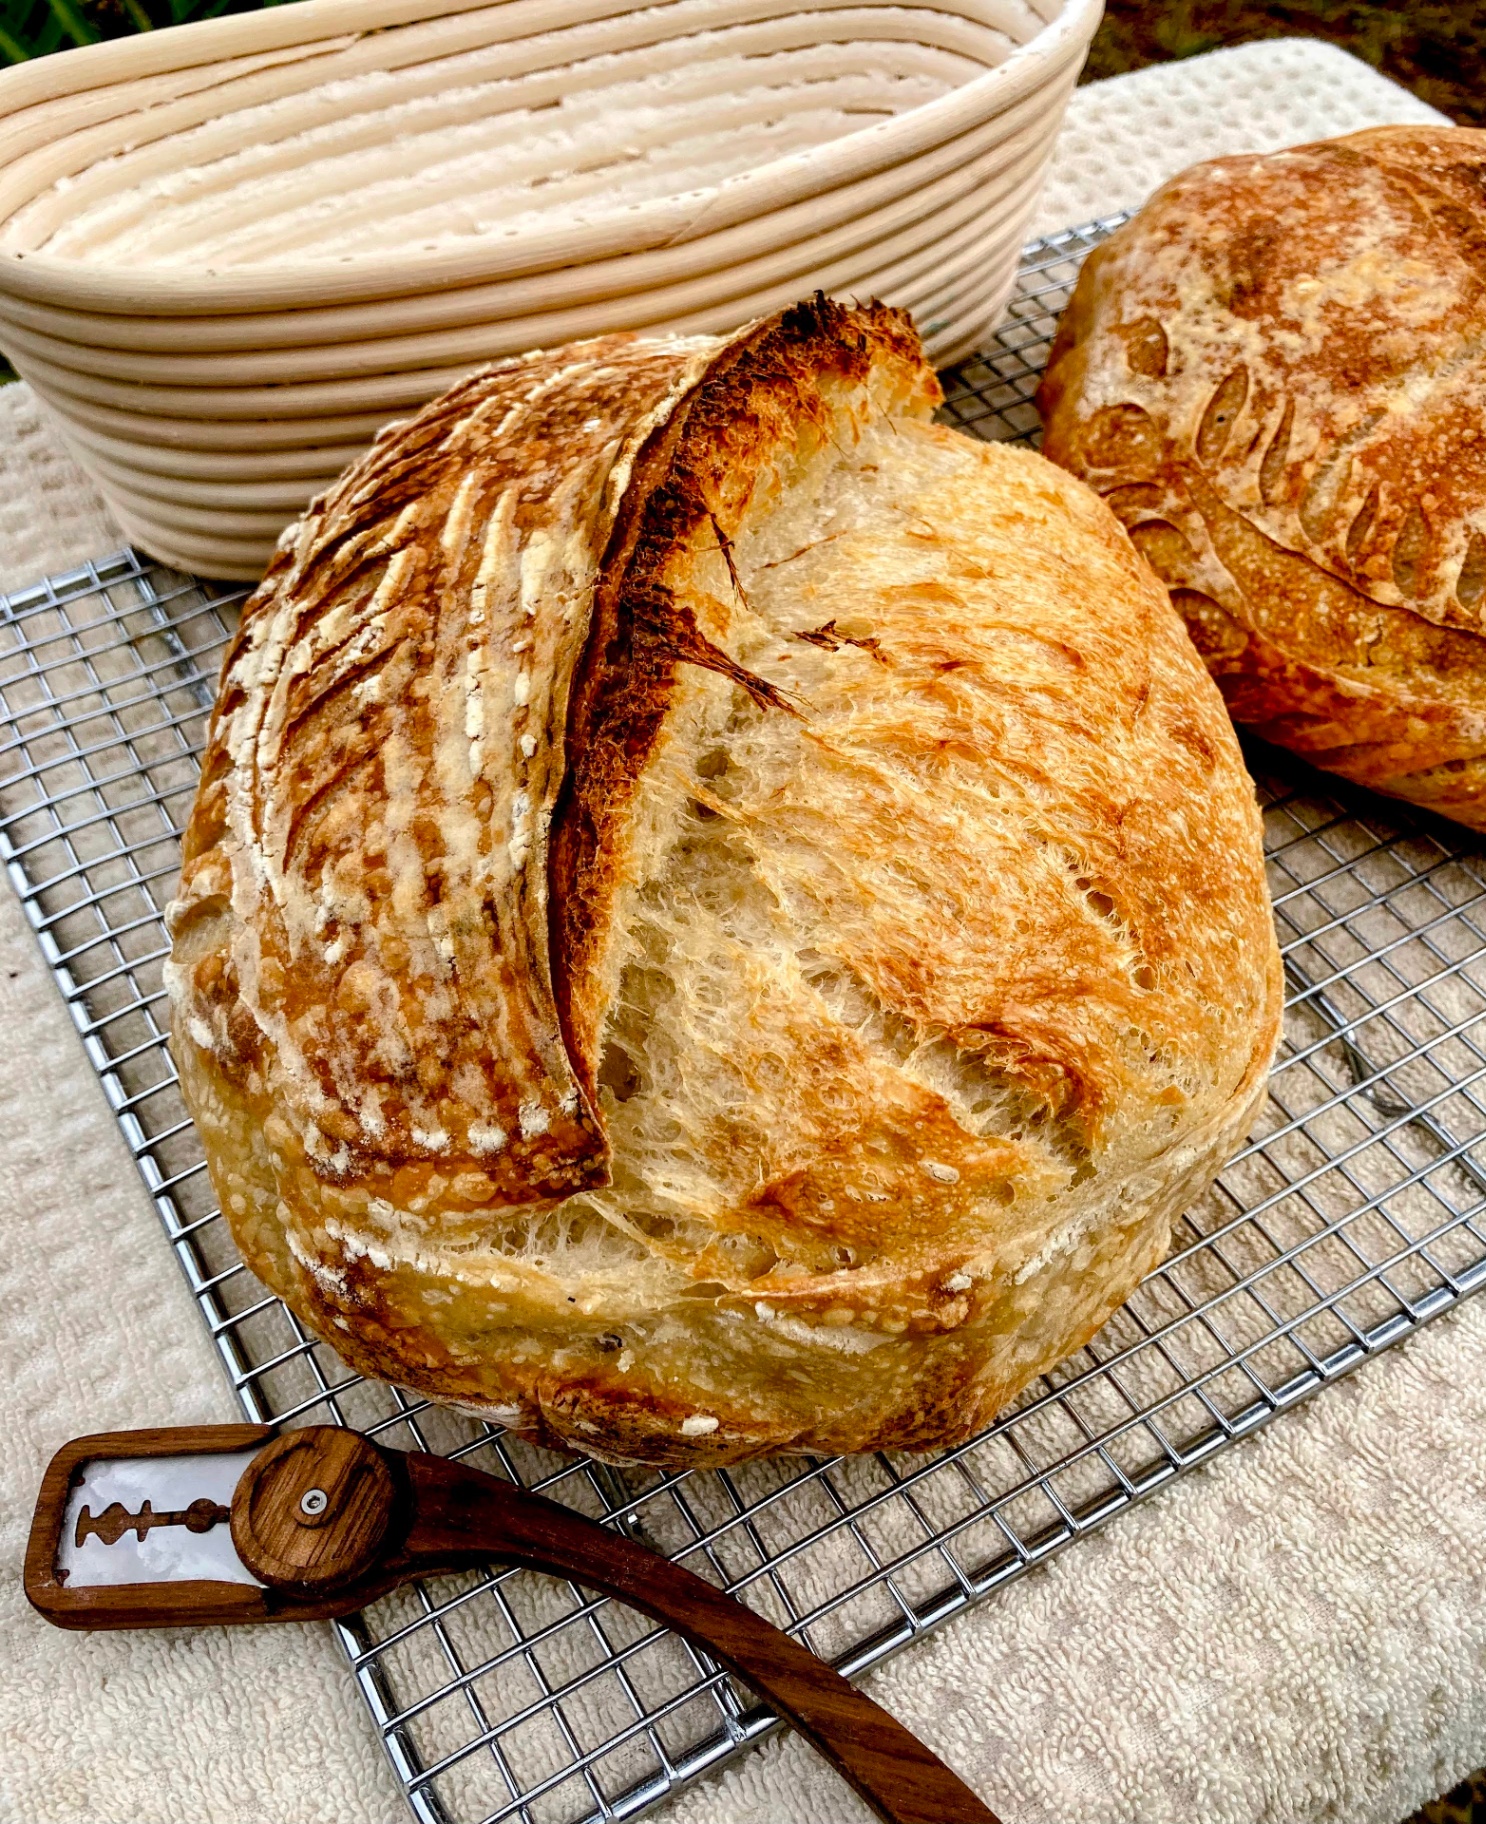
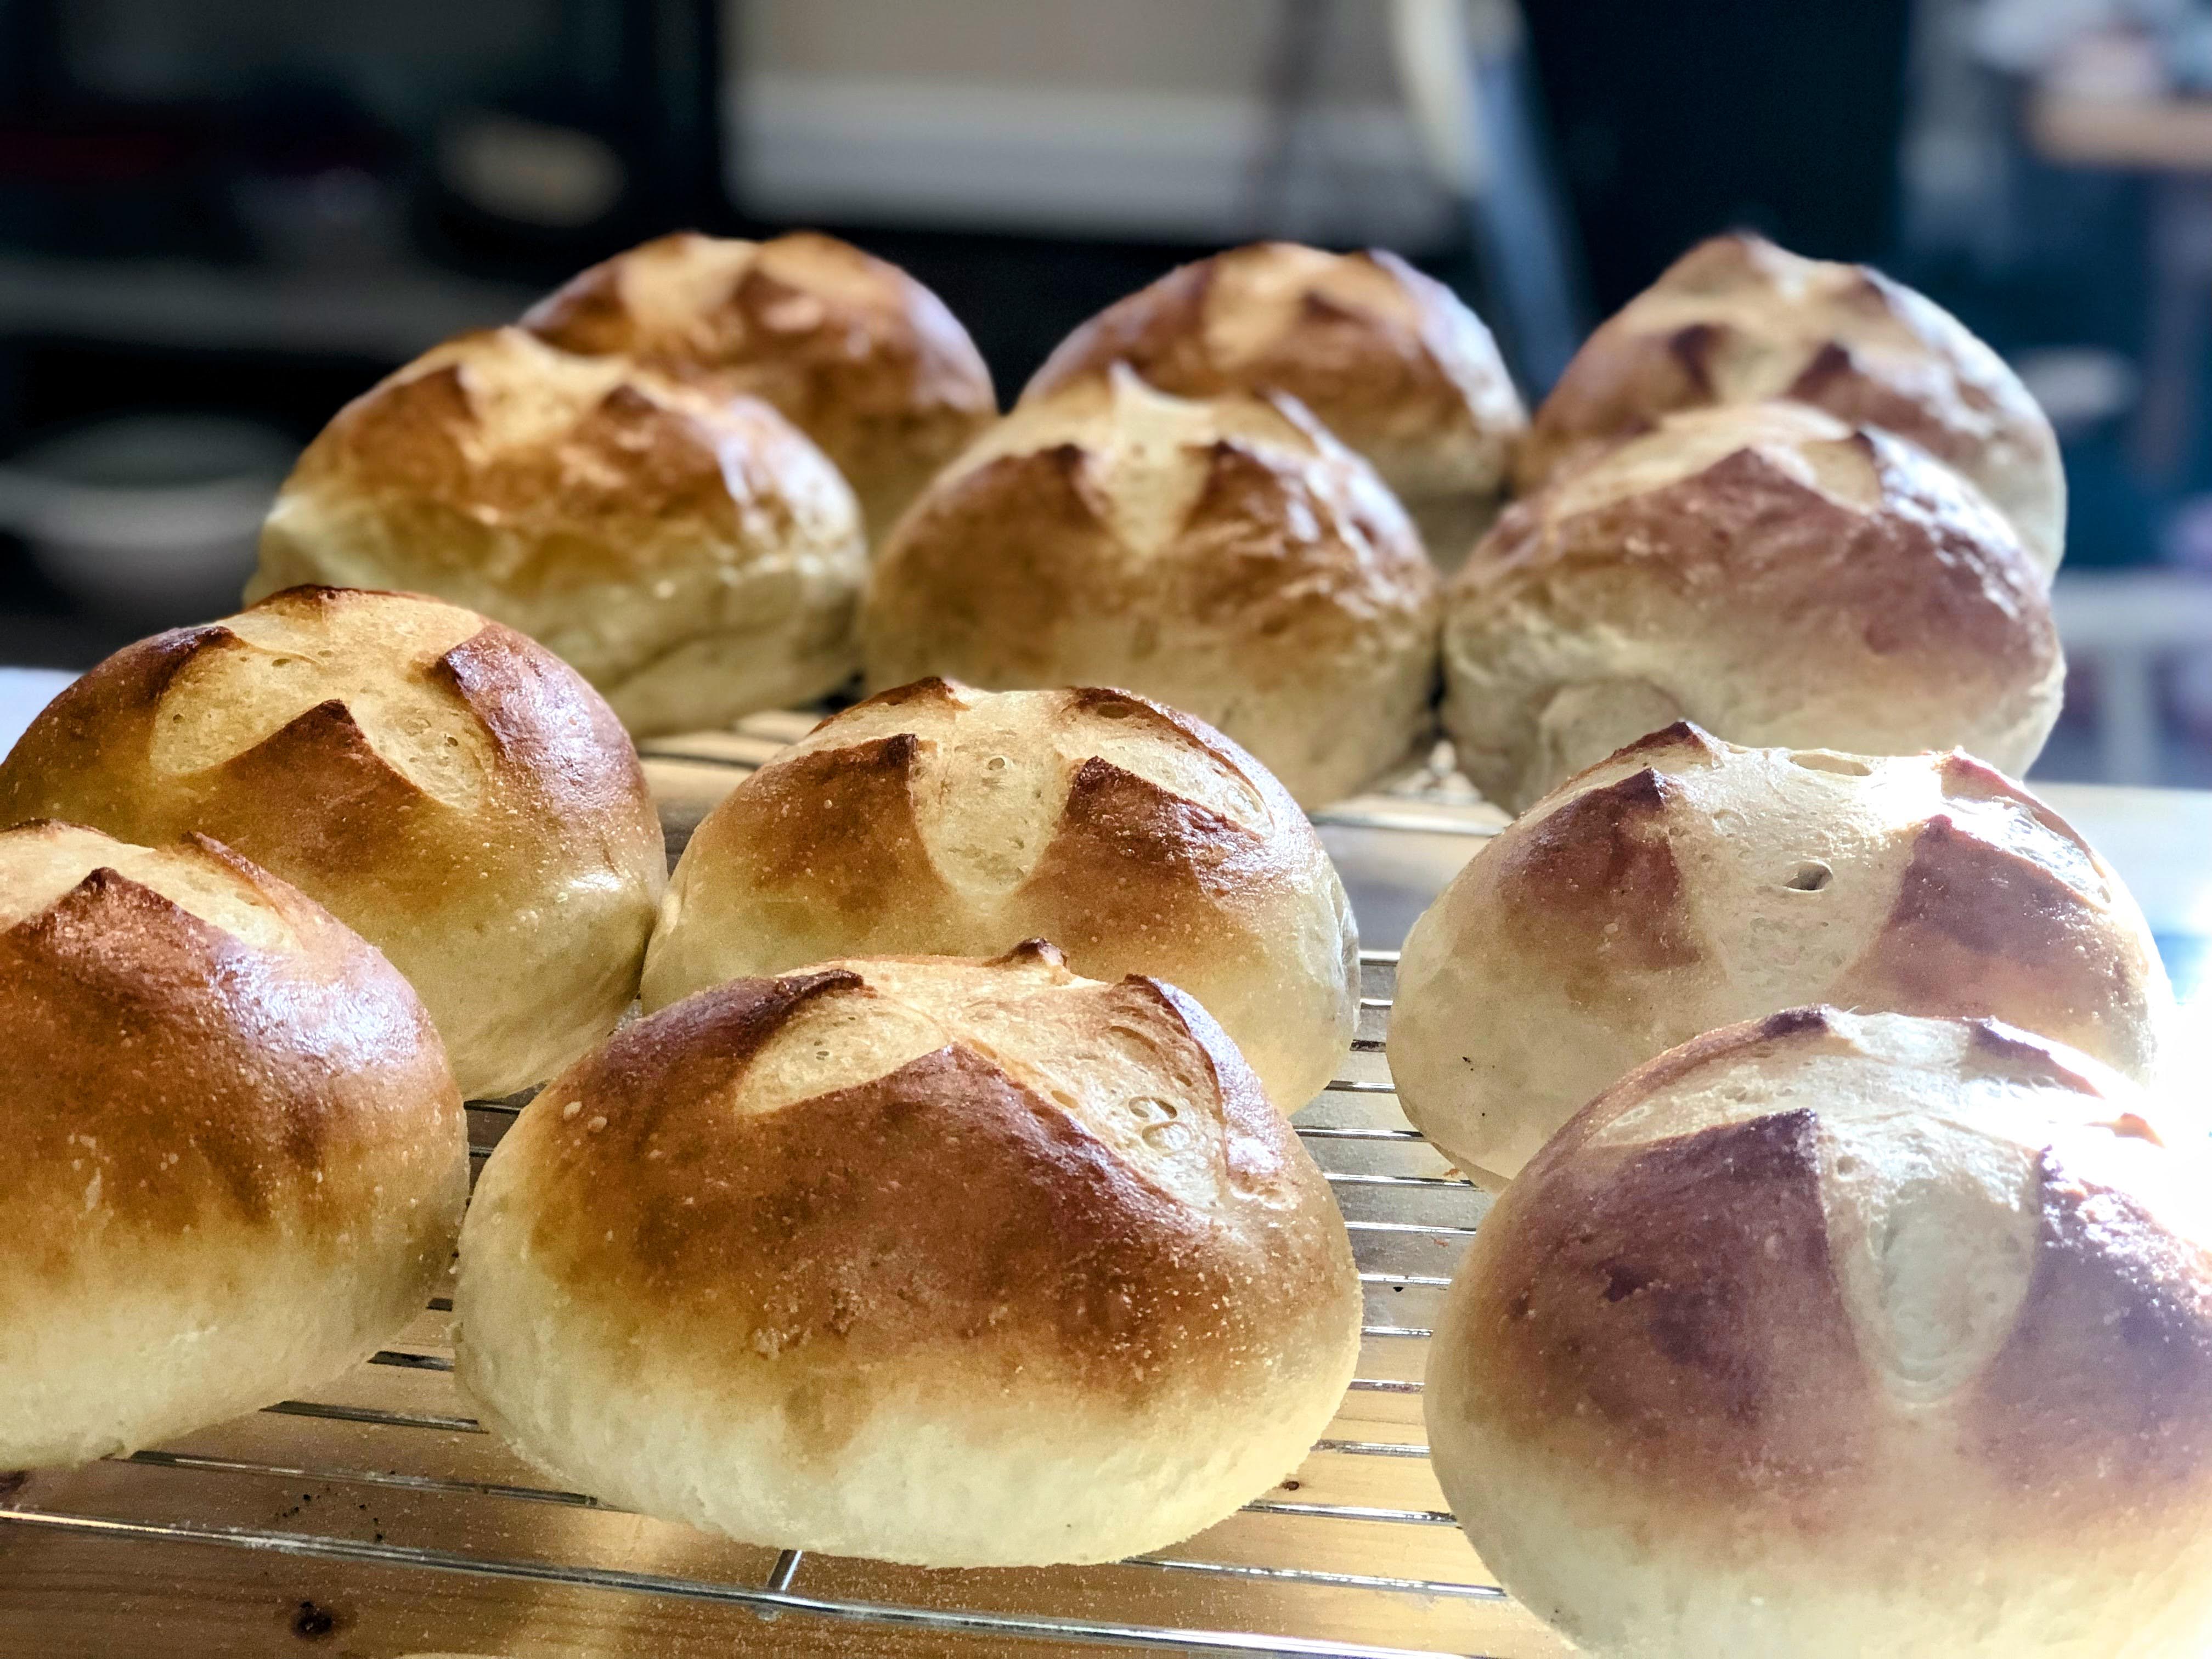
Boule (Round Loaf)
The classic round shape. Forgiving and beautiful.
RecommendedClick each step to mark complete
Pre-shape
Using your , gather the dough and tuck edges under to form a rough round.
Bench rest
Let rest 15 minutes uncovered. This relaxes the gluten for easier final shaping.
Final shape
Flip, stretch into a rectangle, fold like a letter, roll toward you creating tension.
Transfer
Place seam-side up in a floured or bowl lined with a floured towel.
Proof Test: The : Gently poke the cold dough with a floured finger. If it springs back slowly and leaves a slight indent, it's ready. After cold proofing, the dough should be noticeably puffy.
The Final Step
Bake Day
Preheat low and slow, bake hot and fast. The traps steam for that crackling crust.
Baking Methods
The best method for beginners. The enclosed pot traps steam automatically.
Equipment: {{Dutch oven}} with lid
Preheat
Put your (with lid) in the oven. Preheat to 500°F (260°C) for at least 45 minutes.
Prepare parchment
Cut a piece of parchment paper slightly larger than your loaf.
Turn out the dough
Turn your cold dough out onto the parchment (it should release easily from a well-floured banneton).
Score
the top with a swift, confident slash about ½ inch deep. One long slash is all you need.
Load
Carefully lower the dough (on the parchment) into the screaming hot Dutch oven. Cover with lid.
Bake covered
Bake covered for 20 minutes at 500°F (260°C). The steam is doing its magic.
Bake uncovered
Remove lid, reduce temperature to 450°F (230°C), and bake another 20-25 minutes until deep golden brown.
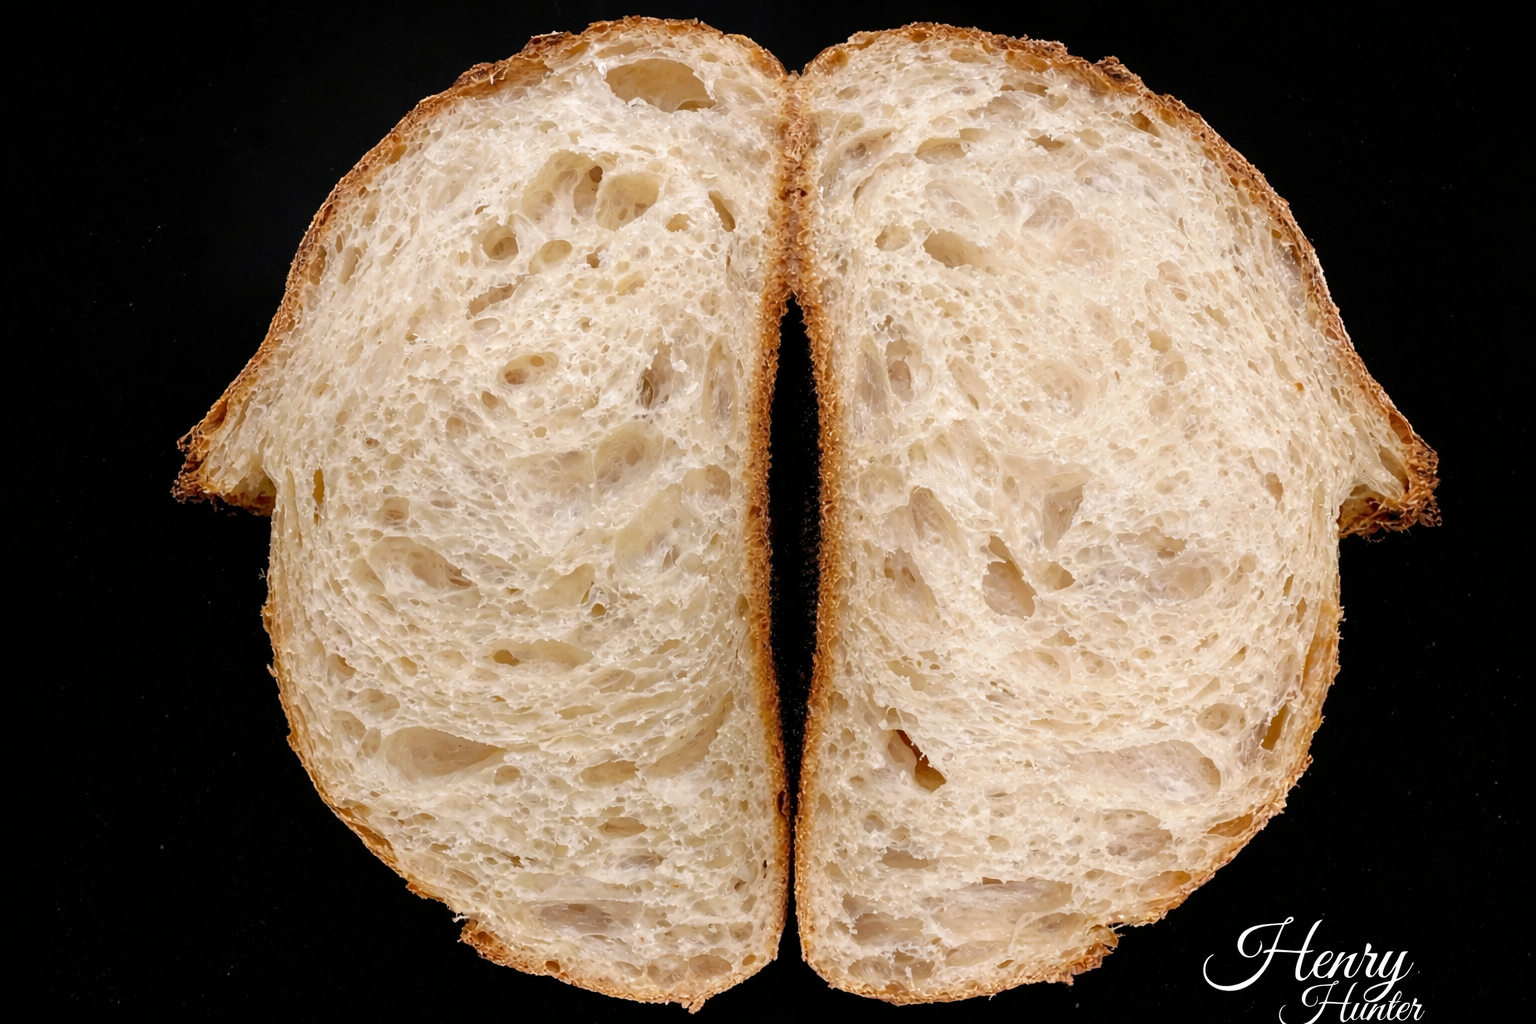
The tap test
When you tap the bottom, it should sound hollow. That's the sound of success.
Nutrition Facts
Per 1 slice (about 70g) • servings per recipe
* Values are estimates based on standard ingredients
Storage
Room Temperature
3-4 days in a bread bag or wrapped in a clean towel
Refrigerated
Not recommended—refrigeration accelerates staling
Frozen
Sliced and frozen: up to 3 months. Toast slices directly from frozen.
Your Feedback
Rate This Recipe
Loading ratings...
Troubleshooting
Baker's Notes
Common questions and solutions for perfect results
If you're serious about scoring, you need the right blade in your hand. Wire Monkey makes handcrafted bread lames from black walnut — built to last, balanced in the hand, and sharp enough to glide through cold dough cleanly every single time. No dragging, no hesitation marks. Just a clean cut.

Wire Monkey Handcrafted Bread Lames
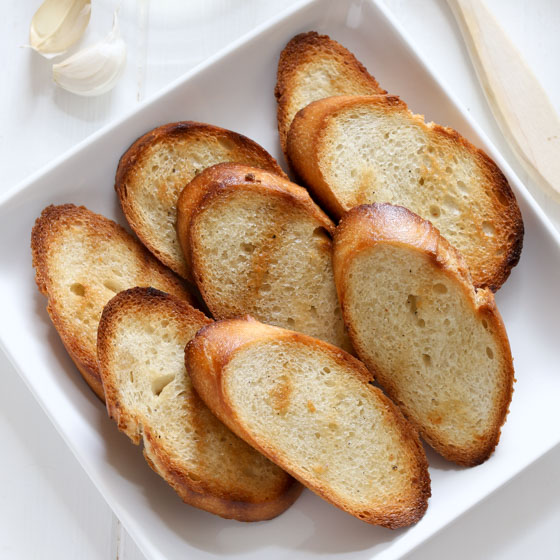
You Might Also Enjoy
More recipes from our pantry that pair well with this bake.
Get More Recipes in Your Inbox
Join thousands of home bakers receiving weekly recipes, tips, and techniques to elevate your bread game.
No spam, ever. Unsubscribe anytime.
More from Baking Great Bread at Home
Tools, resources, and community to help you bake better bread

Crust & Crumb Academy
Go deeper into your craft. FREE courses, challenges, and real feedback. No gatekeeping. Perfection is not required.

Sourdough Starter Companion
Your AI-powered starter assistant. Track feedings, troubleshoot issues, and keep your starter thriving.

BakingGreatBread.com
Real bread for the rest of us

Baking Great Bread Blog
Recipes, tips, and stories from the bread journey

Recipe Converter
Convert sourdough recipes to yeast and back again

Crust & Crumb App
Your AI-powered baking assistant

Facebook Community
Join 50,000+ bakers sharing, learning, and supporting each other

Sourdough for the Rest of Us
Free beginner's guide to sourdough