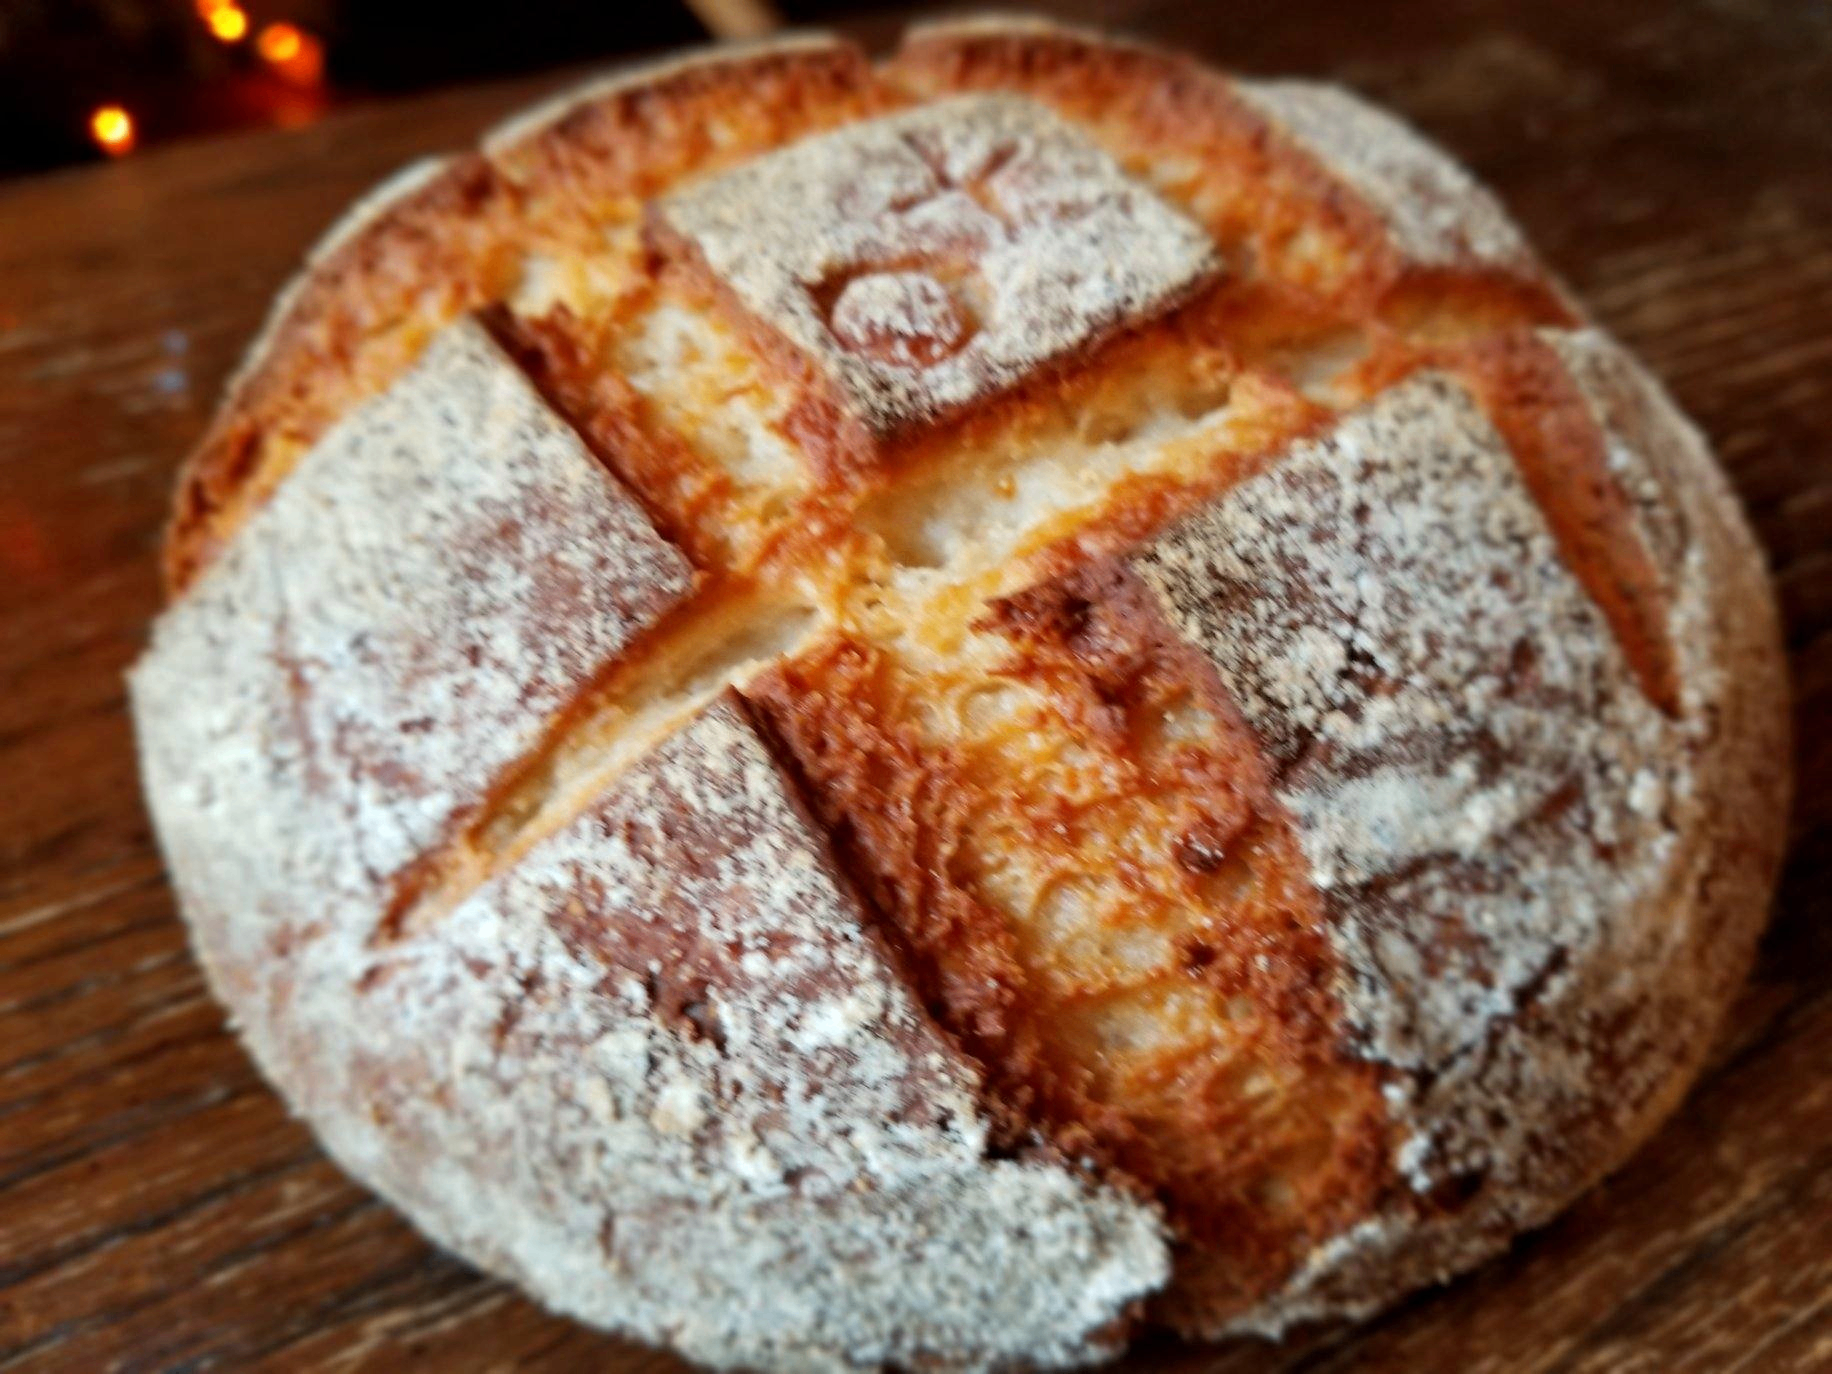
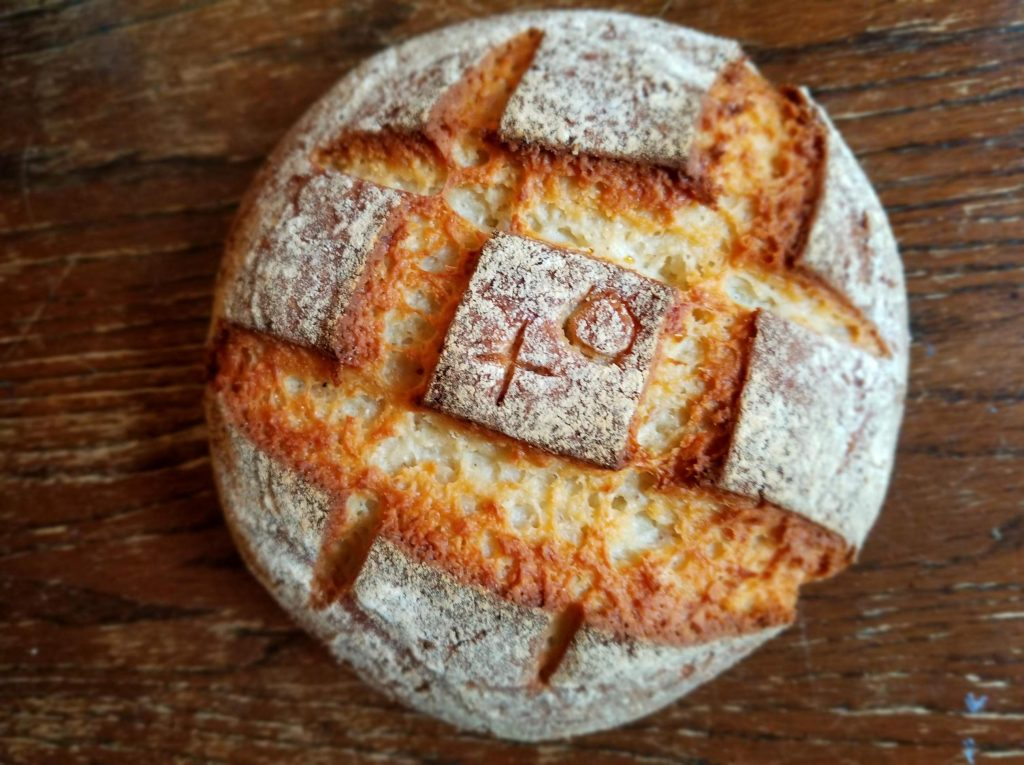
A real artisan loaf — crusty outside, open crumb inside, zero wheat
IntermediateArtisan Gluten-Free MultigrainBoule
by Henry Hunter Jr.
Real bread. No gluten. No compromise.
Fermentation
8-12 hours (overnight sponge)
Bake Time
50-55 minutes
Yield
Makes one 1.5 lb loaf, about 10-12 slices

Perfection is not required
"Perfection is not required. Progress is."— Henry Hunter Jr.
By Henry Hunter Jr., founder of Crust & Crumb Academy and Baking Great Bread at Home.
Authentic Bread Flavor
I spent years telling people that GF bread couldn't be real bread. I was wrong. The teff-sorghum-millet combination changed my mind. This loaf doesn't taste like a compromise — it tastes like bread.
Equipment Needed
Ingredients
The Overnight Sponge
Built the night before. Adds flavor depth that no same-day GF recipe can match.
The Seed Soaker
Soaked overnight alongside the sponge. Pre-hydrated seeds won't steal moisture from your crumb.
Final Dough
Mixed the morning of your bake. Everything comes together here.
Pro Tip
Weigh everything. Volume measurements are included, but GF baking is unforgiving — a few grams off on the psyllium husk will change your texture significantly.
Night Before
Build the Overnight Sponge
This is what separates this loaf from every other GF bread recipe out there. A short overnight built with sorghum flour gives you fermentation flavor without the complexity of sourdough. Think of it like a poolish — simple, low-effort, high-payoff.
Click each step to mark complete
Mix the sponge
In a small bowl or jar, whisk together the sorghum flour, warm water, and a small pinch of instant yeast until smooth. It'll look like a thick pancake batter.
Set up the seed soaker
In a separate small bowl, combine sunflower seeds, flaxseeds, and sesame seeds with warm water. Stir, cover, and let sit alongside the sponge.
Cover and rest overnight
Cover both bowls loosely with plastic wrap or a plate. Leave at room temperature (68-72F / 20-22C) overnight. The sponge should be bubbly and slightly domed by morning — that's exactly what you want.
⏱ Wait Time
8-12 hours
Pro Tip
Don't skip the sponge. It's what makes this loaf taste like actual bread instead of a science experiment.
The flavor problem with GF bread
Gluten-free flours — teff, millet, sorghum — are inherently more bitter and flat than wheat flour. Without any fermentation, GF bread tastes like cardboard with texture. The overnight sponge gives the yeast time to produce organic acids and CO2 that mellow those bitter notes and add complexity.
Why sorghum in the sponge?
Sorghum has a mild, slightly sweet flavor profile that ferments beautifully without turning too sour overnight. It also gives the sponge a smooth texture that integrates cleanly into the final dough.
The Takeaway
Eight hours of low-activity fermentation does more for flavor than any ingredient you could add.
Morning of Bake
Mix the Final Dough
GF dough doesn't behave like wheat dough. Don't look for windowpane or the classic smooth ball. What you're building here is a thick, workable mass held together by the instead of gluten. It'll be sticky and dense — that's right.
Click each step to mark complete
Whisk the dry ingredients
In a large mixing bowl, whisk together teff flour, millet flour, tapioca starch, psyllium husks, salt, and instant yeast until evenly combined. There should be no clumps of psyllium.
Combine the wet ingredients
In a separate bowl or large measuring cup, whisk together the warm water, olive oil, apple cider vinegar, and maple syrup. Then add the overnight sponge and whisk until mostly smooth — a few lumps are fine.
Bring the dough together
Pour the wet mixture into the dry ingredients. Mix with a stiff spatula or your hands until a thick, cohesive dough forms — about 2 minutes. Add the drained seed soaker and fold it in. The dough will be sticky and dense. That's correct. Don't add more flour.
Let the psyllium gel activate
Cover the bowl and let the dough rest for 5 minutes. The psyllium husks will absorb the liquid and the dough will firm up noticeably. After 5 minutes it should be workable enough to shape.
Pro Tip
If the dough is too sticky to handle after the psyllium rest, wet your hands slightly rather than adding more flour. Extra flour will throw off the hydration balance.
The gluten replacement
Gluten in wheat bread does two things: it traps gas bubbles so the bread rises, and it gives the crumb that characteristic chew. Psyllium husk replicates both functions. When it absorbs water, it forms a gel that behaves like a flexible, fibrous mesh — trapping CO2 from the yeast and giving the baked crumb elasticity.
Whole husks vs. powder
This recipe uses whole psyllium husks, not powder. The powder is more concentrated — if you only have powder, reduce the amount to 15g (about 2 tablespoons). Using the wrong form at the wrong quantity is the single most common reason GF bread turns gummy or falls apart.
The Takeaway
Psyllium husk is the backbone of this recipe. Measure it precisely. No substitutions.
Precise Timers
Use these interactive timers to track your stages.
Psyllium Rest
Shape
Shape the Boule
GF dough won't build surface tension the way wheat dough does. What you're doing here is creating a compact, unified mass that holds its shape through the proof and into the oven. Think of it less like shaping and more like packing.
Click each step to mark complete
Prepare your banneton or bowl
Line a medium bowl or banneton with a clean towel dusted generously with a mix of rice flour and teff flour. Don't be shy — GF dough sticks aggressively.
Shape the boule
Turn the dough out onto a lightly oiled surface. With oiled or damp hands, fold the edges of the dough toward the center several times, rotating as you go, until you've built a rough round shape. Flip it seam-side down and use your hands to coax it into a tighter ball. It won't be as smooth as a wheat boule — that's fine.
Transfer to the banneton
Carefully lift the shaped boule into your floured banneton or bowl, seam-side UP. Dust the exposed bottom with more rice flour. Cover loosely with plastic wrap or a damp towel.
⏱ Wait Time
1 to 1.5 hours
Pro Tip
GF dough won't double in size the way yeasted wheat dough does. Look for the dough to rise by about 50% and feel slightly lighter when you gently press the edge. That's your signal to bake.
Preheat
Preheat the Dutch Oven
Start preheating about 45-60 minutes before you plan to bake. The Dutch oven needs to be screaming hot — this is what creates the steam environment that gives GF bread a real crust instead of a thick, leathery shell.
Click each step to mark complete
Preheat oven and Dutch oven
Place your Dutch oven with the lid on in the oven. Set the temperature to 475F (245C). Preheat for at least 45 minutes. Position the rack in the lower third of the oven.
Prepare to score
Cut a piece of parchment paper slightly larger than your loaf. When you're ready to bake, quickly turn the dough out onto the parchment, seam-side down. Work fast — you want to score and load it while the dough is still cold.
Score the loaf
Using a sharp or razor blade, score the top of the loaf with one decisive slash about 1/2 inch deep, or a simple cross pattern. GF dough is softer than wheat dough — use a confident, swift stroke rather than sawing. A wet blade helps reduce drag.
Pro Tip
For GF bread, scoring angle matters less than blade sharpness and confidence. A dull blade drags and deflates. Replace your razor blades often — they're cheap.
Precise Timers
Use these interactive timers to track your stages.
Dutch Oven Preheat
Shaping
Shape the Boule
GF dough is more forgiving than you'd think for shaping. The psyllium keeps it cohesive enough to handle.
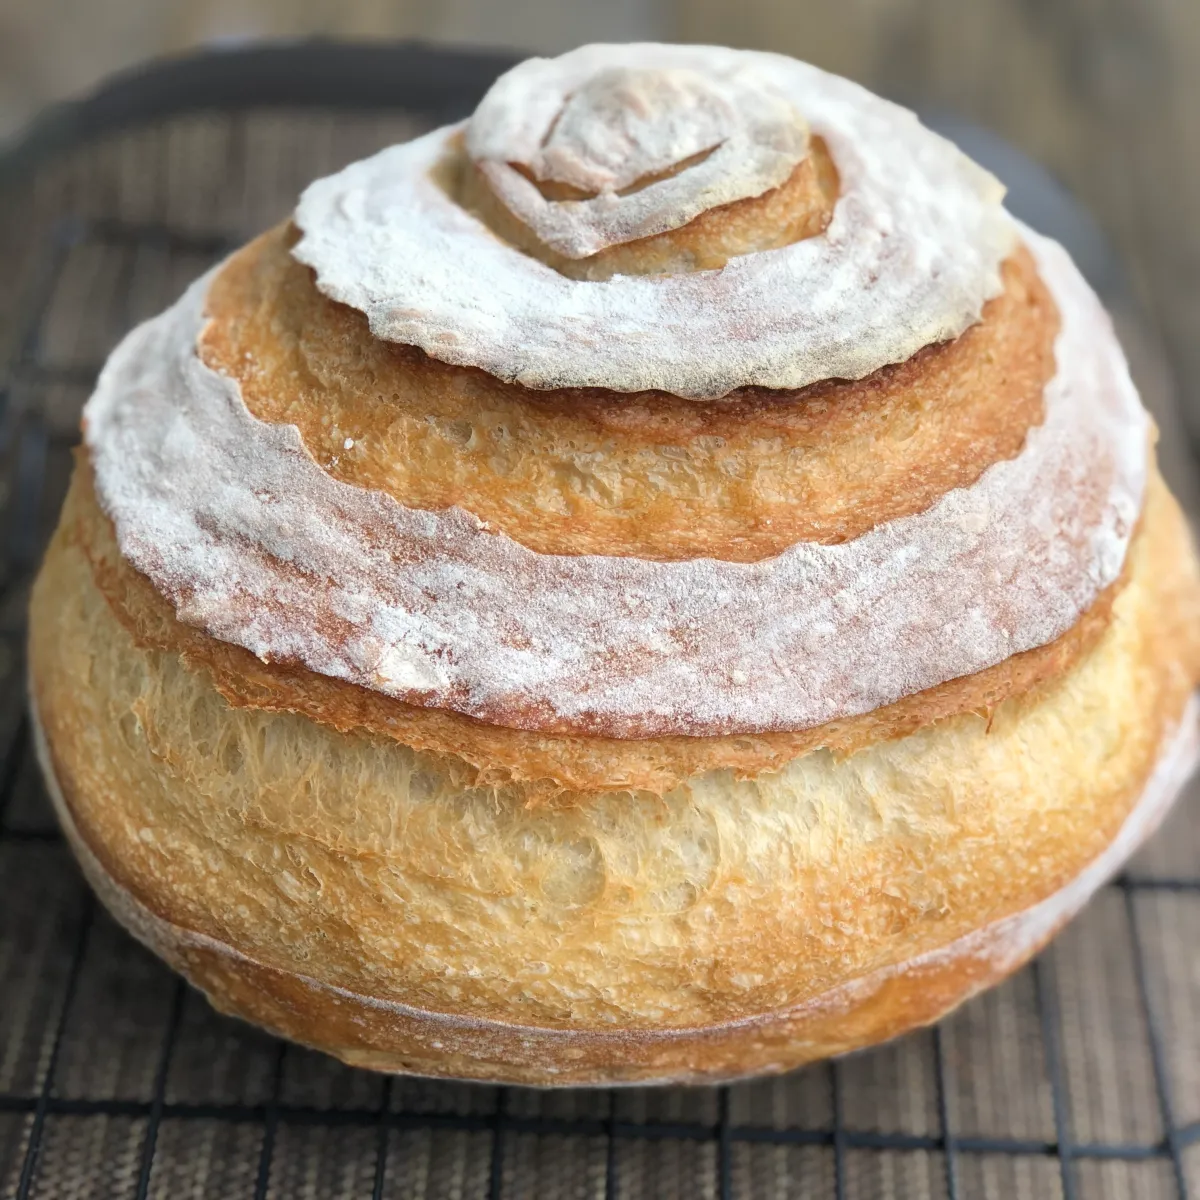
Boule (Round)
The best shape for GF bread in a Dutch oven — even steam distribution, great crust development.
RecommendedClick each step to mark complete
Oil your surface
Work on a lightly oiled surface rather than a floured one — GF dough doesn't benefit from extra flour the way wheat dough does.
Fold and rotate
Pull the edges toward the center in 6-8 folds, rotating the dough between each fold. You're building cohesion, not tension.
Flip and smooth
Flip seam-side down and use cupped hands to tighten the surface as best you can. Transfer immediately to the banneton.
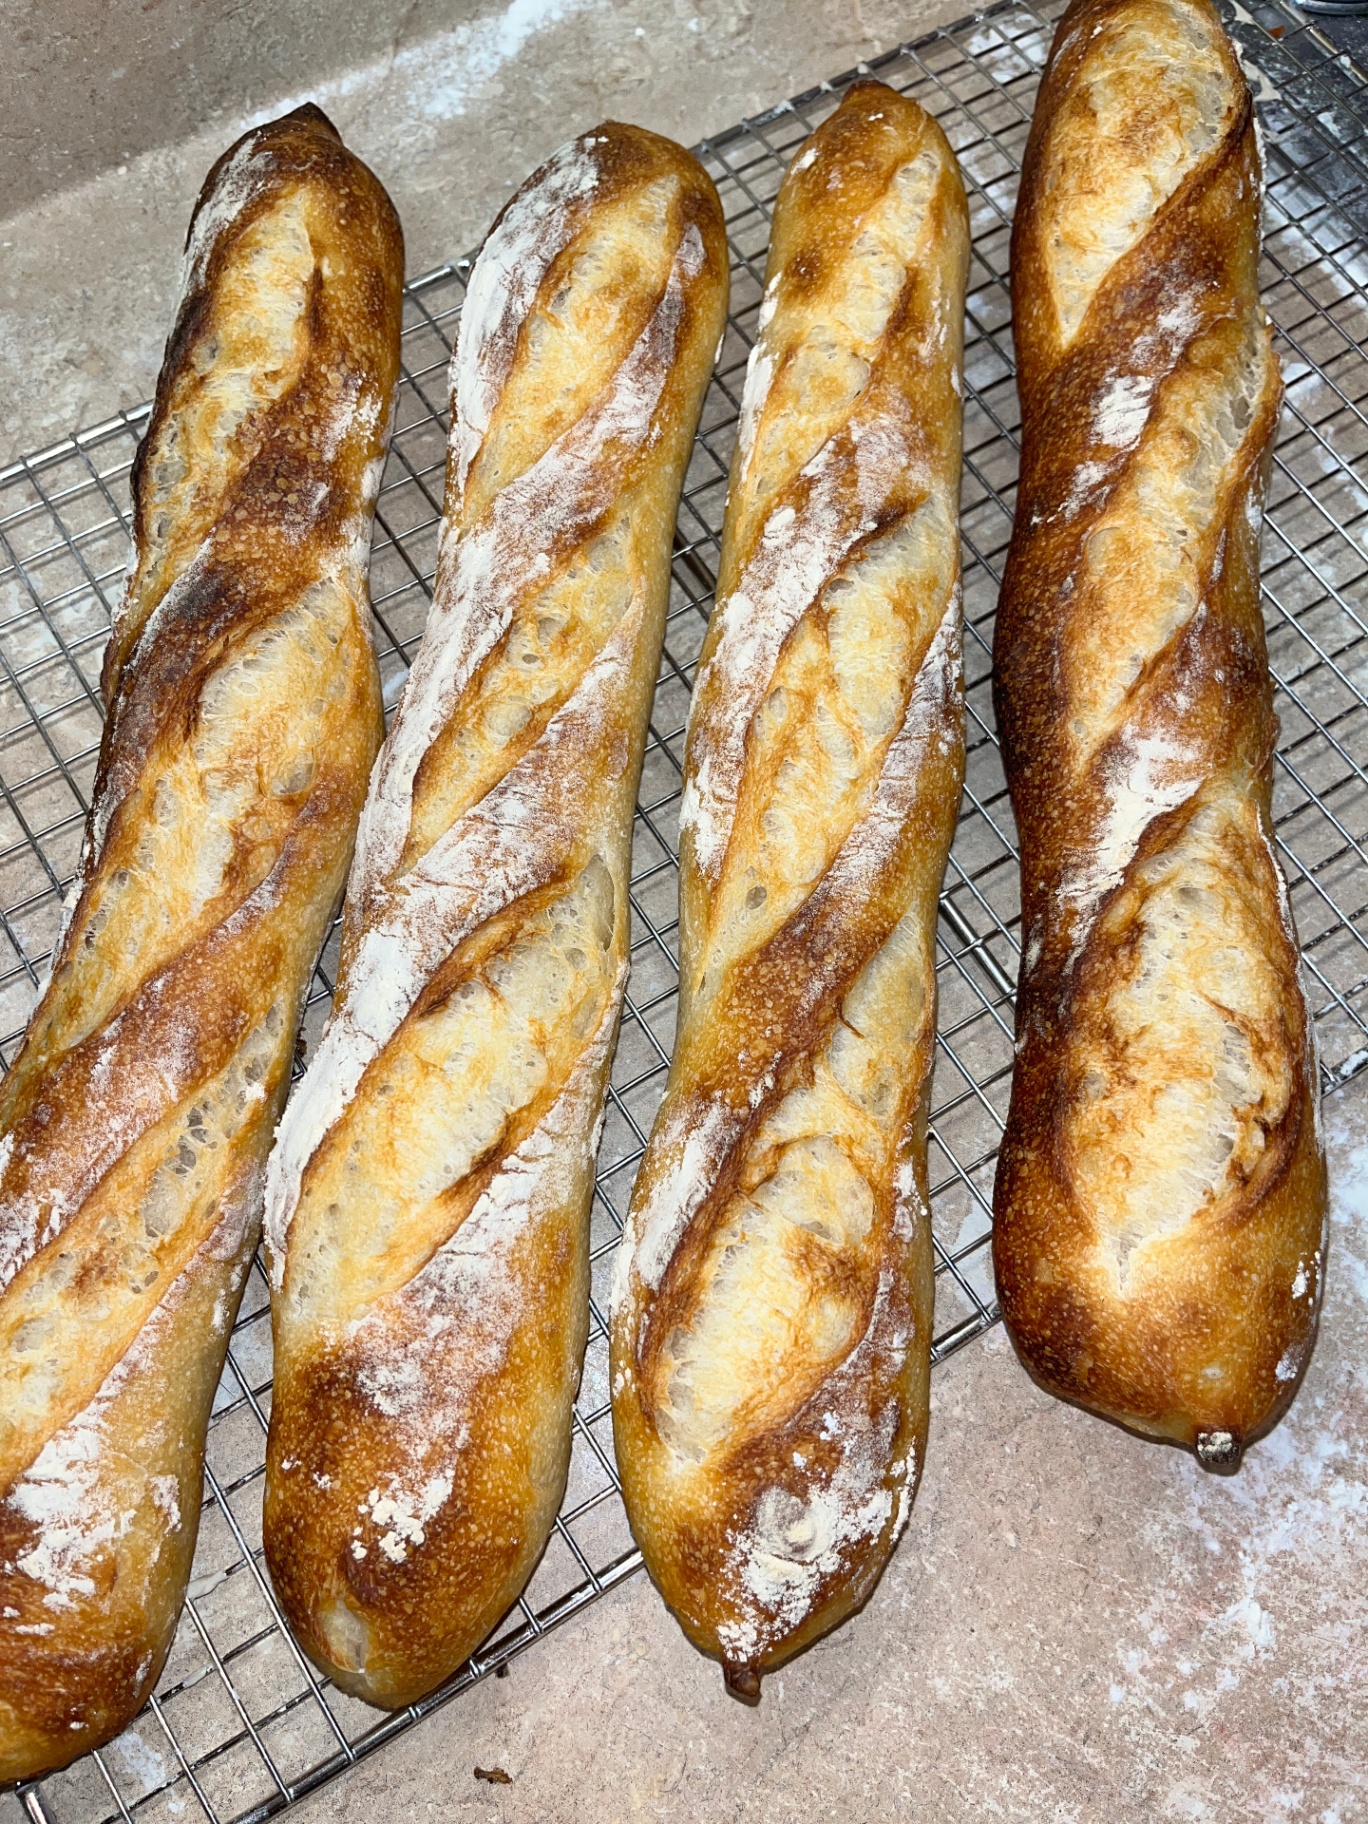
Batard (Oval)
Works in an oval Dutch oven. Same folding technique, just elongate rather than round.
Click each step to mark complete
Fold into a log
Fold the dough over itself lengthwise twice to build an oval shape.
Transfer seam-side up
Place in a floured oval banneton seam-side up to proof.
Proof Test: Gently press the edge of the dough with a floured fingertip. It should spring back slowly, leaving a slight indent. If it springs back immediately, it needs more time. If it doesn't spring back at all, bake it immediately.
Bake
Bake the Boule
GF bread needs a longer bake than wheat bread. There's more moisture in the crumb, and the psyllium gel needs enough time to fully set. Pull it too early and you'll get a gummy interior — even if the outside looks done.
Step by Step
Load the Dutch oven
Carefully remove the Dutch oven from the oven. Using the parchment as a sling, lower the scored boule into the pot. Replace the lid immediately. Return to the oven.
Covered bake — steam phase
Bake covered at 475F (245C) for 20 minutes. The lid traps steam from the dough, keeping the crust flexible long enough for the loaf to expand fully before it sets.
Uncovered bake — browning phase
Remove the lid carefully. Reduce the oven temperature to 450F (230C). Continue baking for 30-35 minutes, until the crust is deep mahogany brown. GF bread can handle more color than you'd expect — don't pull it at golden. You want dark brown.
Check for doneness
The internal temperature should read 205-210F (96-99C) on an instant-read thermometer. If it sounds hollow when you tap the bottom and the crust feels hard like a shell, it's done. When in doubt, give it 5 more minutes. GF bread is more forgiving at high temps than it is when underbaked.
Covered Bake
Uncovered Bake
This is the hardest part: don't cut it. GF bread needs at least 2 hours to cool completely. The crumb is still setting as it cools. Cut too early and you'll get a gummy, dense interior that has nothing to do with how you baked it.
Baking Methods
Best results by far. Creates the steam environment that gives GF bread a real crust.
Equipment: 4-5.5 quart Dutch oven with lid
Preheat 45+ minutes
Dutch oven in the oven from a cold start. 475F (245C). Minimum 45 minutes.
Covered 20 minutes
Load the scored boule. Bake covered at 475F (245C) for 20 minutes.
Uncovered 30-35 minutes
Remove lid. Reduce to 450F (230C). Bake until internal temp hits 205-210F (96-99C) and crust is deep brown.
"GF bread can handle dark color. The deep brown crust is your friend — it adds flavor and signals that the interior has enough time to set properly."
Cool
Cool Completely Before Slicing
Not optional. GF bread's crumb sets during cooling — the psyllium gel needs time to stabilize. Cutting early is the number one mistake GF bakers make.
Click each step to mark complete
Remove from Dutch oven
Lift the loaf out of the Dutch oven using the parchment sling. Place on a wire rack immediately — don't leave it sitting in the pot or the bottom will steam and go soft.
Cool for 2 hours minimum
Leave the loaf undisturbed on the wire rack for at least 2 hours. If you can wait until the next day, the flavor will be noticeably better and the crumb will be cleaner to slice.
⏱ Wait Time
2-4 hours
Nutrition Facts
Per 1 slice (approx. 60g) • 10 servings per recipe
* Values are estimates based on standard ingredients
Storage
Room Temperature
2-3 days wrapped in a clean kitchen towel or paper bag. Avoid plastic — it traps moisture and softens the crust.
Refrigerated
Not recommended. Refrigeration stales GF bread faster than wheat bread.
Frozen
Up to 3 months. Slice the entire loaf before freezing. Pull individual slices directly from the freezer to the toaster.
Refresh
Warm slices at 350F (175C) for 8-10 minutes to revive the crust, or toast directly from frozen.
Your Feedback
Rate This Recipe
Loading ratings...
Troubleshooting
Baker's Notes
Common questions and solutions for perfect results
You Might Also Enjoy
More recipes from our pantry that pair well with this bake.
Get More Recipes in Your Inbox
Join thousands of home bakers receiving weekly recipes, tips, and techniques to elevate your bread game.
No spam, ever. Unsubscribe anytime.
More from Baking Great Bread at Home
Tools, resources, and community to help you bake better bread

Crust & Crumb Academy
Go deeper into your craft. FREE courses, challenges, and real feedback. No gatekeeping. Perfection is not required.

Sourdough Starter Companion
Your AI-powered starter assistant. Track feedings, troubleshoot issues, and keep your starter thriving.

BakingGreatBread.com
Real bread for the rest of us

Baking Great Bread Blog
Recipes, tips, and stories from the bread journey

Recipe Converter
Convert sourdough recipes to yeast and back again

Crust & Crumb App
Your AI-powered baking assistant

Facebook Community
Join 50,000+ bakers sharing, learning, and supporting each other

Sourdough for the Rest of Us
Free beginner's guide to sourdough