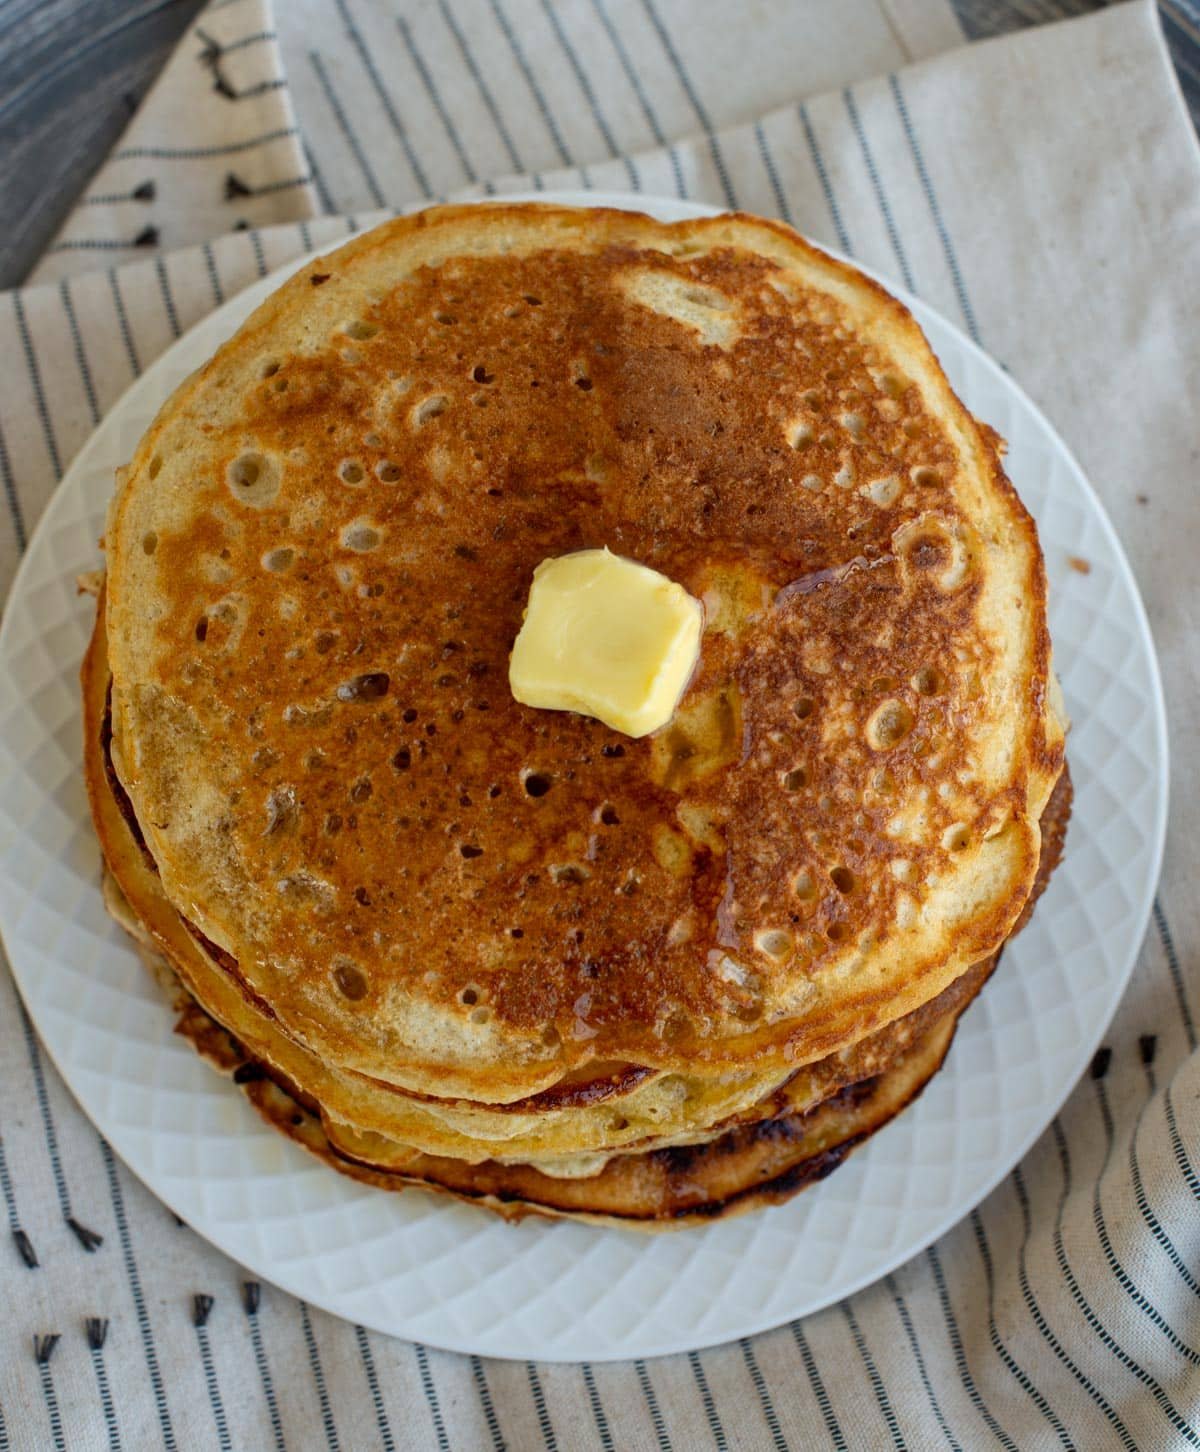
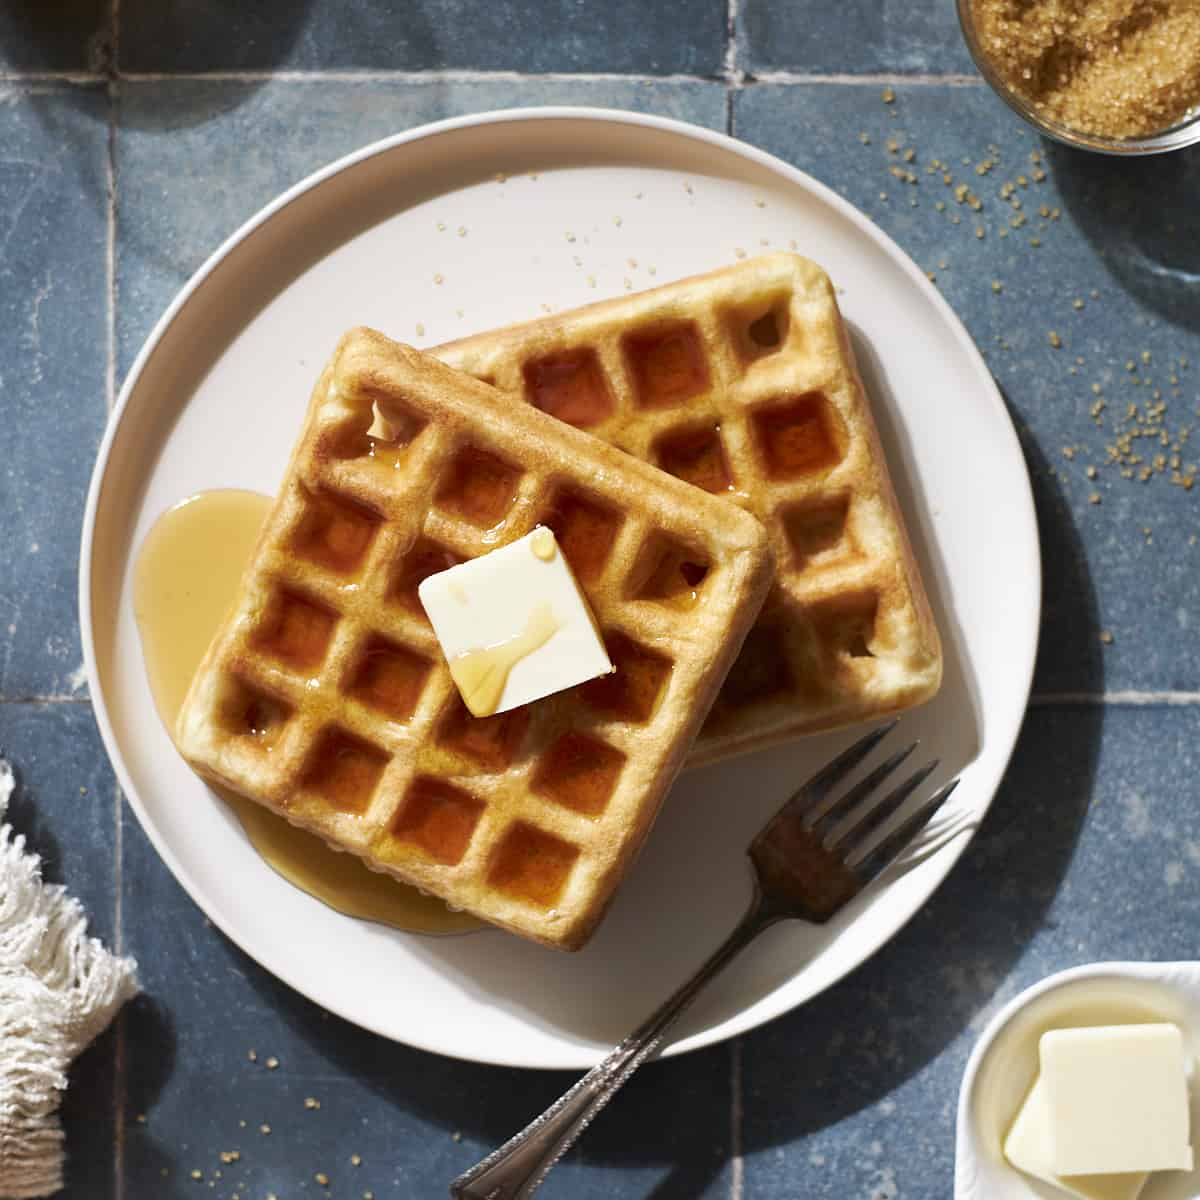
Crispy-Outside, Fluffy-Inside Discard Waffles
BeginnerSourdough Pumpkin SpiceWaffles
by Henry Hunter Jr.
Rise Time
8-12 hours (overnight)
Bake Time
20-30 minutes
Yield
10-12 large Belgian-style waffles (or 16-20 standard waffles)


Perfection is not required
"Turn your sourdough discard into the coziest breakfast of fall."— Henry Hunter Jr.
By Henry Hunter Jr., founder of Crust & Crumb Academy and Baking Great Bread at Home.
Authentic Flavor
These overnight sourdough pumpkin waffles are crispy on the outside, tender on the inside, and packed with warm autumn spices. The long fermentation breaks down the flour for easier digestion while developing complex, slightly tangy flavor that pairs beautifully with the pumpkin and maple. Perfect for using up sourdough discard and meal-prepping freezer-friendly breakfasts.
Ingredients
Overnight Batter (Evening)
Mix these ingredients the night before
Unfed starter, straight from the fridge is fine
Canned or homemade, NOT pumpkin pie filling
Or unsweetened plant milk
Morning Additions
Add these ingredients in the morning before cooking
Room temperature (see egg-free option in FAQs)
Optional Toppings
Serve with your favorites
Pro Tip
Room temperature eggs incorporate better and help the waffles cook more evenly. Pull them from the fridge when you wake up, or place in warm water for 5 minutes.
Evening
Mix the Overnight Batter
Day 1 - Evening
Combine the flour, discard, pumpkin, and milk to ferment overnight. This long develops flavor, breaks down phytic acid, and gives you a head start on breakfast.
Click each step to mark complete
Add Discard to Bowl
Place 150g in a large mixing bowl. It can be straight from the refrigerator, unfed, cold—whatever state it's in.
Add Pumpkin and Milk
Add the and milk. Whisk until the discard is fully incorporated and the mixture is smooth.
Add Dry Ingredients
Add both flours, brown sugar, and maple syrup. Stir with a wooden spoon or whisk until just combined. The batter will be thick and slightly lumpy. That's perfect.
Cover and Ferment
Cover the bowl loosely with plastic wrap or a clean kitchen towel. Leave at room temperature overnight (8-12 hours).
What to Expect
In the morning, the batter will be bubbly, slightly puffed, and smell pleasantly tangy with notes of pumpkin spice. If your kitchen is cold, it may be less bubbly but will still work.
⏱ Wait Time
8-12 hours
Pro Tip
Don't skip the overnight ferment! It's what makes these waffles special. The develops complex flavor and makes the grains easier to digest. You can ferment up to 24 hours if needed, though the batter may become more sour.
Precise Timers
Use these interactive timers to track your stages.
Overnight Ferment (minimum)
Morning
Finish the Batter
Day 2 - Morning
Add the , eggs, and spices to transform your fermented batter into waffle-ready goodness.
Click each step to mark complete
Check Your Batter
It should look bubbly and slightly risen. Give it a stir to deflate any large bubbles.
Preheat Waffle Iron
Turn on your waffle iron to preheat. Most need 5-10 minutes to reach optimal temperature.
Add Wet Ingredients
Add the eggs, oil (or melted butter), and vanilla to the batter. Whisk until fully combined.
Combine Dry Additions
In a small bowl, mix together the baking powder, baking soda, salt, cinnamon, ginger, allspice, nutmeg, and cloves. This prevents clumping.
Add Spices to Batter
Sprinkle the spice mixture over the batter and fold gently until just combined. Don't overmix—a few small lumps are fine.
Rest Briefly
Let the batter rest for 5 minutes while the leaveners activate. You'll see it puff up slightly.
Pro Tip
The batter should be pourable but thick, like pancake batter. If it seems too thick, add 1-2 tablespoons of milk. If too thin (unlikely), add a tablespoon of flour.
Cooking
Cook the Waffles
Day 2 - Morning
Cook until deeply golden and crispy. These waffles benefit from cooking a bit longer than you might think.
Click each step to mark complete
Grease the Iron
Lightly grease your waffle iron with cooking spray or brush with melted butter, even if it's nonstick. This helps with browning and release.
Add Batter
Ladle batter onto the center of the hot waffle iron. Use about ¾ cup for s, ½ cup for standard. Don't overfill.
Close and Cook
Close the lid and cook until steam stops escaping and the waffle is deeply golden brown. This usually takes 4-6 minutes for Belgian waffles, 3-4 minutes for standard.
Check for Doneness
The waffle should release easily from the iron. If it sticks, it needs more time. The exterior should be crispy and golden, not pale and soft.
Keep Warm (Optional)
For crispy waffles, place directly on a wire rack in a 200°F (93°C) oven while you cook the rest. Don't stack them or they'll get soggy.
Repeat
Continue with remaining batter, re-greasing the iron as needed between waffles.
Pro Tip
Resist the urge to open the waffle iron early! Opening too soon tears the waffle. Wait until the steam stops or the indicator light signals doneness.
Precise Timers
Use these interactive timers to track your stages.
Belgian Waffle
Standard Waffle
Serving
Serve and Store
Day 2 - Morning
Serve warm with your favorite toppings, or prep for easy freezer breakfasts.
Click each step to mark complete
Serve Immediately
Top with maple syrup, butter, whipped cream, or your favorite toppings. The waffles are best eaten fresh while still crispy.
For Meal Prep
Let waffles cool completely on a wire rack. Place in a single layer on a baking sheet and freeze for 1 hour. Transfer to a freezer bag, separating layers with parchment paper.
To Reheat
Toast frozen waffles directly in a toaster or toaster oven until crispy (about 2-3 cycles). Or reheat in a 350°F (177°C) oven for 5-7 minutes.
Pro Tip
These freeze beautifully for up to 3 months. Make a double batch on the weekend and enjoy easy breakfasts all week.
The Final Step
Cooking the Waffles
Cook until deeply golden and crispy for best results
Baking Methods
Creates thick, deep-pocketed waffles perfect for holding toppings
Equipment: Belgian waffle iron
Preheat Iron
Preheat waffle iron for 5-10 minutes until hot.
Grease Lightly
Spray with cooking spray or brush with melted butter.
Add Batter
Ladle about ¾ cup batter onto center of iron.
Cook Until Golden
Cook 4-6 minutes until steam stops and waffle is deeply golden.
Keep Warm
Place on wire rack in 200°F (93°C) oven while cooking remaining waffles.
"Don't stack warm waffles or they'll become soggy! Always use a wire rack."
Nutrition Facts
Per 1 Belgian waffle • 12 servings per recipe
* Values are estimates based on standard ingredients
Storage
Room Temperature
Best eaten fresh, but can sit covered at room temperature for up to 4 hours
Frozen
Freeze in a single layer, then transfer to freezer bags with parchment between layers. Good for up to 3 months. Reheat directly from frozen in toaster or 350°F (177°C) oven.
💡 Leftover batter (with morning additions) should be used within 2 hours. The overnight batter (before morning additions) can be refrigerated for up to 48 hours.
Your Feedback
Rate This Recipe
Loading ratings...
Troubleshooting
Baker's Notes
Common questions and solutions for perfect results
If you're serious about scoring, you need the right blade in your hand. Wire Monkey makes handcrafted bread lames from black walnut — built to last, balanced in the hand, and sharp enough to glide through cold dough cleanly every single time. No dragging, no hesitation marks. Just a clean cut.

Wire Monkey Handcrafted Bread Lames
You Might Also Enjoy
More recipes from our pantry that pair well with this bake.


Get More Recipes in Your Inbox
Join thousands of home bakers receiving weekly recipes, tips, and techniques to elevate your bread game.
No spam, ever. Unsubscribe anytime.
More from Baking Great Bread at Home
Tools, resources, and community to help you bake better bread

Crust & Crumb Academy
Go deeper into your craft. FREE courses, challenges, and real feedback. No gatekeeping. Perfection is not required.

Sourdough Starter Companion
Your AI-powered starter assistant. Track feedings, troubleshoot issues, and keep your starter thriving.

BakingGreatBread.com
Real bread for the rest of us

Baking Great Bread Blog
Recipes, tips, and stories from the bread journey

Recipe Converter
Convert sourdough recipes to yeast and back again

Crust & Crumb App
Your AI-powered baking assistant

Facebook Community
Join 50,000+ bakers sharing, learning, and supporting each other

Sourdough for the Rest of Us
Free beginner's guide to sourdough