Fluffy, Tangy, and Ready in Minutes
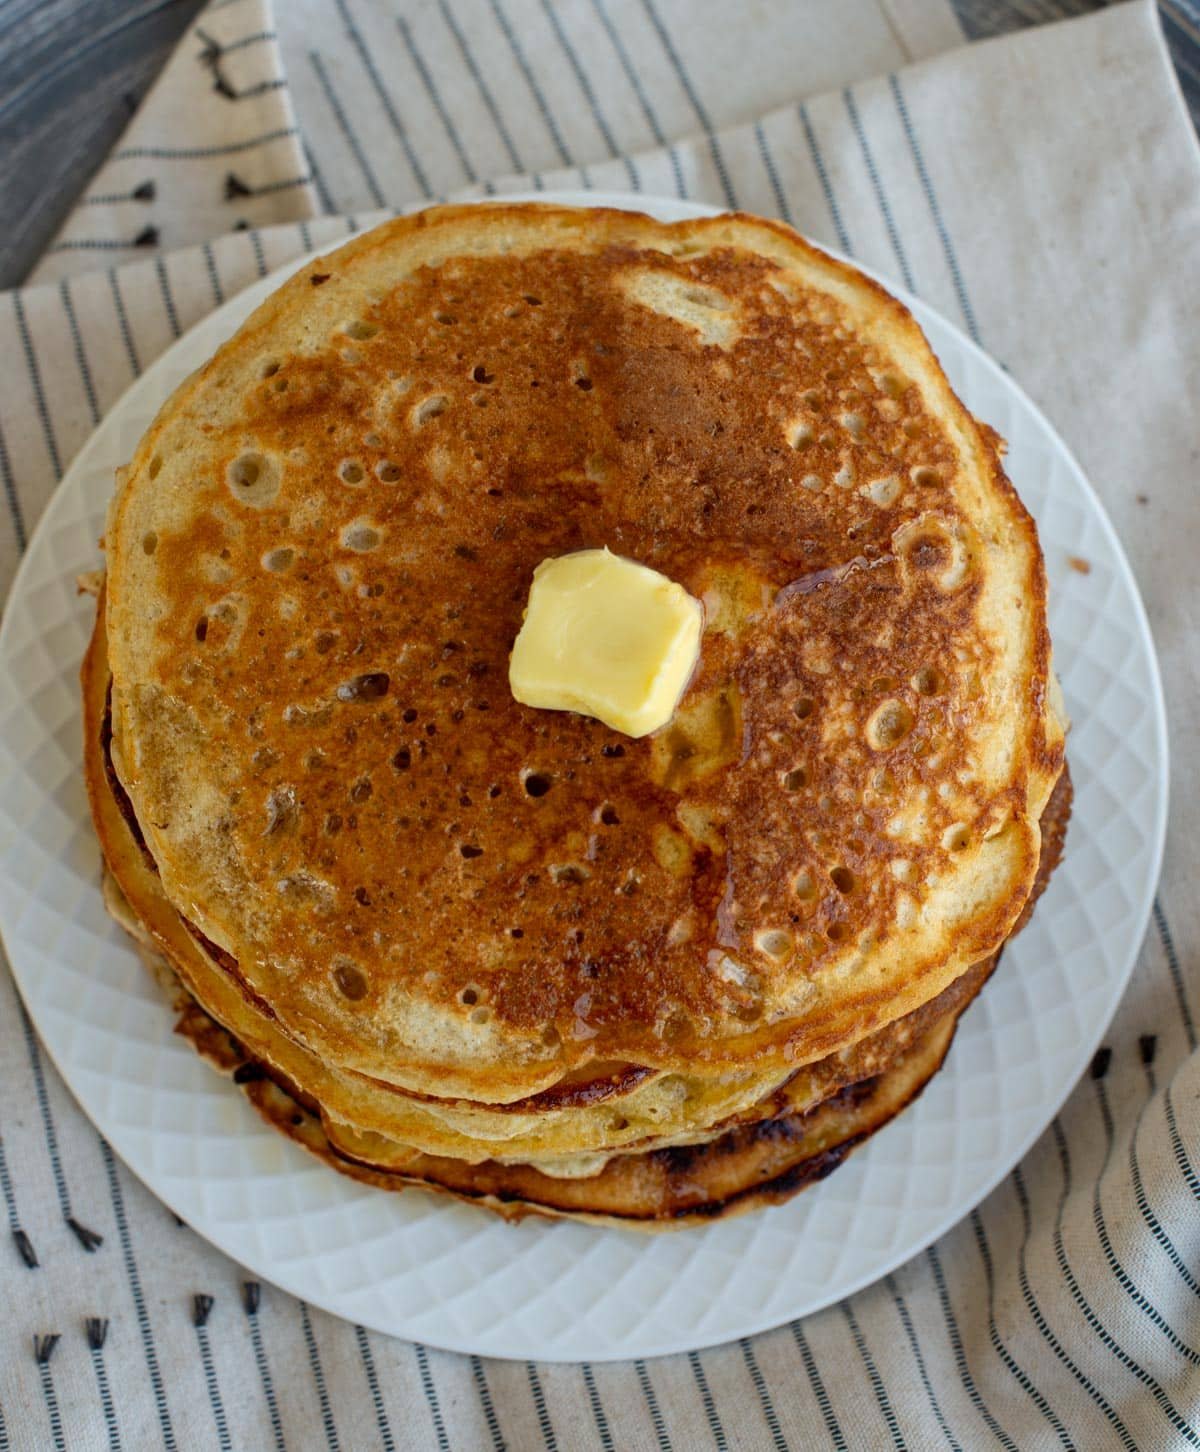
BeginnerSourdough DiscardPancakes
by Henry Hunter Jr.
The fluffiest pancakes you'll ever make, no waste required.
Bake Time
Varies
Yield
10-12 pancakes (serves 3-4)

Perfection is not required
"Great bread isn't about perfect technique—it's about understanding the dough."— Henry Hunter Jr.
By Henry Hunter Jr., founder of Crust & Crumb Academy and Baking Great Bread at Home.
Authentic Flavor
These pancakes are the reason I never throw away anymore. The fermented flour adds a subtle tang that makes them taste like something from a fancy brunch spot. They're impossibly fluffy thanks to the combination of and baking soda reacting with the acidic starter. Mix the batter in one bowl, cook low and slow, and watch your family fight over the last one.
Equipment Needed
Ingredients
Pancake Batter
Straight from the fridge is fine
Or whole wheat for heartier pancakes
Or regular milk with 1 tsp vinegar
Room temperature preferred
Or honey
Plus more for the griddle
Fresh!
Essential for fluffiness
Optional but recommended
Optional Add-ins
Fresh or frozen
Optional
Optional
Optional
Pro Tip
The magic is in using BOTH AND baking soda. The soda reacts with the acidic for immediate lift, while the powder provides sustained rise. Don't skip either one.
Day 1
Mix the Batter
5 minutes
The secret to fluffy pancakes is a lumpy batter. develops and makes pancakes tough.
Click each step to mark complete
Combine wet ingredients
In a large bowl, whisk together , buttermilk, egg, melted butter, sugar, and vanilla until smooth.
Add dry ingredients
Add flour, , baking soda, and salt directly on top of the wet mixture.
Mix gently
Using a whisk or spatula, fold the dry ingredients into the wet just until combined. The batter SHOULD be lumpy. Stop mixing when you no longer see dry flour.
Rest (optional)
Let the batter rest for 5-10 minutes while you heat your griddle. This allows the flour to hydrate and makes even fluffier pancakes.
Pro Tip
If the batter seems too thick, add a splash more buttermilk. If too thin, add a tablespoon of flour. It should be pourable but thick, not runny.
Precise Timers
Use these interactive timers to track your stages.
Mix Batter
Batter Rest (Optional)
Day 1
Heat the Griddle
5 minutes
The right temperature is crucial. Too hot and your pancakes burn outside before cooking inside. Too low and they spread flat.
Click each step to mark complete
Preheat
Heat your griddle or over medium-low heat. Yes, lower than you think.
Test the temp
Flick a few drops of water onto the surface. They should sizzle and evaporate within a few seconds (not instantly, not slowly).
Grease lightly
Add a small pat of butter and spread it around with a paper towel.
Pro Tip
Electric griddles work great set at 300-325°F. Stovetop requires more attention, usually medium-low on most ranges.
Precise Timers
Use these interactive timers to track your stages.
Preheat Griddle
Day 1
Cook the Pancakes
15-20 minutes
Low and slow is the secret to pancakes that are cooked through and beautifully golden, not raw in the middle.
Click each step to mark complete
Pour the batter
Using a ¼-cup measure or ladle, pour batter onto the griddle. Don't spread it, let it spread naturally.
Wait for bubbles
Cook until bubbles form on the surface AND the edges look set, about 2-3 minutes. Don't flip too early!
Flip once
When the bubbles pop and leave holes that don't fill in, flip the pancake.
Finish cooking
Cook for another 1-2 minutes until the bottom is golden brown.
Add toppings (optional)
If adding blueberries or chocolate chips, sprinkle them onto the uncooked side right after pouring the batter, before flipping.
Pro Tip
Only flip once! Repeated flipping makes pancakes dense. If you're not sure it's ready, peek at the underside by lifting the edge with your spatula.
Precise Timers
Use these interactive timers to track your stages.
First Side
Second Side
Day 1
Keep Warm and Serve
5 minutes
Hot pancakes are happy pancakes. Here's how to serve them all warm at once.
Click each step to mark complete
Keep warm
Place finished pancakes on a wire rack set on a baking sheet in a 200°F oven while you cook the rest.
Serve immediately
Stack on plates and serve with your favorite toppings.
Suggested toppings
Butter, maple syrup, fresh fruit, whipped cream, powdered sugar, or nut butter.
Pro Tip
Placing pancakes on a wire rack (not directly on the pan) keeps them from getting soggy on the bottom.
Shaping
Size Options
Choose your preferred pancake size based on your preference.
Standard Pancakes
Classic size, perfect for stacking.
RecommendedClick each step to mark complete
Pour ¼ cup batter
Use a ¼ cup measuring cup or ladle.
About 4 inches diameter
Let the batter spread naturally.
Makes 10-12 pancakes
Per batch of this recipe.
Silver Dollar Pancakes
Mini pancakes, great for kids or appetizers.
Click each step to mark complete
Use 2 tablespoons batter
Per pancake.
About 2 inches diameter
Small and cute.
Makes 20-24 mini pancakes
Per batch of this recipe.
Giant Pancakes
Plate-sized pancakes for serious appetites.
Click each step to mark complete
Use ½ cup batter
Per pancake.
About 6 inches diameter
One pancake fills a plate.
Makes 5-6 large pancakes
Per batch of this recipe.
Proof Test: N/A - No proofing required for pancakes.
The Final Step
Cooking Methods
Different pans work well for different situations.
Baking Methods
Consistent temperature, cook multiple at once.
Equipment: Electric griddle
Set temperature
Set griddle to 325°F.
Cook 4-6 at a time
Large surface area allows batch cooking.
Consistent results
Even heat distribution for perfect pancakes.
Nutrition Facts
Per 2 pancakes • 6 servings per recipe
* Values are estimates based on standard ingredients
Storage
Room Temperature
Best eaten fresh, but will keep 1-2 hours covered
Refrigerated
Up to 3 days in an airtight container. Reheat in toaster or microwave.
Frozen
Up to 2 months. Place parchment paper between pancakes, freeze flat, then transfer to a freezer bag. Toast directly from frozen.
💡 Make a double batch on the weekend and freeze. Pop them in the toaster on busy mornings for a quick breakfast.
Your Feedback
Rate This Recipe
Loading ratings...
Troubleshooting
Baker's Notes
Common questions and solutions for perfect results
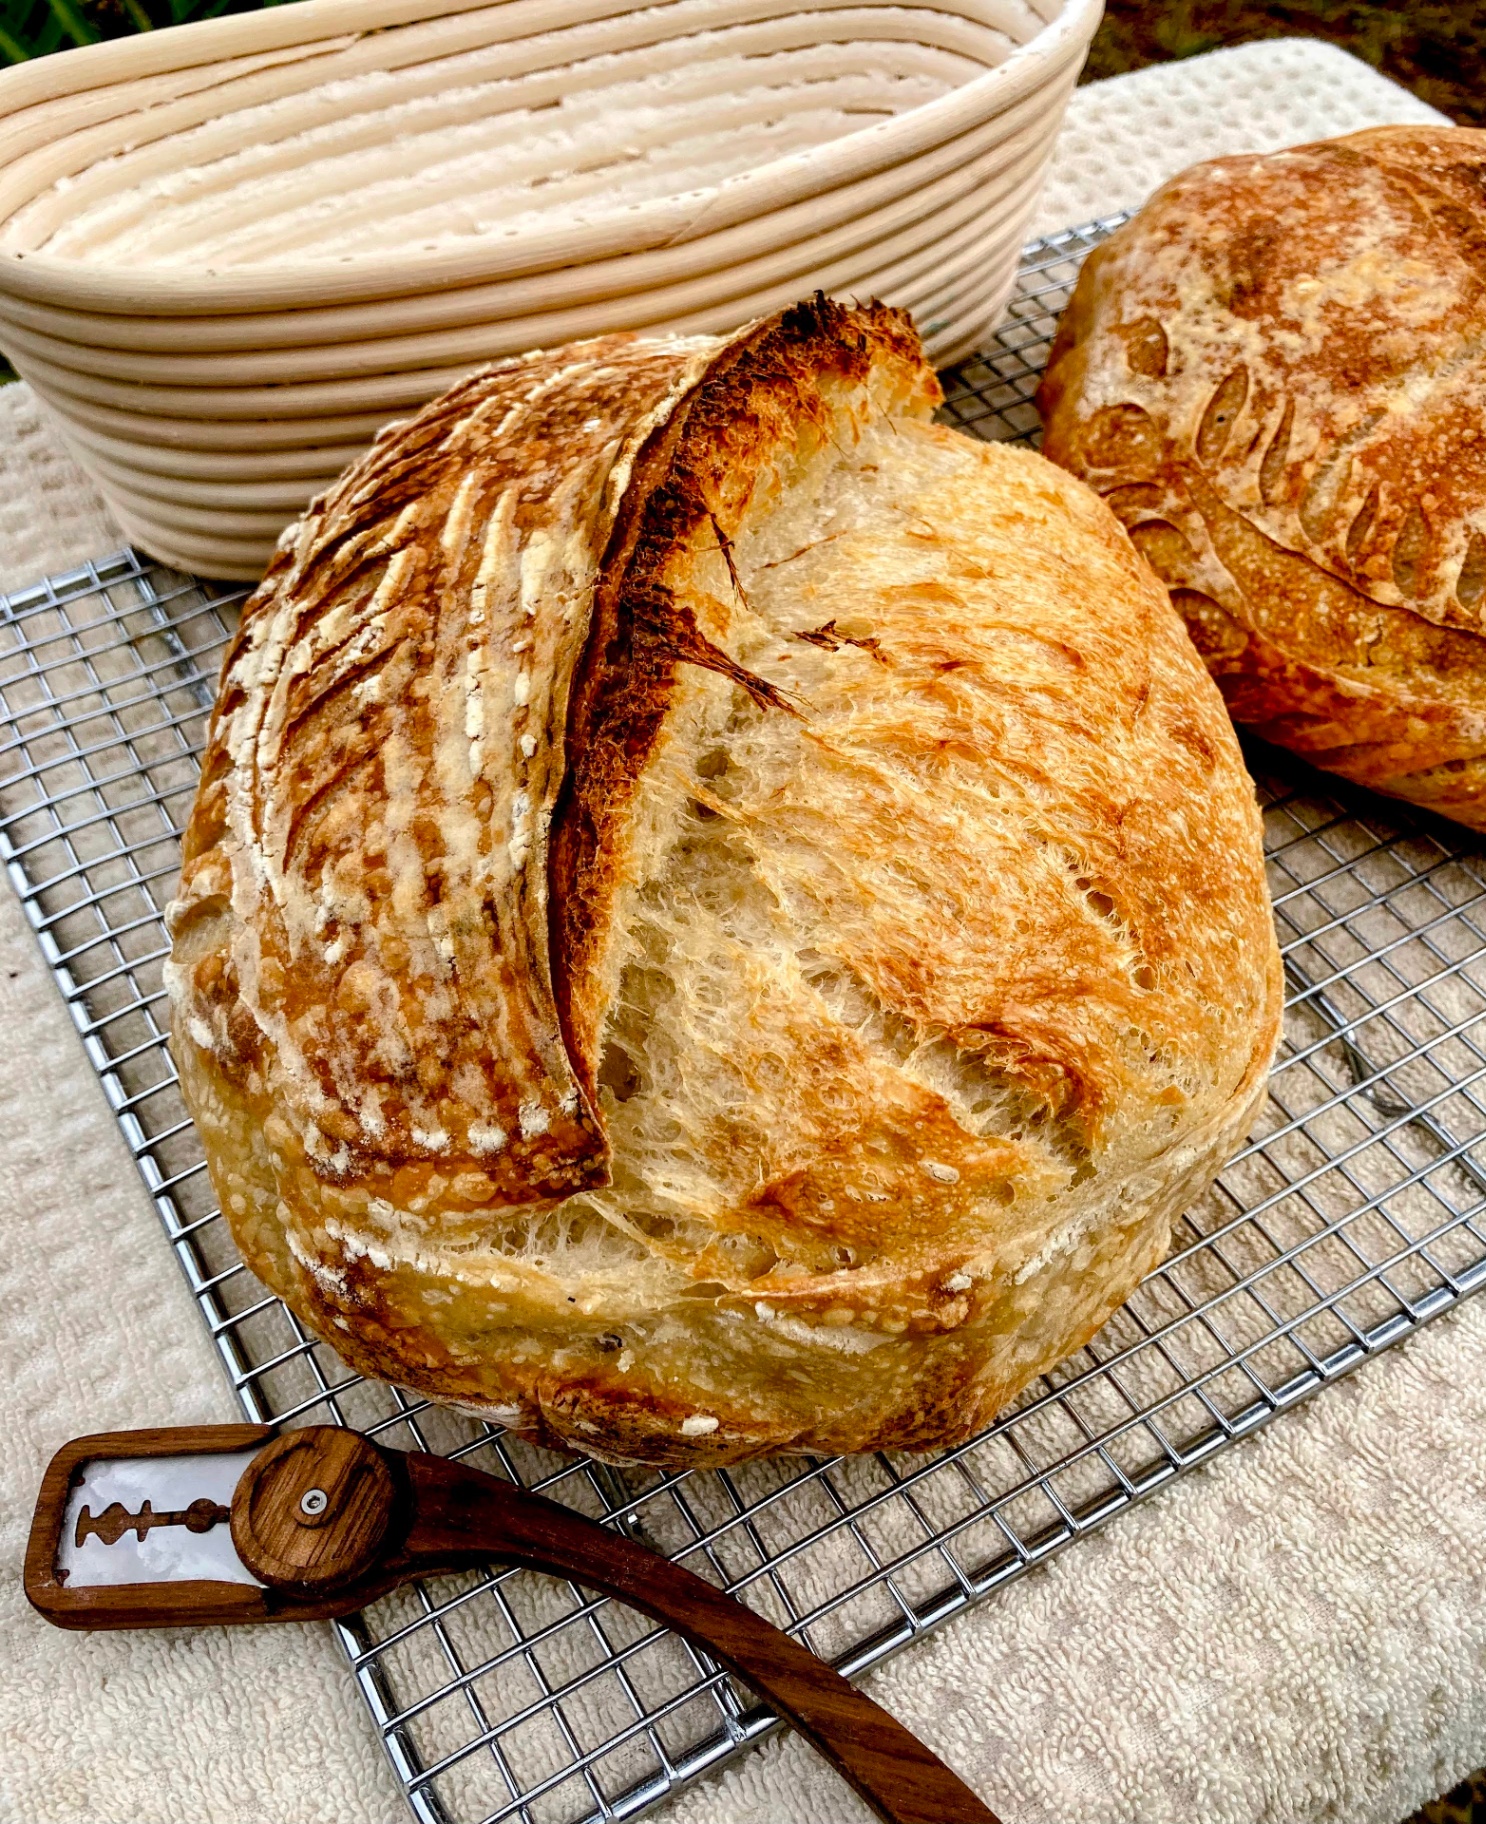
If you're serious about scoring, you need the right blade in your hand. Wire Monkey makes handcrafted bread lames from black walnut — built to last, balanced in the hand, and sharp enough to glide through cold dough cleanly every single time. No dragging, no hesitation marks. Just a clean cut.

Wire Monkey Handcrafted Bread Lames
You Might Also Enjoy
More recipes from our pantry that pair well with this bake.
Get More Recipes in Your Inbox
Join thousands of home bakers receiving weekly recipes, tips, and techniques to elevate your bread game.
No spam, ever. Unsubscribe anytime.
More from Baking Great Bread at Home
Tools, resources, and community to help you bake better bread

Crust & Crumb Academy
Go deeper into your craft. FREE courses, challenges, and real feedback. No gatekeeping. Perfection is not required.

Sourdough Starter Companion
Your AI-powered starter assistant. Track feedings, troubleshoot issues, and keep your starter thriving.

BakingGreatBread.com
Real bread for the rest of us

Baking Great Bread Blog
Recipes, tips, and stories from the bread journey

Recipe Converter
Convert sourdough recipes to yeast and back again

Crust & Crumb App
Your AI-powered baking assistant

Facebook Community
Join 50,000+ bakers sharing, learning, and supporting each other

Sourdough for the Rest of Us
Free beginner's guide to sourdough