Overnight Rise, All-Day Flavor
IntermediateSourdoughBreadsticks
by Henry Hunter Jr.
The breadstick that makes people ask what your secret is. It's time.
Rise Time
4-6 hours + 8-16 hours overnight
Bake Time
14-18 minutes
Yield
12 large or 16 thinner sourdough breadsticks


Perfection is not required
"Great bread isn't about perfect technique—it's about understanding the dough."— Henry Hunter Jr.
By Henry Hunter Jr., founder of Crust & Crumb Academy and Baking Great Bread at Home.
Authentic Flavor
Sourdough breadsticks with overnight cold retard and herb garlic butter finish. Complex flavor, soft crumb.
Equipment Needed
Ingredients
Dough
Herb Garlic Butter Topping
Pro Tip
The overnight is what separates these from every other breadstick recipe. During those 8-16 hours in the fridge, enzymes break down starches into sugars, which means better browning, better flavor, and a softer crumb. Don't skip it. Plan for it.
Day 1 — Afternoon/Evening
Mix the Dough
10 minutes active
Mix, knead, and let time do the heavy lifting. This dough comes together quickly. The overnight fridge rise handles the rest.
Click each step to mark complete
Combine Wet Ingredients
In a stand mixer bowl, stir together the active , warm water (80-85°F / 27-29°C), honey, and softened butter until roughly combined.
Add Dry Ingredients
Add the flour, salt, garlic powder, and . Mix on low speed with a dough hook until a shaggy dough forms, about 2 minutes.
Knead
Increase to medium-low speed and knead for 7-8 minutes until the dough is smooth, elastic, and slightly tacky. It should pull away from the bowl sides cleanly. By hand: 10-12 minutes on a lightly floured surface.
Shape and Cover
Shape into a ball. Place in a lightly oiled bowl, cover with a damp towel or plastic wrap.
Pro Tip
This dough is slightly softer than the sourdough pretzel dough because breadsticks should be tender, not chewy. Don't add extra flour chasing a firm ball. Slightly tacky is exactly where you want it.
Day 1
Bulk Fermentation
4-6 hours passive
The room temperature rise gets the fermentation going before you slow it down overnight.
Click each step to mark complete
Room Temperature Rise
Let the dough rise covered at room temperature (72-78°F / 22-26°C) for 4-6 hours. It should increase in volume by about 50-75%. It won't fully double, and that's intentional. You want it still active when it goes into the fridge.
Stretch and Folds (Optional)
During the first 2 hours, do 2 sets of , 45 minutes apart. This builds structure without heavy kneading.
Check Readiness
The dough should look puffy with some bubbles on the surface. It should feel airier and lighter than when you started.
⏱ Wait Time
Let the dough rise at room temperature for 4-6 hours until 50-75% larger.
Precise Timers
Use these interactive timers to track your stages.
First Stretch & Fold
Second Stretch & Fold
Day 1 — Evening
Overnight Cold Retard
1 minute active (8-16 hours passive)
The fridge slows fermentation to a crawl while flavor compounds continue developing. This is where the magic happens.
Click each step to mark complete
Cover Tightly
Press plastic wrap directly onto the surface of the dough (or use a tight-fitting lid). This prevents the surface from drying out.
Refrigerate
Place the bowl in the fridge for 8-16 hours. Overnight is ideal. The dough will continue to rise slowly in the fridge, maybe another 20-30%.
⏱ Wait Time
Refrigerate overnight for 8-16 hours. Longer = more flavor.
Pro Tip
The longer the (up to 16 hours), the more developed the flavor. An 8-hour overnight rest is great. A 12-16 hour rest is exceptional. Beyond 16 hours and you risk over-fermentation (the dough gets very sour and may start deflating).
Day 2
Shape
10 minutes active
Cold dough is a dream to work with. It holds its shape, doesn't stick, and rolls out cleanly.
Click each step to mark complete
Remove from Fridge
Turn the cold dough out onto a lightly floured surface. Let it sit for 5-10 minutes to take the chill off. Don't wait for it to come fully to room temperature — you want it cool and firm.
Roll Into a Rectangle
Press and stretch into a rectangle about 10×14 inches, ½ inch thick.
Cut Into Strips
Using a or pizza cutter, cut into 12-16 strips about ¾ to 1 inch wide.
Arrange
For straight breadsticks: transfer strips to a parchment-lined baking sheet, spaced 1 inch apart. For twisted: hold each strip by both ends and twist 3-4 times, pressing ends down. For : arrange strips side by side, touching, in a greased 9×13 dish.
Final Proof
Cover loosely and let rise at room temperature for 45-60 minutes. Because the dough is cold, it needs more time than the yeasted version. The breadsticks should look puffy and slightly expanded.
⏱ Wait Time
Let the cold shaped breadsticks proof for 45-60 minutes at room temperature.
Pro Tip
Don't rush the final proof. Cold sourdough dough needs time to wake up after the overnight retard. 45 minutes is the minimum. If your kitchen is cool, give it a full hour. Underproofed breadsticks will be dense in the center.
Precise Timers
Use these interactive timers to track your stages.
Final Proof
Shaping
Shaping Options
Three ways to shape your sourdough breadsticks.
Classic Straight
Clean, simple. Best for dinner service alongside soup, stew, or pasta.
RecommendedClick each step to mark complete
Roll Rectangle
Press and stretch dough into a 10×14 inch rectangle, ½ inch thick.
Cut Strips
Cut lengthwise into ¾ to 1 inch wide strips.
Transfer
Place strips on parchment-lined baking sheet, spaced 1 inch apart.
Twisted
More surface area catches more butter. More visual interest on the table.
Click each step to mark complete
Cut Strips
Cut the rectangle into strips.
Twist
Hold each strip by both ends and twist 3-4 times.
Place
Place on baking sheet, pressing ends down so they don't untwist.
Pull-Apart (in a baking dish)
Family-style. Tear and share. The centers are incredibly soft because they're insulated during baking.
Click each step to mark complete
Cut Strips
Cut into strips as above.
Pack
Arrange strips side by side, touching, in a greased 9×13 dish.
Rise Together
Let rise until they've merged into each other.
Proof Test: After the final proof, press a breadstick gently with a floured finger. If the indent fills back slowly, they're ready. If it springs back immediately, give them another 10 minutes.
Day 2
Bake and Finish
Same approach as the classic version. Slightly longer bake to account for the sourdough dough's density.
Step by Step
Preheat the Oven
Preheat oven to 400°F (200°C).
Make the Herb Garlic Butter
Melt butter, stir in garlic powder, , parsley, and salt.
Optional Pre-Bake Brush
Light coat of herb butter on tops before baking.
Bake
Baking sheet: 14-16 minutes until golden on top. dish: 16-18 minutes.
Brush and Finish
Brush immediately with remaining herb garlic butter. Sprinkle Parmesan over the wet butter. Serve warm.
Preheat
Bake (sheet)
Bake (dish)
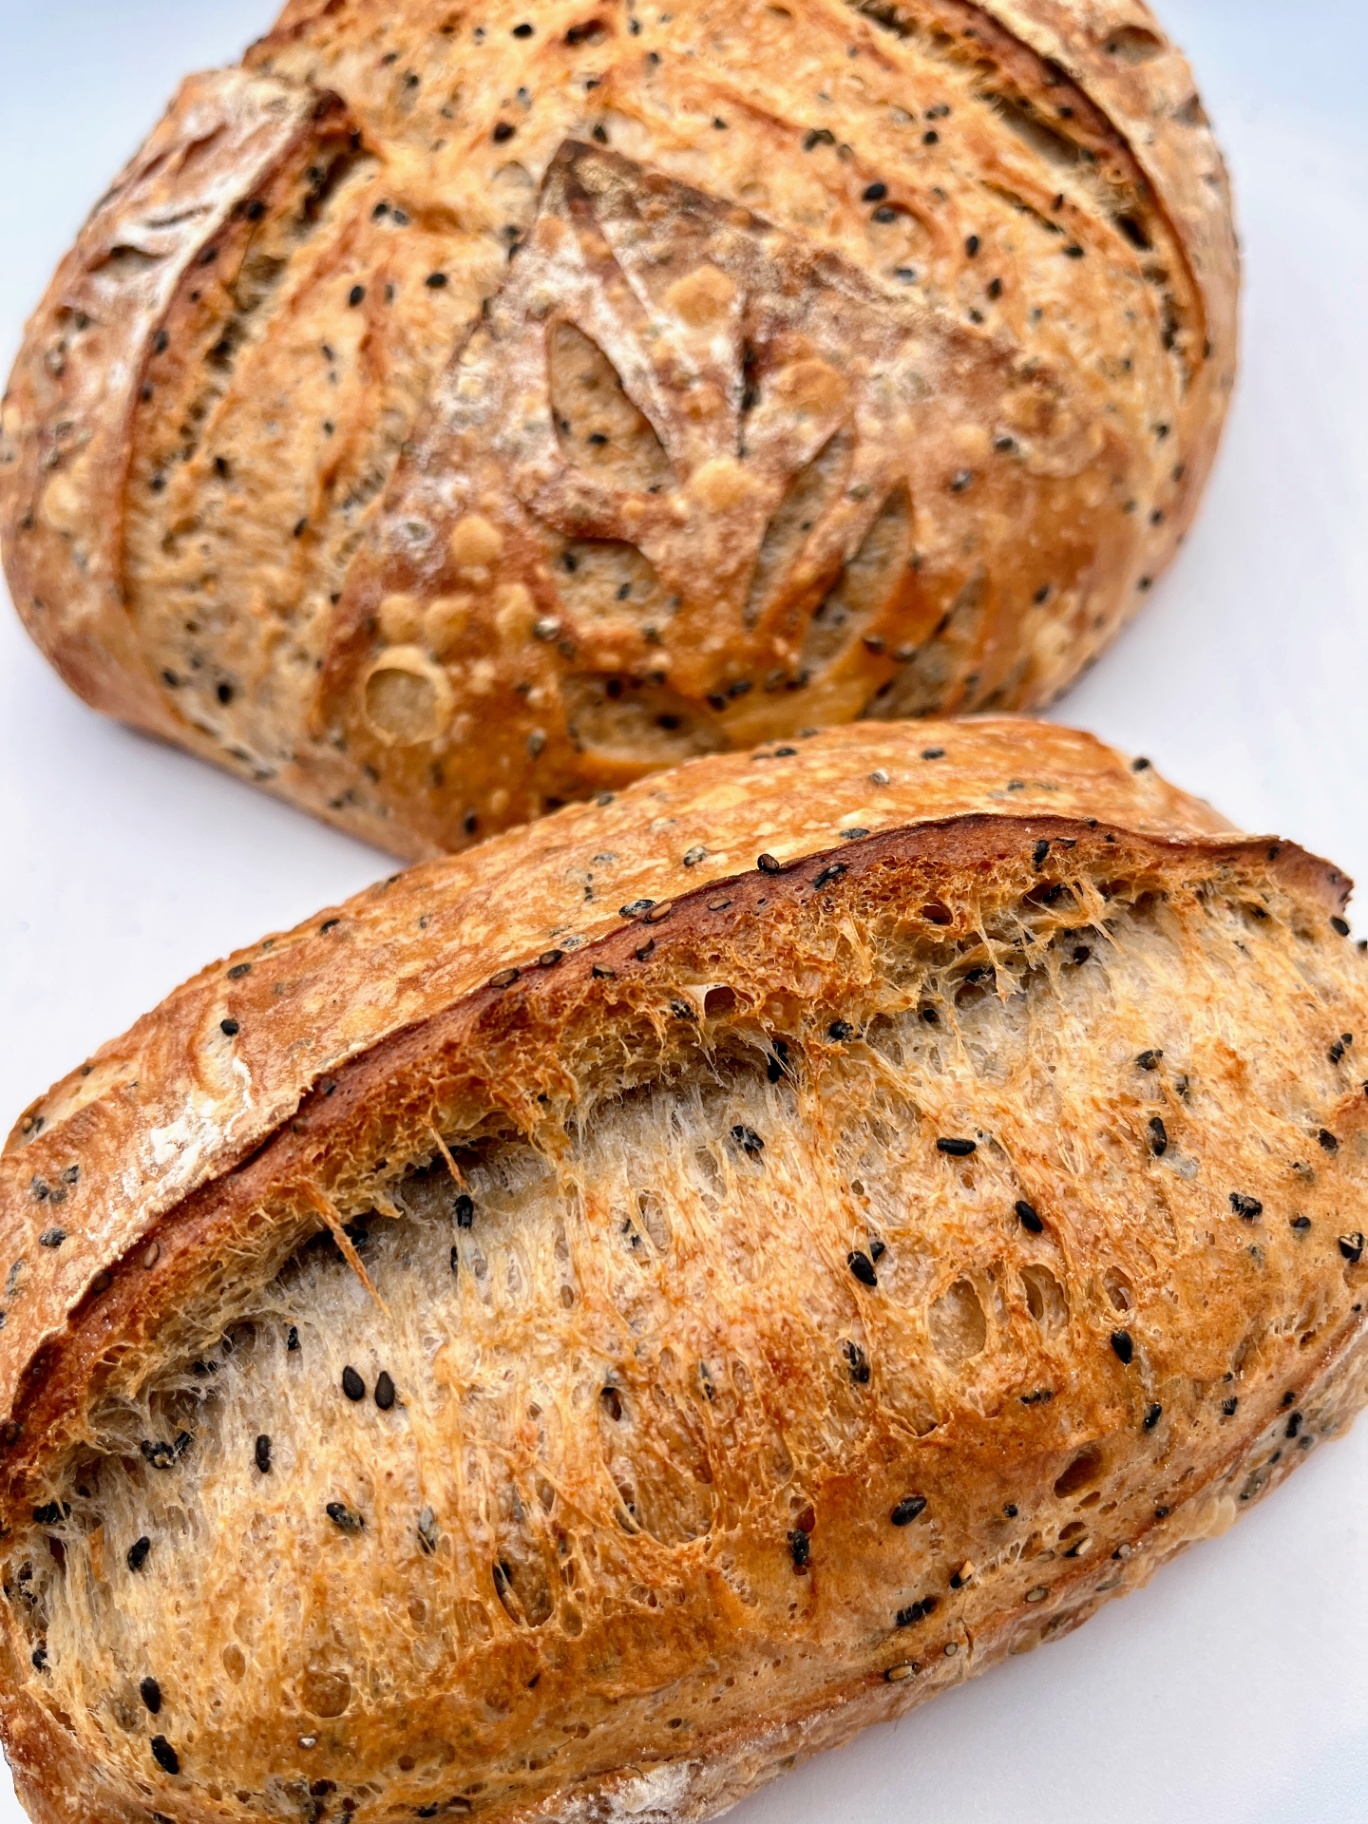
The sourdough breadsticks will have a slightly different crust texture than the yeasted version. There's a subtle chew and a golden color that comes from the long fermentation. The interior should be soft and slightly open, with small irregular holes that trap the butter as it soaks in.
Baking Methods
Individual sticks, even browning, best crispness on edges.
Equipment: Parchment-lined baking sheet
Preheat
Preheat oven to 400°F (200°C).
Arrange
Space breadsticks about 1 inch apart.
Bake
Bake 14-16 minutes until golden on top.
Butter
Brush with herb garlic butter immediately. Sprinkle Parmesan.
Nutrition Facts
Per 1 breadstick (based on 12) • 12 servings per recipe
* Values are estimates based on standard ingredients
Storage
Room Temperature
Best same day. Store loosely covered for up to 1 day.
Refrigerated
Not recommended. Refrigeration accelerates staling.
Frozen
Up to 3 months. Reheat at 350°F (175°C) for 8-10 minutes.
Refresh
Toast slices directly from frozen, or warm a whole loaf at 350°F (175°C) for 10-12 minutes.
💡 Refrigerator: up to 5 days (sourdough extends freshness). Reheat at 350°F (175°C) for 5-8 minutes.
Your Feedback
Rate This Recipe
Loading ratings...
Troubleshooting
Baker's Notes
Common questions and solutions for perfect results
If you're serious about scoring, you need the right blade in your hand. Wire Monkey makes handcrafted bread lames from black walnut — built to last, balanced in the hand, and sharp enough to glide through cold dough cleanly every single time. No dragging, no hesitation marks. Just a clean cut.

Wire Monkey Handcrafted Bread Lames
You Might Also Enjoy
More recipes from our pantry that pair well with this bake.

Sourdough Soft Pretzels | Baking Great Bread at Home
Sourdough Starter From Scratch | Baking Great Bread at Home
Classic Soft Breadsticks | Baking Great Bread at Home
Everything Bagel Sourdough
Get More Recipes in Your Inbox
Join thousands of home bakers receiving weekly recipes, tips, and techniques to elevate your bread game.
No spam, ever. Unsubscribe anytime.
More from Baking Great Bread at Home
Tools, resources, and community to help you bake better bread

Crust & Crumb Academy
Go deeper into your craft. FREE courses, challenges, and real feedback. No gatekeeping. Perfection is not required.

Sourdough Starter Companion
Your AI-powered starter assistant. Track feedings, troubleshoot issues, and keep your starter thriving.

BakingGreatBread.com
Real bread for the rest of us

Baking Great Bread Blog
Recipes, tips, and stories from the bread journey

Recipe Converter
Convert sourdough recipes to yeast and back again

Crust & Crumb App
Your AI-powered baking assistant

Facebook Community
Join 50,000+ bakers sharing, learning, and supporting each other

Sourdough for the Rest of Us
Free beginner's guide to sourdough