Incredibly Moist Fall Quick Bread
BeginnerPumpkin SpiceBread
by Henry Hunter Jr.
Incredibly moist, warmly spiced, and packed with real pumpkin flavor. This is fall in a loaf pan.
Rise Time
1 hour 20 minutes
Bake Time
55-65 minutes
Yield
2 loaves (8-10 slices each) or 1 loaf (see notes)


Perfection is not required
"Great bread isn't about perfect technique—it's about understanding the dough."— Henry Hunter Jr.
By Henry Hunter Jr., founder of Crust & Crumb Academy and Baking Great Bread at Home.
Authentic Bread Flavor
When September hits, this is the recipe that takes over my kitchen. Moist, tender, and loaded with warm spices, this has everything you want from a fall bake. The secret is using oil instead of butter for maximum moisture, plus a generous amount of pumpkin puree and the perfect balance of cinnamon, ginger, nutmeg, and cloves. Top it with cinnamon sugar for a crackly crust, or keep it simple and let the pumpkin shine.
Equipment Needed
Ingredients
Dry Ingredients
Wet Ingredients
Optional Cinnamon Sugar Topping
Optional Add-Ins (choose one)
Prep
Prep Work
Organization is key. Get everything measured and ready before you start mixing.
Click each step to mark complete
Preheat oven
Set your oven to 350°F (175°C). Position a rack in the center of the oven.
Prepare the loaf pans
Grease two 9x5 inch loaf pans with butter, oil, or non-stick spray. For easy removal, line the bottom and long sides with parchment paper strips, leaving overhang like handles.
Make cinnamon sugar topping (optional)
In a small bowl, mix together ¼ cup sugar and 1 teaspoon cinnamon. Set aside.
Pro Tip
This recipe makes TWO loaves. Bake one for your family and give one away, or freeze the second loaf for later. You can halve the recipe if you only want one loaf.
Mixing
Mix the Dry Ingredients
Whisking the dry ingredients together distributes the leavening and spices evenly so every slice tastes perfectly balanced.
Click each step to mark complete
Combine dry ingredients
In a large mixing bowl, whisk together the flour, baking soda, salt, cinnamon, ginger, nutmeg, and cloves until evenly combined.
Make a well
Push the dry ingredients to the sides, creating a well in the center for the wet ingredients.
Pro Tip
If your spices have been sitting in the cabinet for more than a year, they've lost potency. Fresh spices make a huge difference in pumpkin bread. Give them a sniff. If they don't smell like much, replace them.
Mixing
Mix the Wet Ingredients
The wet ingredients come together quickly. The key is making sure everything is well combined before adding to the flour.
Click each step to mark complete
Combine pumpkin and sugar
In a medium bowl, whisk together the pumpkin puree and sugar until the sugar starts to dissolve.
Add oil
Slowly drizzle in the oil while whisking. This helps emulsify the mixture.
Add eggs
Add the eggs one at a time, whisking well after each addition.
Add water and vanilla
Whisk in the water and vanilla extract until everything is smooth and well combined.
Pro Tip
Using oil instead of butter is the secret to pumpkin bread that stays moist for days. Oil is 100% fat, while butter is only about 80% fat plus water and milk solids. The result is a more tender crumb that doesn't dry out.
Mixing
Combine Wet and Dry
Gentle mixing is the name of the game. Overmixing develops gluten and makes the bread tough.
Click each step to mark complete
Pour wet into dry
Pour the wet ingredients into the well you created in the dry ingredients.
Fold gently
Using a rubber spatula or wooden spoon, fold the wet ingredients into the dry using broad, gentle strokes. Scrape the bottom and sides of the bowl.
Stop when just combined
Mix only until you no longer see streaks of dry flour. The batter will be thick and some small lumps are fine. Do NOT overmix.
Add mix-ins (optional)
If using chocolate chips, nuts, or dried fruit, fold them in with 2-3 more gentle strokes.
Pro Tip
The batter should be thick but pourable. If it seems too thick, you can add another tablespoon or two of water, but this usually isn't necessary.
Shaping
Pan Options
This versatile batter works in multiple pan sizes.
Two Standard 9x5 Loaves
RecommendedClick each step to mark complete
Divide batter
Divide batter evenly between two greased 9x5 loaf pans. Each pan should be about ⅔ full.
Bake time
Bake 55-65 minutes at 350°F. One to keep, one to give away!
One Large 9x5 Loaf (Half Recipe)
Click each step to mark complete
Halve ingredients
Halve all ingredients.
Bake
Pour batter into single greased 9x5 loaf pan. Bake 50-60 minutes at 350°F.
Mini Loaves
Click each step to mark complete
Divide into mini pans
Divide batter among 4-5 mini loaf pans (5x3 inch). Fill each about ⅔ full.
Reduce bake time
Reduce baking time to 35-45 minutes. Perfect for holiday gifting!
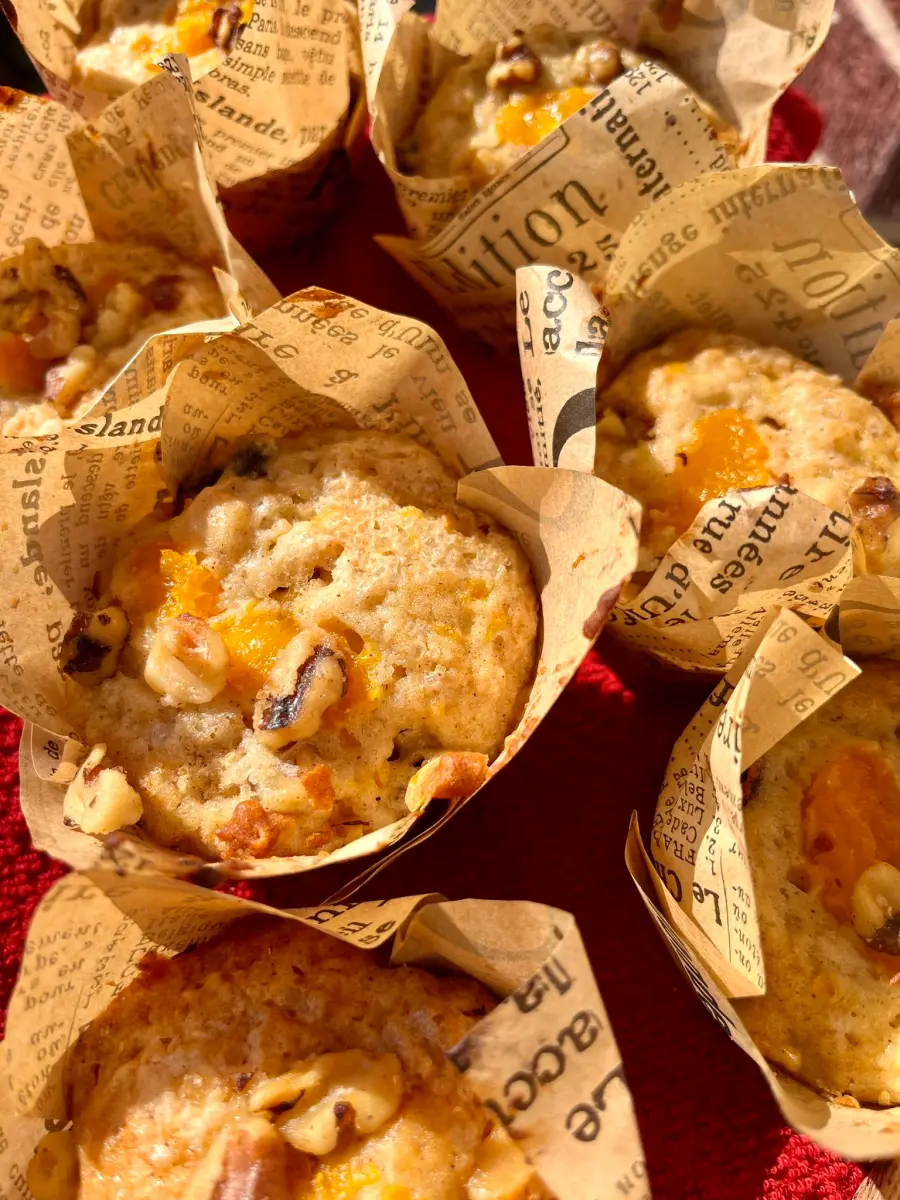
Muffins
Click each step to mark complete
Fill muffin cups
Line two standard muffin tins with paper liners (makes about 24). Fill cups about ¾ full.
Bake
Bake 22-28 minutes at 350°F. Top with streusel before baking for pumpkin muffin shop vibes.
Bundt Pan
Click each step to mark complete
Prep bundt
Grease a 10-12 cup bundt pan very well. Pour all batter into prepared pan.
Increase bake time
Increase baking time to 60-70 minutes. Test center carefully before removing.
Proof Test: Insert a toothpick into the center. It should come out clean or with just a few moist crumbs. Wet batter on the toothpick means it needs more time. The top should feel set when lightly pressed.
Baking
Bake
Low and slow is the way to go. Pumpkin bread has a lot of moisture that needs time to bake through evenly.
Step by Step
Divide the batter
Pour the batter evenly between the two prepared loaf pans. Each pan should be about ⅔ full.
Add topping (optional)
Sprinkle the cinnamon sugar mixture evenly over the tops of both loaves. This creates a delicious crackly crust.
Bake
Place both pans in the center of the oven, leaving a few inches between them for air circulation. Bake for 55-65 minutes.
Check for doneness
The bread is done when the tops are domed and deep golden brown, the edges pull slightly away from the pan, and a toothpick inserted into the center comes out clean or with just a few moist crumbs.
Tent if needed
If the tops are browning too quickly before the centers are done, tent loosely with aluminum foil for the last 15-20 minutes.
Bake (check)
Check again
Final check
Don't open the oven door during the first 45 minutes of baking. The sudden temperature drop can cause the bread to sink in the middle.
Baking Methods
Equipment: Two 9x5 loaf pans, Rack in center position
Preheat oven
Preheat oven to 350°F.
Position pans
Position pans in center of oven with space between.
Bake
Bake 55-65 minutes. Tent with foil if browning too fast.
Test for doneness
Test with toothpick for doneness.
Cooling
Cool and Serve
Cooling completely is non-negotiable for clean slices and the best texture. The bread continues to set as it cools.
Click each step to mark complete
Initial cooling
Let the loaves cool in the pans on a wire rack for 10-15 minutes. This allows the structure to firm up.
Remove from pans
Using the parchment paper handles (or by running a knife around the edges), carefully lift or turn the loaves out onto the wire rack.
Cool completely
Let the loaves cool completely on the rack, about 45-60 minutes, before slicing.
Slice and serve
Use a serrated knife for clean slices. Serve plain, with butter, or with a smear of cream cheese.
⏱ Wait Time
10-15 minutes in pan + 45-60 minutes on rack
Pro Tip
This bread tastes even better the next day after the flavors have had time to meld. The spices become more pronounced and the texture more tender.
Nutrition Facts
Per 1 slice (about 80g) • 20 servings per recipe
* Values are estimates based on standard ingredients
Storage
Room Temperature
Wrap tightly in plastic wrap or store in an airtight container at room temperature for 3-4 days. The bread actually improves in flavor on day 2.
Frozen
Wrap the whole loaf tightly in plastic wrap, then aluminum foil, then place in a freezer bag. Freeze for up to 3 months. This makes pumpkin bread perfect for Thanksgiving prep. Bake in advance and freeze, then thaw overnight before serving.
Your Feedback
Rate This Recipe
Loading ratings...
Troubleshooting
Baker's Notes
Common questions and solutions for perfect results
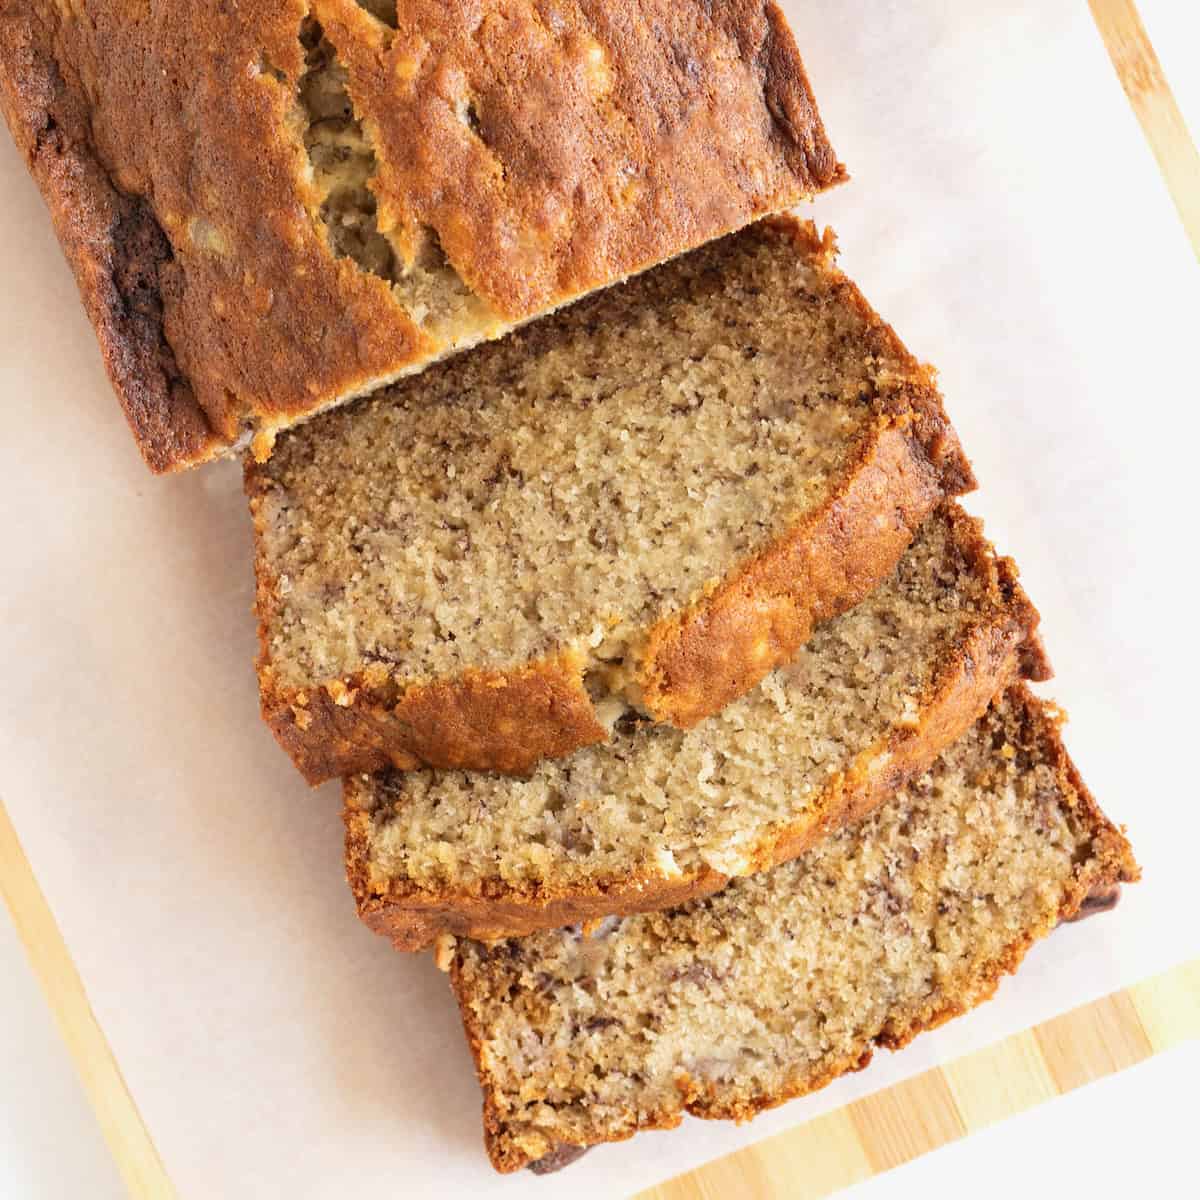
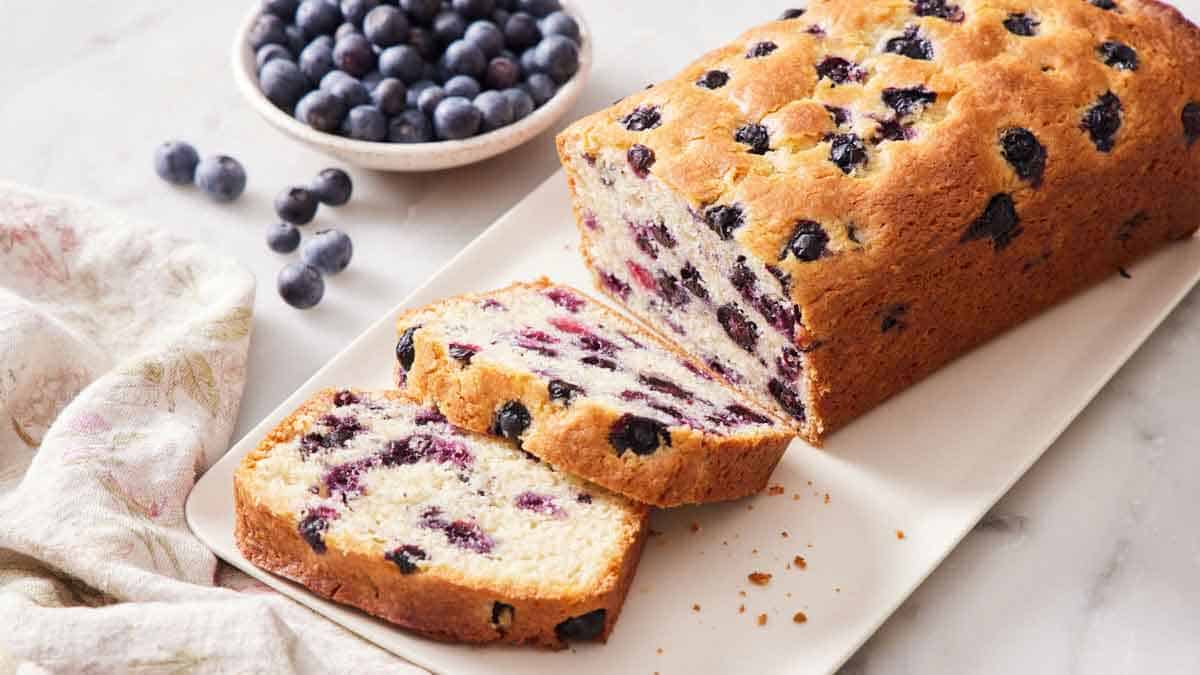
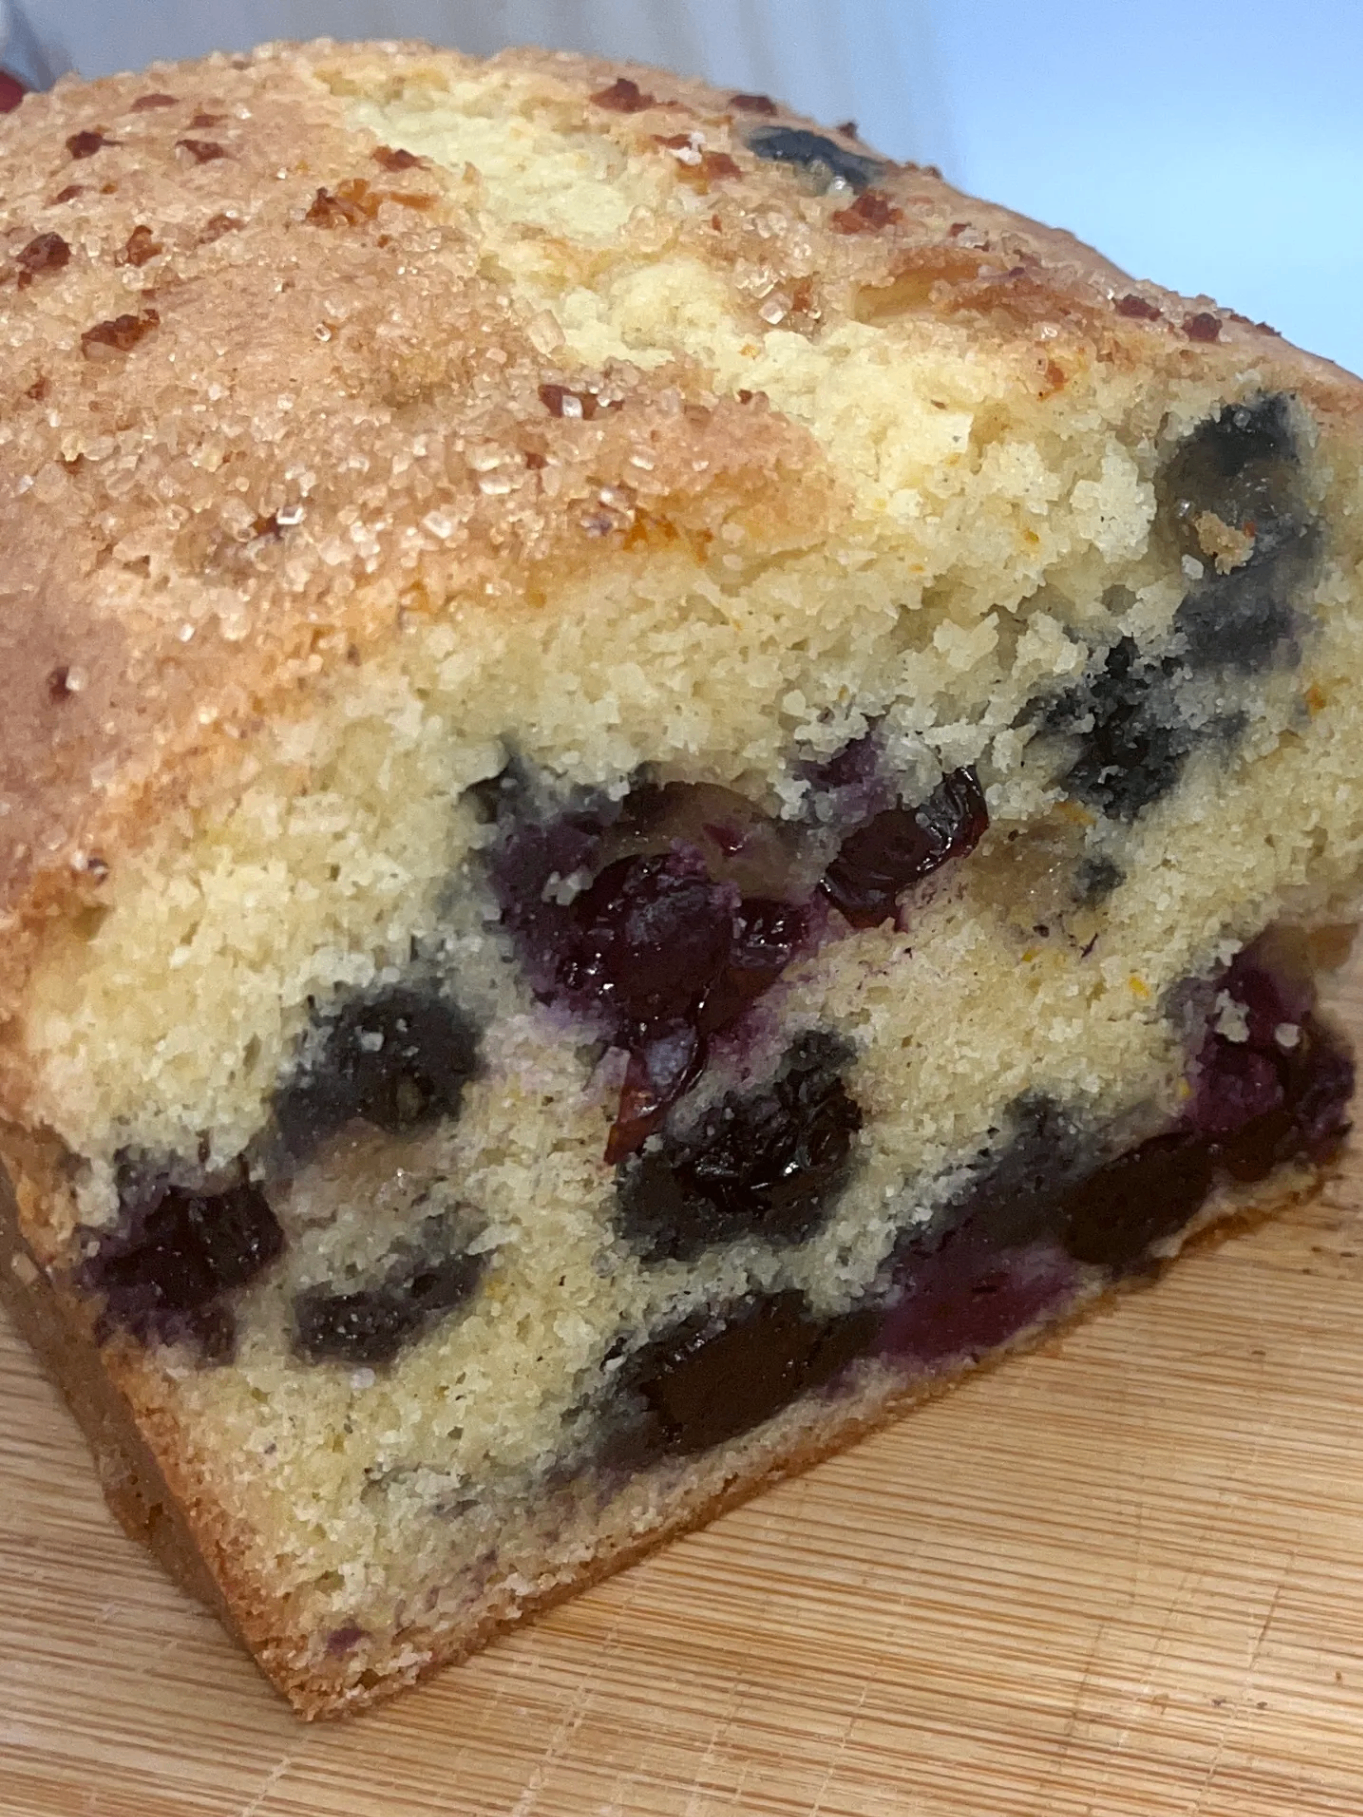
You Might Also Enjoy
More recipes from our pantry that pair well with this bake.
Get More Recipes in Your Inbox
Join thousands of home bakers receiving weekly recipes, tips, and techniques to elevate your bread game.
No spam, ever. Unsubscribe anytime.
More from Baking Great Bread at Home
Tools, resources, and community to help you bake better bread

Crust & Crumb Academy
Go deeper into your craft. FREE courses, challenges, and real feedback. No gatekeeping. Perfection is not required.

Sourdough Starter Companion
Your AI-powered starter assistant. Track feedings, troubleshoot issues, and keep your starter thriving.

BakingGreatBread.com
Real bread for the rest of us

Baking Great Bread Blog
Recipes, tips, and stories from the bread journey

Recipe Converter
Convert sourdough recipes to yeast and back again

Crust & Crumb App
Your AI-powered baking assistant

Facebook Community
Join 50,000+ bakers sharing, learning, and supporting each other

Sourdough for the Rest of Us
Free beginner's guide to sourdough