The One Recipe You'll Make for the Rest of Your Life
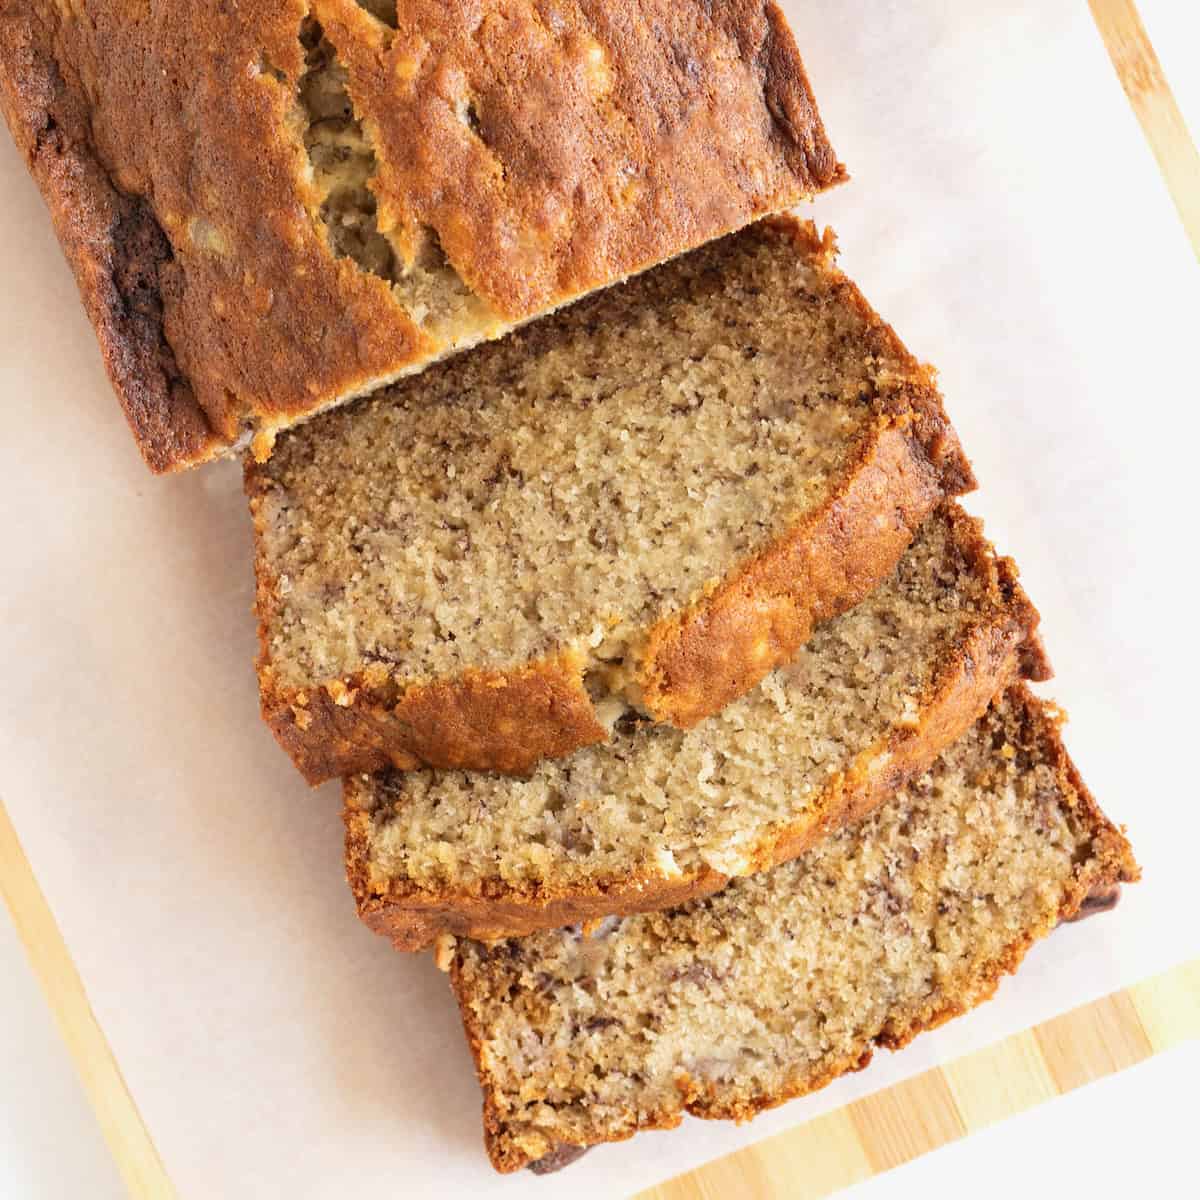
BeginnerClassic BananaBread
by Henry Hunter Jr.
Moist, buttery, and loaded with real banana flavor. This is the banana bread that ruins all other banana bread for you.
Bake Time
55-65 minutes
Yield
1 loaf (10-12 slices)

Perfection is not required
"Great bread isn't about perfect technique—it's about understanding the dough."— Henry Hunter Jr.
By Henry Hunter Jr., founder of Crust & Crumb Academy and Baking Great Bread at Home.
Authentic Flavor
Forget every dry, flavorless you've ever had. This recipe uses brown sugar for a deeper caramel sweetness, sour cream for ridiculous moisture, and plenty of ripe bananas for honest-to-goodness banana flavor. It's the kind of bread that makes your whole house smell like comfort. No fancy equipment, no complicated steps. Just mix, pour, bake, and try not to eat half the loaf while it's still warm.
Equipment Needed
Ingredients
Dry Ingredients
Wet Ingredients
Optional Add-Ins (choose one or combine)
Prep
Prep Work
Getting organized before you start makes everything go smoother. Banana bread batter comes together fast once you get rolling.
Click each step to mark complete
Preheat oven
Set your oven to 350°F (175°C). Position a rack in the lower third of the oven. This prevents the top from browning too quickly.
Prepare the loaf pan
Grease a 9x5 inch loaf pan with butter or non-stick spray. For easy removal, line the bottom and long sides with a strip of parchment paper, leaving overhang on both sides like handles.
Bring ingredients to room temperature
If you haven't already, set out your butter, eggs, and sour cream. Room temperature ingredients blend together much more smoothly.
Pro Tip
If your bananas aren't ripe enough, you can speed things up. Place unpeeled bananas on a baking sheet and bake at 300°F for 15-20 minutes until the skins are black and the bananas are soft.
Mixing
Mix the Dry Ingredients
Whisking the dry ingredients together distributes the leavening and spices evenly throughout the flour.
Click each step to mark complete
Combine dry ingredients
In a medium bowl, whisk together the flour, baking soda, salt, and cinnamon until evenly combined.
Set aside
Keep this bowl ready to add to the wet mixture later.
Pro Tip
Use the method for flour. Fluff the flour with a spoon, spoon it into your measuring cup, then level off with a straight edge. Scooping directly from the bag compacts the flour and gives you too much.
Mixing
Mash the Bananas
You want the bananas well-mashed but not completely pureed. Some small chunks add nice texture to the finished bread.
Click each step to mark complete
Peel and mash
Peel the bananas into a bowl. Using a fork or potato masher, mash until mostly smooth with some small chunks remaining.
Measure if needed
You should have about 1½ cups of mashed banana. A little more or less is fine.
Pro Tip
You can also mash bananas right in your stand mixer bowl. Break them into chunks, then beat on low speed, gradually increasing to medium until mashed. Transfer to another bowl and continue with the recipe.
Mixing
Cream the Butter and Sugar
incorporates air into the batter, which helps create a lighter texture. This step is worth doing properly.
Click each step to mark complete
Beat butter and sugar
In a large bowl using a hand mixer (or stand mixer with paddle attachment), beat the softened butter and brown sugar together on medium-high speed until light and fluffy, about 3 minutes. The mixture should be noticeably lighter in color and texture.
Add eggs
Add the eggs one at a time, beating well after each addition. Scrape down the sides of the bowl as needed.
Add sour cream and vanilla
Beat in the sour cream and vanilla extract until combined.
Add mashed bananas
Mix in the mashed bananas on low speed until just combined. The mixture may look slightly curdled at this point. That's normal.
Pro Tip
Don't skip the creaming step or rush it. Those 3 minutes of beating create air pockets that make the difference between dense banana bread and light, tender banana bread.
Precise Timers
Use these interactive timers to track your stages.
Cream butter and sugar
Mixing
Combine Wet and Dry
This is where most s go sideways. Overmixing develops gluten and makes the bread tough. Less is more.
Click each step to mark complete
Add dry to wet
Add the flour mixture to the banana mixture all at once.
Fold gently
Using a rubber spatula, the dry ingredients into the wet using broad, gentle strokes. Scrape the bottom and sides of the bowl.
Stop when just combined
Mix only until you no longer see streaks of dry flour. Some small lumps are fine. Do NOT overmix.
Add mix-ins (optional)
If using walnuts, pecans, or chocolate chips, fold them in with 2-3 more gentle strokes.
Pro Tip
Count your folds if it helps. You should need no more than 15-20 folds total. The batter should look rough and thick, not smooth.
Shaping
Pan Options
This batter works in multiple pan sizes for different occasions.
Standard 9x5 Loaf
RecommendedClick each step to mark complete
Pour batter
Pour batter into greased 9x5 loaf pan. Smooth top with spatula.
Bake
Bake 55-65 minutes at 350°F.
8x4 Loaf Pan
Click each step to mark complete
Pour batter
Pour batter into smaller 8x4 loaf pan. Batter will mound higher in the pan.
Increase bake time
Increase baking time to 60-70 minutes. Check center carefully, smaller pans can trap moisture.
Mini Loaves
Click each step to mark complete
Divide batter
Divide batter among 3-4 mini loaf pans (5x3 inch). Fill each about ⅔ full.
Reduce bake time
Reduce baking time to 35-45 minutes. Great for gifting!
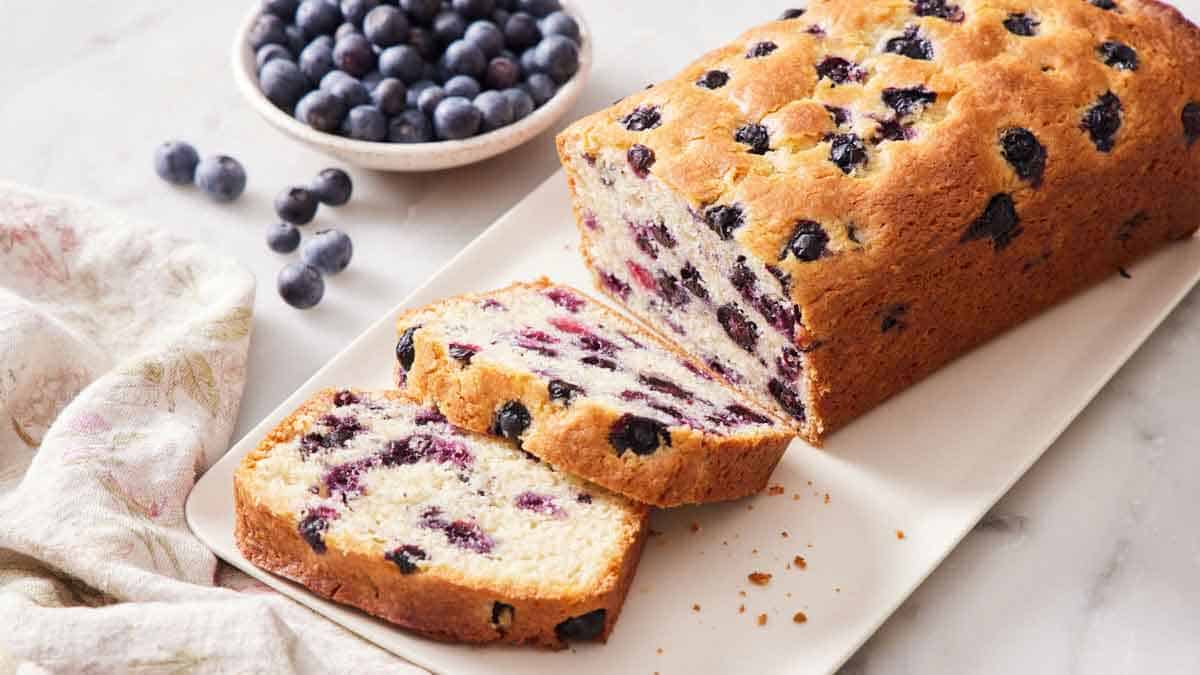
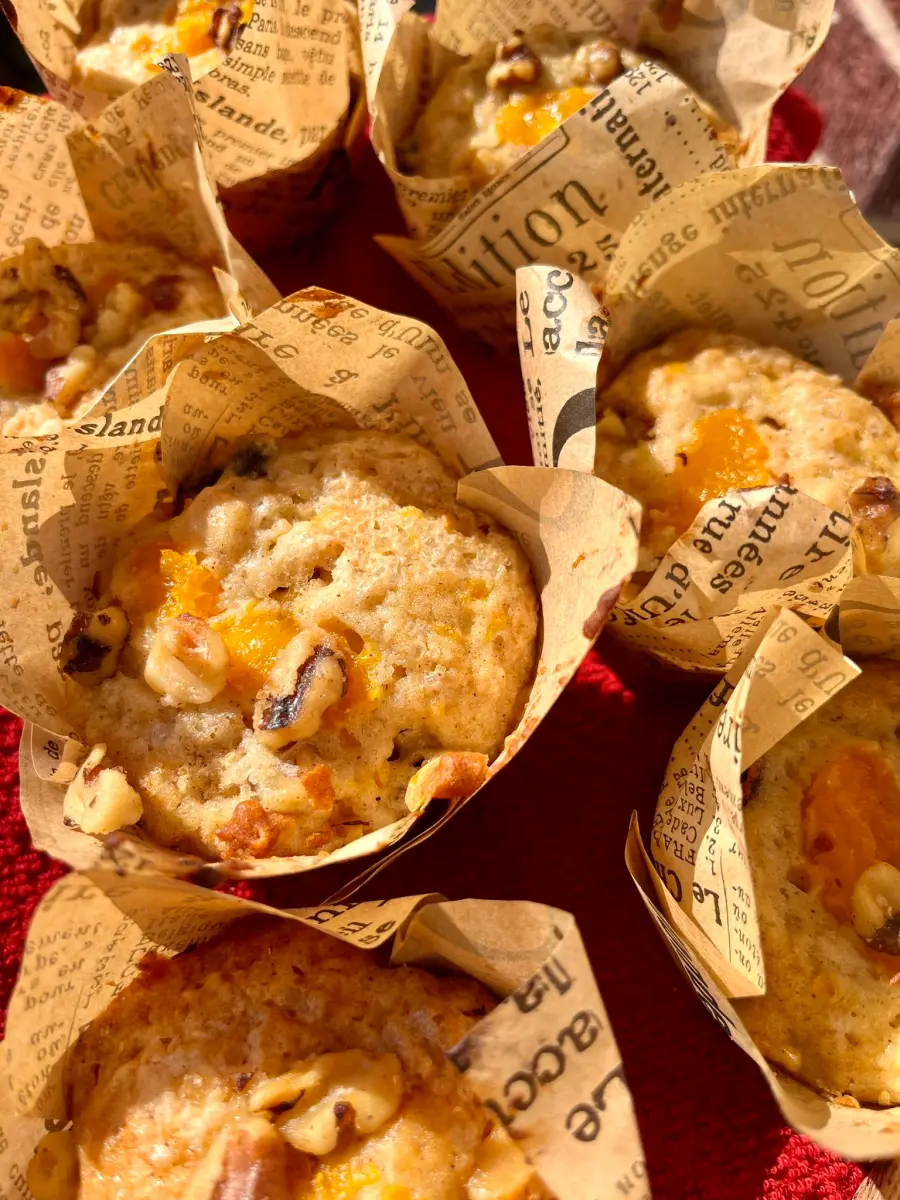
Muffins
Click each step to mark complete
Fill muffin cups
Line standard muffin tin with paper liners. Fill cups about ¾ full.
Bake
Bake 20-25 minutes at 350°F. Makes about 12 muffins.
Proof Test: Insert a toothpick into the center. It should come out clean or with just a few moist crumbs. Wet batter means it needs more time. A completely clean toothpick on first check might mean it's slightly overbaked.
Baking
Bake
Banana bread bakes low and slow at 350°F (175°C) for 55-65 minutes. The center takes longest to cook through, so be patient and test before removing.
The Science of Structure
Quick breads rely on chemical —baking soda reacting with acid—to create rise. This reaction happens fast and produces gas bubbles that expand in the heat. The batter needs time to set around these bubbles before they can hold their shape permanently.
Temperature Shock
Every time you open the oven door, you drop the temperature by 25-50°F instantly. This sudden cooling causes the delicate foam structure to collapse before the proteins and starches have set. The center, which is still liquid longest, is most vulnerable.
Vibration Matters Too
Jiggling the pan or bumping the oven rack has the same effect. The still-liquid center can't support itself if disturbed. Even sliding the rack out to check too early can cause a sunken loaf.
The Takeaway
Resist the urge to peek for at least 45 minutes. Use your oven light if you must check progress. Your patience will be rewarded with a perfectly domed loaf.
Step by Step
Fill the pan
Pour the batter into the prepared loaf pan. Use a spatula to spread it evenly and smooth the top.
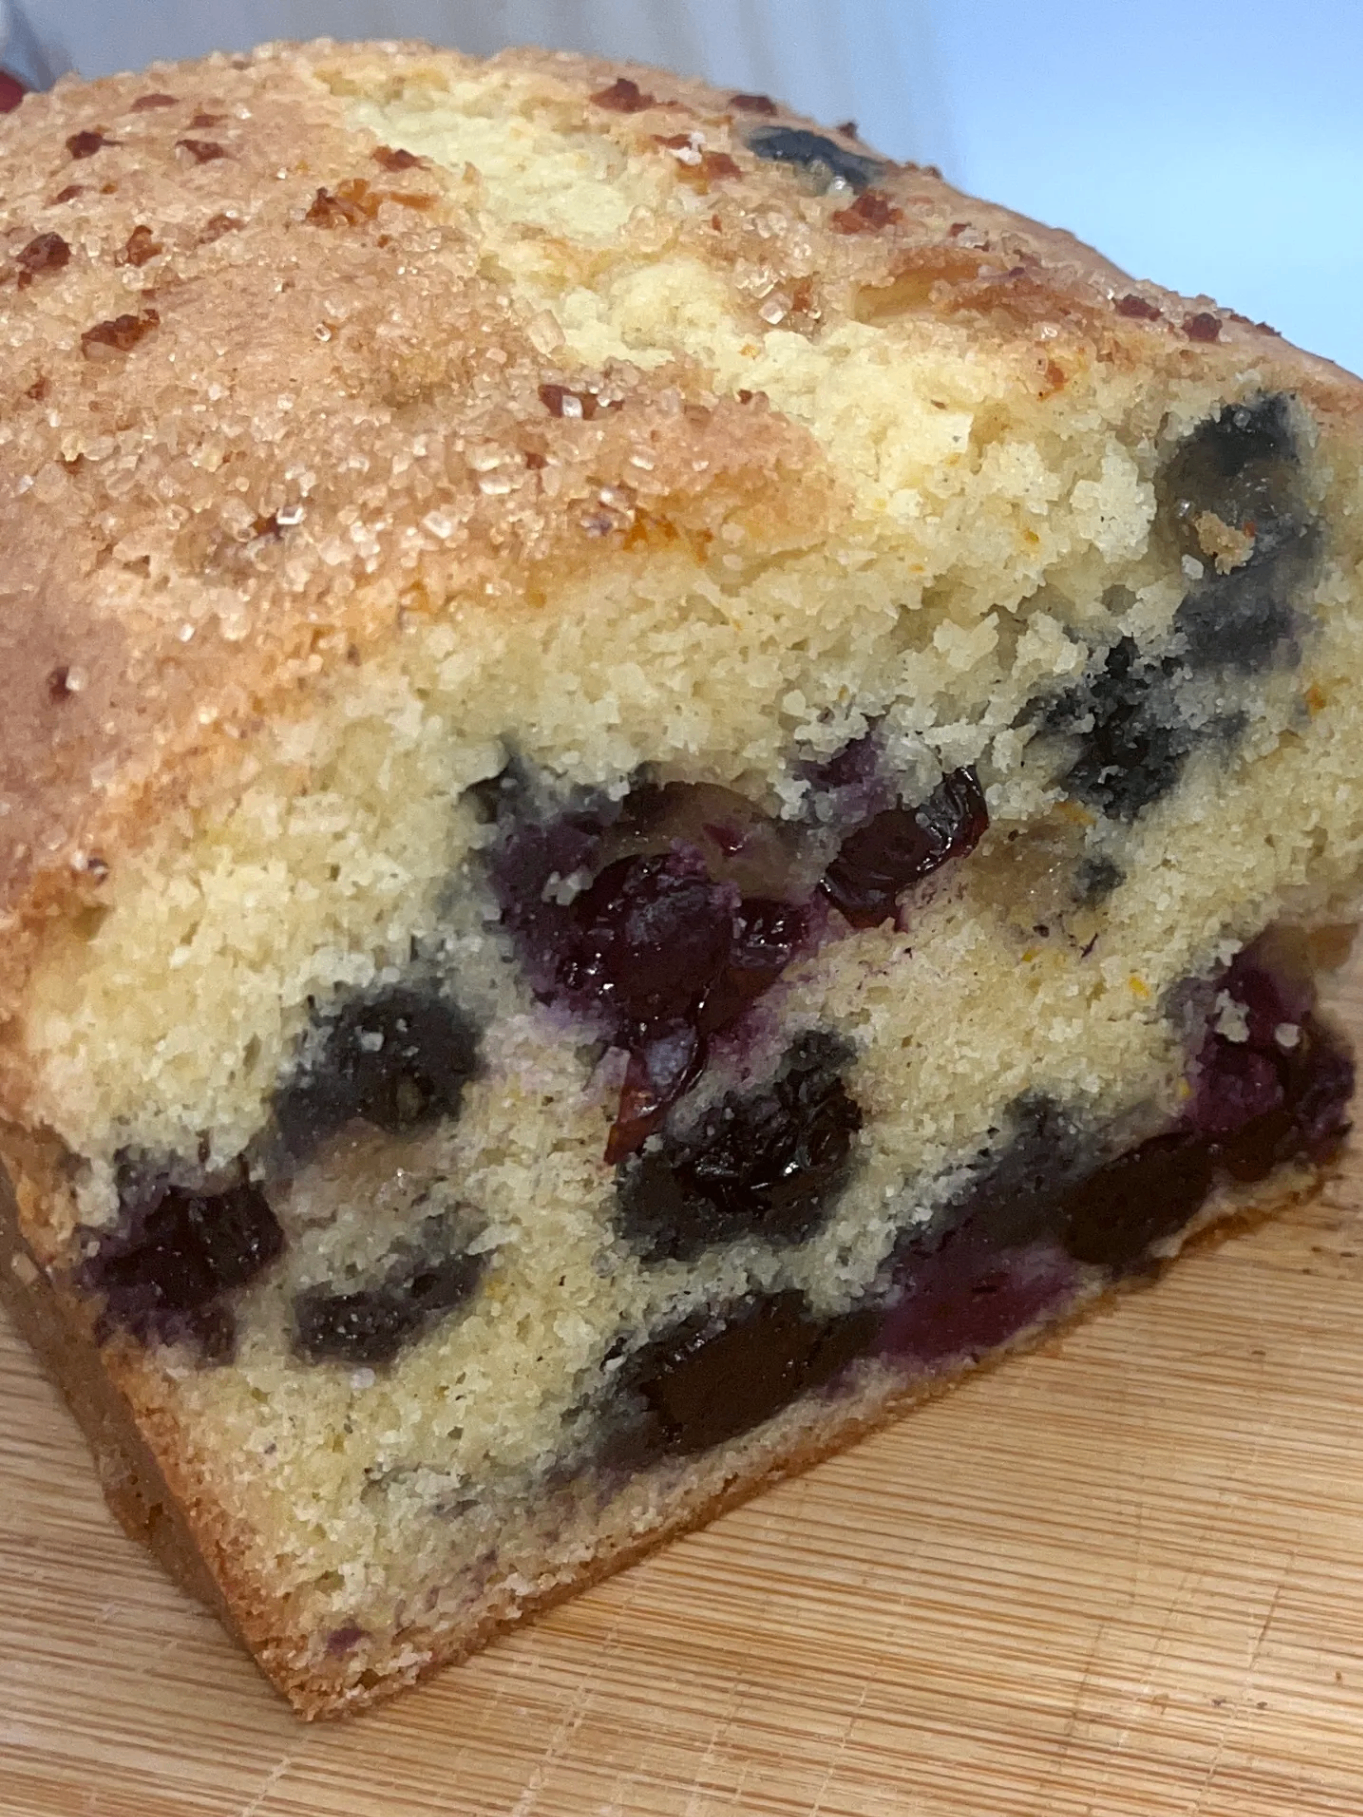
Optional topping
For extra crunch, sprinkle a few tablespoons of raw sugar or additional chopped nuts on top before baking.
Set your oven
Confirm your oven is preheated to 350°F (175°C) with the rack positioned in the lower third.
Bake undisturbed
Place the pan in the oven and bake for 55-65 minutes. Do NOT open the oven door for the first 45 minutes—this is critical.
Check for doneness
After 55 minutes, the bread is done when the top is deeply golden brown, the edges pull slightly away from the pan, and a toothpick inserted into the center comes out clean or with just a few moist crumbs.
Tent if needed
If the top is browning too quickly before the center is done, tent loosely with aluminum foil for the last 15-20 minutes.
Bake (don't peek!)
Check doneness
Quick breads often crack on top. This is normal and actually a sign of good oven spring. The crack should look moist inside, not dry. If you want a prettier top, run a butter knife down the center of the batter before baking to control where it splits.
Baking Methods
Equipment: 9x5 loaf pan, Rack in lower third position
Preheat oven
Preheat oven to 350°F.
Position rack
Position rack in lower third of oven.
Bake
Bake 55-65 minutes. Tent with foil if browning too fast.
Test for doneness
Test with toothpick for doneness.
Cooling
Cool and Serve
The hardest part of making banana bread is waiting for it to cool. Cut too early and it falls apart. Patience pays off.
Click each step to mark complete
Initial cooling
Let the bread cool in the pan on a wire rack for 15 minutes. This allows the structure to set.
Remove from pan
Using the parchment paper handles (or by running a knife around the edges), carefully lift or turn the bread out onto the wire rack.
Cool completely
Let the bread cool completely on the rack, about 30-45 minutes more, before slicing.
Slice and serve
Use a serrated knife for clean slices. Serve plain, toasted with butter, or slightly warm.
⏱ Wait Time
15 minutes in pan + 30-45 minutes on rack
Pro Tip
Here's a secret: banana bread tastes even better the next day. The flavors meld and deepen overnight. If you can resist eating it all immediately, wrap it up and try a slice tomorrow morning.
Nutrition Facts
Per 1 slice (about 85g) • 12 servings per recipe
* Values are estimates based on standard ingredients
Storage
Room Temperature
Wrap tightly in plastic wrap or store in an airtight container at room temperature for up to 4 days. The bread actually tastes better on day 2 once the flavors have melded.
Refrigerated
Up to 1 week, well wrapped.
Frozen
Wrap the whole loaf tightly in plastic wrap, then aluminum foil, then place in a freezer bag. Freeze for up to 3 months. You can also freeze individual slices for quick grab-and-go portions. Thaw overnight at room temperature or toast slices directly from frozen.
Refresh
Warm individual slices in the microwave for 15-20 seconds, or in a 300°F (150°C) oven for 5-8 minutes.
Your Feedback
Rate This Recipe
Loading ratings...
Troubleshooting
Baker's Notes
Common questions and solutions for perfect results
If you're serious about scoring, you need the right blade in your hand. Wire Monkey makes handcrafted bread lames from black walnut — built to last, balanced in the hand, and sharp enough to glide through cold dough cleanly every single time. No dragging, no hesitation marks. Just a clean cut.

Wire Monkey Handcrafted Bread Lames
You Might Also Enjoy
More recipes from our pantry that pair well with this bake.

Get More Recipes in Your Inbox
Join thousands of home bakers receiving weekly recipes, tips, and techniques to elevate your bread game.
No spam, ever. Unsubscribe anytime.
More from Baking Great Bread at Home
Tools, resources, and community to help you bake better bread

Crust & Crumb Academy
Go deeper into your craft. FREE courses, challenges, and real feedback. No gatekeeping. Perfection is not required.

Sourdough Starter Companion
Your AI-powered starter assistant. Track feedings, troubleshoot issues, and keep your starter thriving.

BakingGreatBread.com
Real bread for the rest of us

Baking Great Bread Blog
Recipes, tips, and stories from the bread journey

Recipe Converter
Convert sourdough recipes to yeast and back again

Crust & Crumb App
Your AI-powered baking assistant

Facebook Community
Join 50,000+ bakers sharing, learning, and supporting each other

Sourdough for the Rest of Us
Free beginner's guide to sourdough