The Foolproof Method for Perfect Swirls Every Time
IntermediateNo-Gap Cinnamon SwirlBread
by Henry Hunter Jr.
Finally, cinnamon swirl bread that stays together when you slice it.
Fermentation
2-2.5 hours
Bake Time
35-40 minutes
Yield
approximately 12-14 slices


Perfection is not required
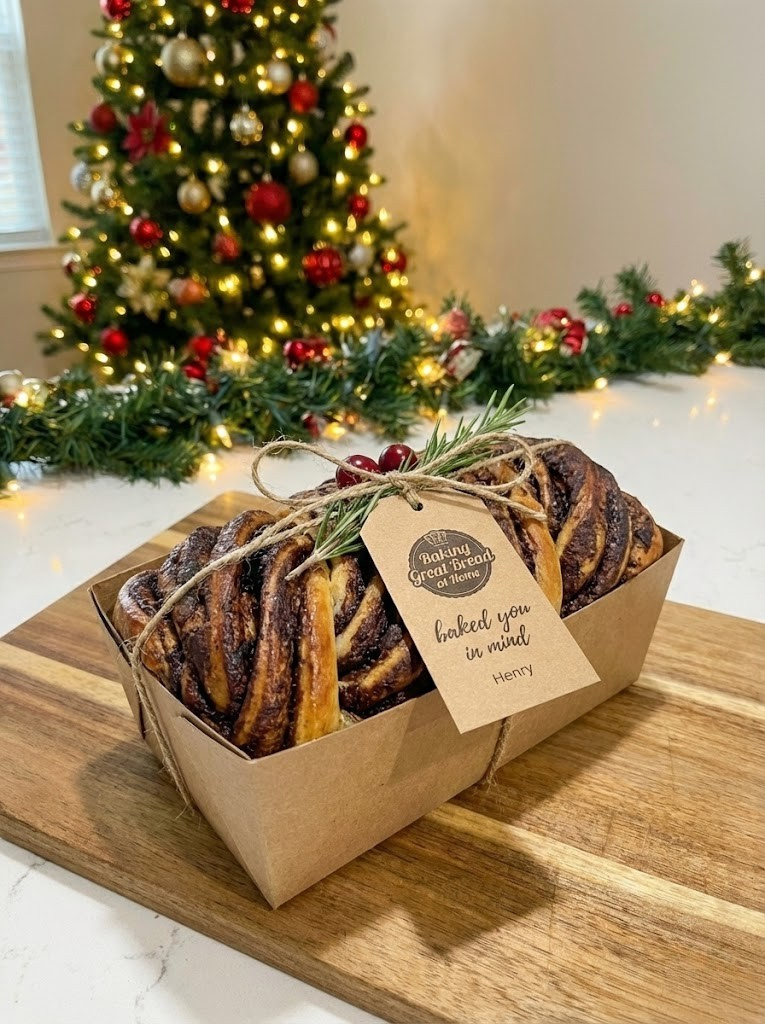
"Great bread isn't about perfect technique—it's about understanding the dough."— Henry Hunter Jr.
By Henry Hunter Jr., founder of Crust & Crumb Academy and Baking Great Bread at Home.
Authentic Flavor
This recipe solves the most frustrating problem home bakers face with cinnamon swirl bread: the dreaded gap between the swirl and the dough. Through careful testing and understanding the science behind why separation happens, I've built in every technique that actually works. You'll get a soft, pillowy loaf with a tight, beautiful spiral that won't unravel when you slice it or drop filling into the bottom of your pan.
Equipment Needed
Ingredients
Enriched Dough
A soft, pillowy base that holds the swirl together
Cinnamon Swirl Filling (The Anti-Gap Formula)
The secret is flour in the filling—it absorbs excess moisture and prevents separation
Binding Wash (NOT butter)
Egg wash creates protein bonds that fuse the layers together—butter would create gaps
Finishing
For a soft, golden crust after baking
Pro Tip
The flour in the filling is your insurance policy against gaps. As the sugar tries to melt and liquefy during baking, the flour absorbs that moisture and creates a paste-like consistency that stays put.
Science
Understanding Why Gaps Happen
The science behind perfect swirls
Understanding the science makes all the difference. Sugar melts and pools, cinnamon repels moisture, butter creates slip, and steam gets trapped. This recipe addresses every cause with flour in the filling, egg wash instead of butter, proper rolling tension, steam vents, and controlled .
Click each step to mark complete
The Problems
Sugar is hygroscopic and melts during proofing, creating liquid that seeps out. Cinnamon is hydrophobic, creating barriers between layers. Butter makes layers slippery. Steam builds up with nowhere to go.
The Solutions (Built Into This Recipe)
Flour in the filling absorbs excess moisture. Egg wash creates protein bonds that fuse layers. Proper rolling technique with controlled tension. Steam vents poked before baking. Complete cooling before slicing.
Pro Tip
Every step in this recipe exists for a reason. Don't skip the flour in the filling, don't substitute butter for egg wash, and don't slice before cooling.
Day 1
Mix the Dough
Building a soft, enriched dough
This gets its tenderness from eggs and butter. Proper development is essential for holding the swirl together.
Click each step to mark complete
Bloom the yeast
In the bowl of your stand mixer, combine warm milk (100-110°F / 38-43°C) and . Let sit 5 minutes until slightly foamy.
Add wet ingredients
Whisk in the sugar and egg until combined.
Add flour and salt
Add bread flour and salt. Using the dough hook, mix on low speed until a forms, about 2 minutes.
Add butter and knead
With the mixer running on low, add the softened butter one tablespoon at a time. Once incorporated, increase to medium speed and knead for 8-10 minutes until the dough is smooth, elastic, and pulls away from the sides. It should pass the .
Check dough temperature
Use an to check the dough. It should be around 75-78°F (24-26°C) for optimal fermentation.
Pro Tip
If mixing by hand, knead on a lightly floured surface for 12-15 minutes. The dough will feel slightly tacky but shouldn't stick aggressively to your hands.
Precise Timers
Use these interactive timers to track your stages.
Bloom Yeast
Knead Dough
Day 1
First Rise (Bulk Fermentation)
1-1.5 hours at room temperature
Developing flavor and structure through controlled . This enriched dough rises faster than lean doughs.
Click each step to mark complete
Shape into a ball
Form the dough into a smooth ball and place in a lightly greased bowl.
Cover and rise
Cover with plastic wrap or a damp towel. Let rise at room temperature (70-75°F / 21-24°C) until doubled in size, about 1-1.5 hours.
The poke test
Press your floured finger about ½ inch into the dough. If the indentation springs back slowly and partially fills in, it's ready. If it springs back immediately, it needs more time. Use the to verify.
⏱ Wait Time
Let the dough double in size
Pro Tip
Do NOT let this dough overproof. Overproofing is one of the main causes of swirl separation. The dough should double, not triple. When in doubt, move on early.
Precise Timers
Use these interactive timers to track your stages.
First Rise Check
Day 1
Prepare the Cinnamon Filling
The anti-gap formula
Creating a stabilized filling that won't liquefy and separate. The flour is your secret weapon against gaps.
Click each step to mark complete
Combine dry ingredients
In a small bowl, whisk together the sugar, cinnamon, flour, and salt until evenly combined. The flour is your insurance policy against gaps.
Add raisins (optional)
If using raisins, pulse them in a food processor until they're in ¼ inch pieces or smaller. Large raisins create pockets that cause gaps. Fold into the cinnamon mixture.
Check consistency
The mixture should look like rough sand. If you pinch it, it should hold together slightly from the flour.
Prepare the egg wash
In another small bowl, whisk together the egg white and water. This is your binding agent—NOT butter. The protein in the egg white will fuse the layers together as they bake.
Pro Tip
The flour in the filling serves as a stabilizer. As the sugar tries to melt and liquefy during baking, the flour absorbs that moisture and creates a paste-like consistency that stays put.
Day 1
Second Rise (Final Proof)
45-60 minutes—don't overproof!
A controlled final rise that prevents . This is where many bakers go wrong by letting the dough rise too much.
Click each step to mark complete
Place in pan
Set the shaped log seam-side down in a greased 9x5 inch .
Cover and proof
Cover loosely with plastic wrap or a damp towel. Let rise until the dough crowns about 1 inch above the rim of the pan, approximately 45-60 minutes.
Preheat oven
About 20 minutes before you expect the dough to be ready, preheat your oven to 350°F (180°C). Place a rack in the lower third of the oven.
The poke test again
The dough is ready when you gently poke the top and it springs back slowly, leaving a small indent. Use the to verify readiness.
⏱ Wait Time
Rise until 1 inch above pan rim
Pro Tip
Do NOT let this overproof. The dough should rise 1 inch above the pan, not 2 inches. Overproofed dough creates large air pockets that push the swirl apart.
Precise Timers
Use these interactive timers to track your stages.
Preheat Oven
Check Proof
Shaping
Shaping Options
The classic log is recommended for beginners. The figure-eight twist is more decorative but riskier for gaps.
Classic Log
The foolproof method for perfect swirls
RecommendedClick each step to mark complete
Roll into rectangle
Roll dough into 9x18 inch rectangle, about ¼ inch thick
Apply egg wash and filling
Brush with egg wash, sprinkle cinnamon-sugar evenly, leaving ½ inch border
Roll with tension
Roll from short end using the Sleeping Bag Method—pull back while rolling forward
Seal and place
Seal seam with egg wash, pinch ends closed, place seam-side down in greased pan
Figure-Eight Twist (Advanced)
More decorative but more prone to gaps. Save this for after you've mastered the classic log.
Click each step to mark complete
Roll and fill as above
Follow the same rolling and filling process as the classic log
Roll into a log
Roll up the dough into a tight log
Slice lengthwise
Using a sharp knife, slice the log lengthwise almost to one end (leaving about 1 inch connected)
Twist the halves
Twist the two halves around each other, keeping cut sides facing up to expose the swirl
Place in pan
Carefully place the twisted loaf in the greased pan
Proof Test: The : Gently poke the dough with a floured finger. If it springs back slowly and leaves a slight indent, it's ready. If it springs back immediately, it needs more time.
Day 1
Bake
Baking with steam venting to prevent separation. The steam vents are crucial—they give trapped steam somewhere to escape instead of pushing layers apart.
Step by Step
Create steam vents
Just before baking, use a toothpick or thin skewer to poke 3-4 holes straight down through the top of the loaf, going about 1 inch deep. These vents allow trapped steam to escape.
Bake
Place the pan on the lower-third rack. Bake at 350°F (180°C) for 35-40 minutes.
Check for doneness
The loaf is done when the top is deep golden brown, it sounds hollow when tapped, and reads 190-195°F (88-90°C) in the center. Use an to verify.
Remove and brush
Immediately remove the loaf from the pan and place on a . Brush the top with melted butter while still warm for a soft, golden crust.
Bake Time
Cinnamon swirl bread typically bakes 5-10 minutes longer than regular sandwich bread because of the filling. Don't pull it early. Use a thermometer to be sure.
Baking Methods
Position rack in lower third of oven. Poke steam vents before baking.
Equipment: 9x5 inch loaf pan, wire cooling rack
Preheat oven
Preheat oven to 350°F (180°C) with rack in lower third
Create steam vents
Poke 3-4 steam vents with a toothpick, about 1 inch deep
Set up steam pan (optional)
Place a metal pan on the bottom rack of the oven during preheat. Just before putting your loaf in, pour about 1 cup of hot water into that pan. The steam during the first 10-15 minutes helps the crust set gradually, which reduces the chance of the top cracking and pulling away from the filling. Remove the water pan after 15 minutes.
Bake
Bake 35-40 minutes until deep golden brown
Check temperature
Internal temp should read 190-195°F (88-90°C)
Remove and cool
Remove from pan immediately, brush with butter, and cool on wire rack
"Always use an instant-read thermometer to verify doneness. Cinnamon swirl bread often looks done before it actually is."
Day 1
Cool Completely (Yes, Really)
60 minutes minimum—the hardest part
This might be the hardest part, but it's essential for clean slices. The internal structure needs to set, and the cinnamon filling needs to firm up.
Click each step to mark complete
Be patient
Let the loaf cool on the wire rack for at least 1 hour before slicing. The internal structure needs to set, and the cinnamon filling needs to firm up.
Why this matters
Cutting while warm will smush the soft interior, pull the swirl apart, create ragged slices, and potentially destabilize the rest of the loaf.
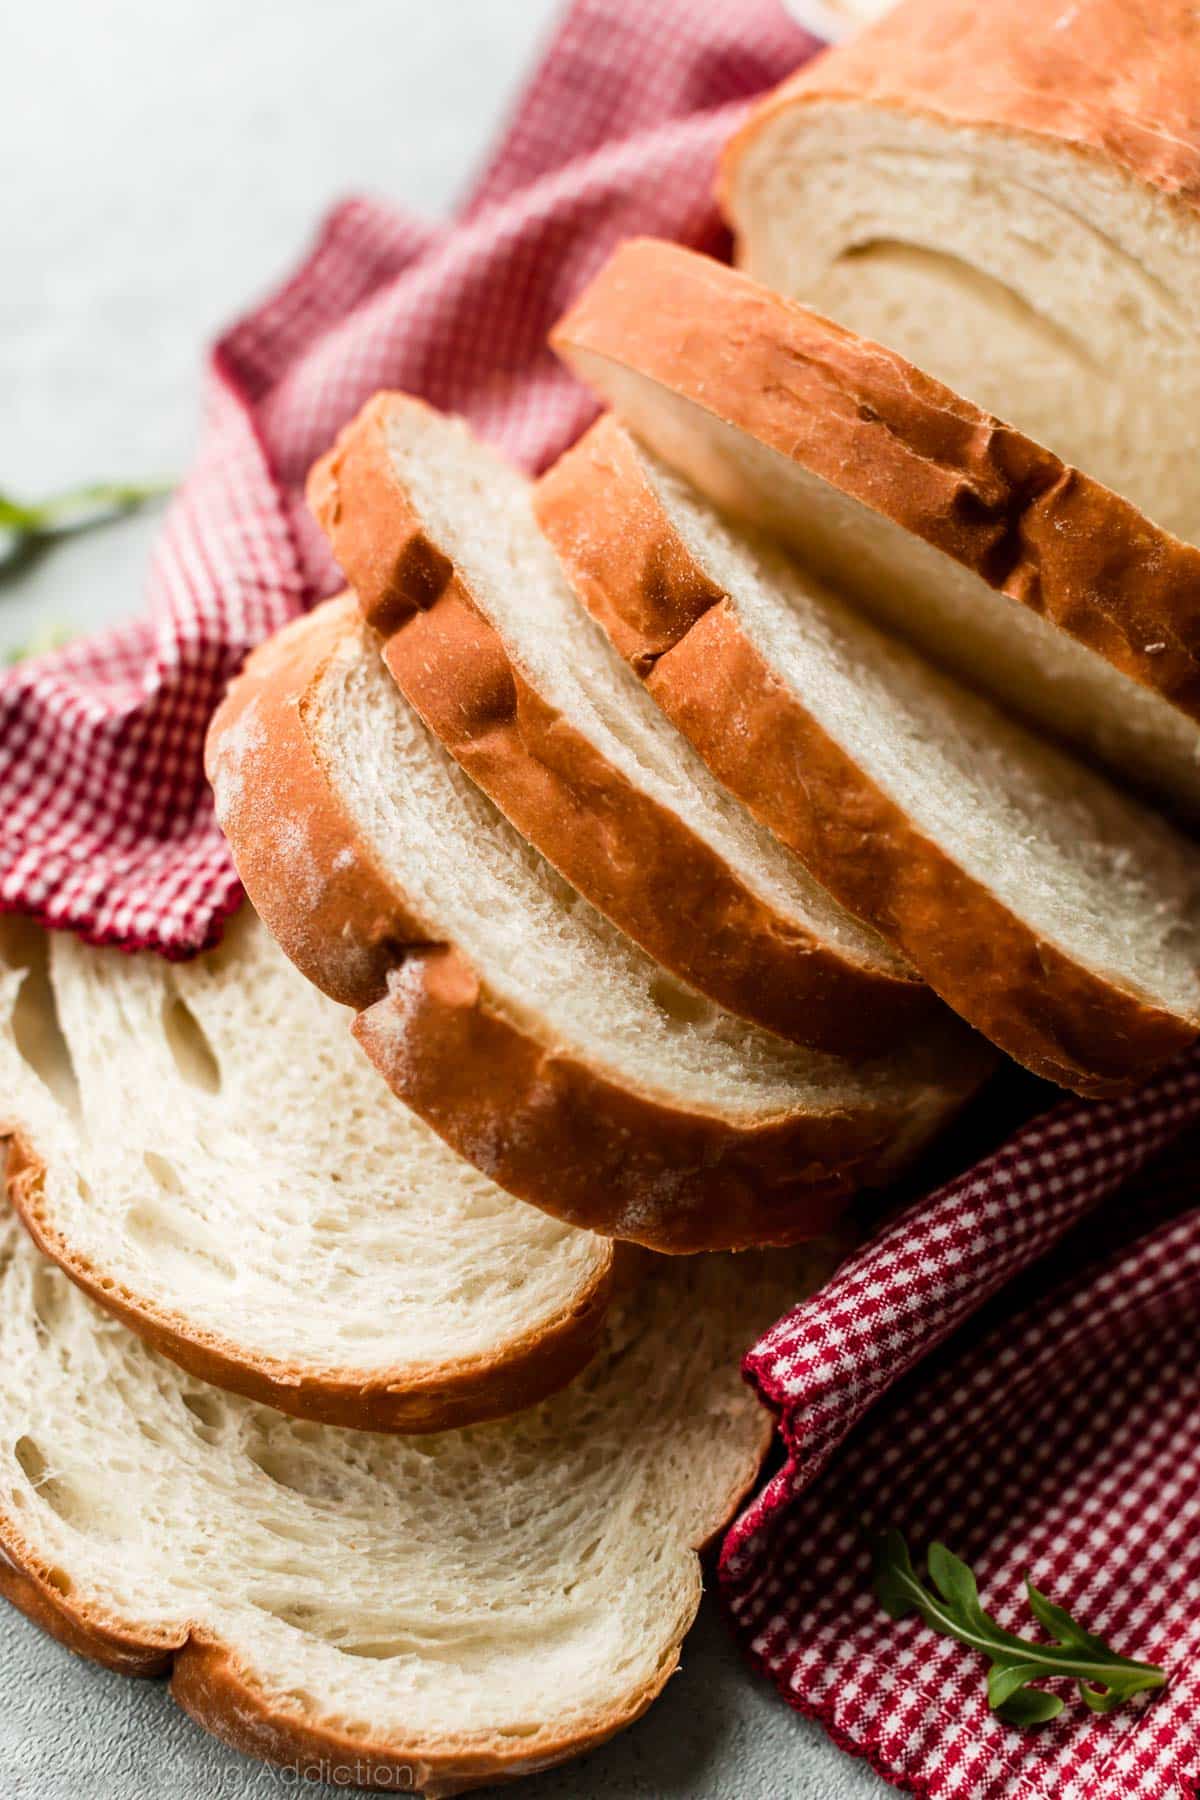
Use a serrated knife
When you do slice, use a sharp serrated bread knife in a gentle sawing motion. Don't press down; let the knife do the work.
⏱ Wait Time
Cool completely before slicing
Pro Tip
If you absolutely cannot wait, cut from the end that looks most stable and eat that first piece over the sink. No judgment. But try to let the rest cool.
Precise Timers
Use these interactive timers to track your stages.
Cooling Complete
Nutrition Facts
Per 1 slice (about 75g) • 14 servings per recipe
* Values are estimates based on standard ingredients
Storage
Room Temperature
3-4 days wrapped in plastic wrap or a bread bag. Toast slices for best texture after day 2.
Frozen
Up to 3 months. Slice the loaf first, then freeze in a freezer bag with parchment between slices for easy single-serving removal. Toast frozen slices directly in the toaster.
💡 Do NOT refrigerate. Refrigeration accelerates staling. Keep at room temperature or freeze.
Your Feedback
Rate This Recipe
Loading ratings...
Troubleshooting
Baker's Notes
Common questions and solutions for perfect results
If you're serious about scoring, you need the right blade in your hand. Wire Monkey makes handcrafted bread lames from black walnut — built to last, balanced in the hand, and sharp enough to glide through cold dough cleanly every single time. No dragging, no hesitation marks. Just a clean cut.

Wire Monkey Handcrafted Bread Lames
You Might Also Enjoy
More recipes from our pantry that pair well with this bake.
Get More Recipes in Your Inbox
Join thousands of home bakers receiving weekly recipes, tips, and techniques to elevate your bread game.
No spam, ever. Unsubscribe anytime.
More from Baking Great Bread at Home
Tools, resources, and community to help you bake better bread

Crust & Crumb Academy
Go deeper into your craft. FREE courses, challenges, and real feedback. No gatekeeping. Perfection is not required.

Sourdough Starter Companion
Your AI-powered starter assistant. Track feedings, troubleshoot issues, and keep your starter thriving.

BakingGreatBread.com
Real bread for the rest of us

Baking Great Bread Blog
Recipes, tips, and stories from the bread journey

Recipe Converter
Convert sourdough recipes to yeast and back again

Crust & Crumb App
Your AI-powered baking assistant

Facebook Community
Join 50,000+ bakers sharing, learning, and supporting each other

Sourdough for the Rest of Us
Free beginner's guide to sourdough