Soft, Fluffy, and Better Than Store-Bought
BeginnerClassic White SandwichBread
by Henry Hunter Jr.
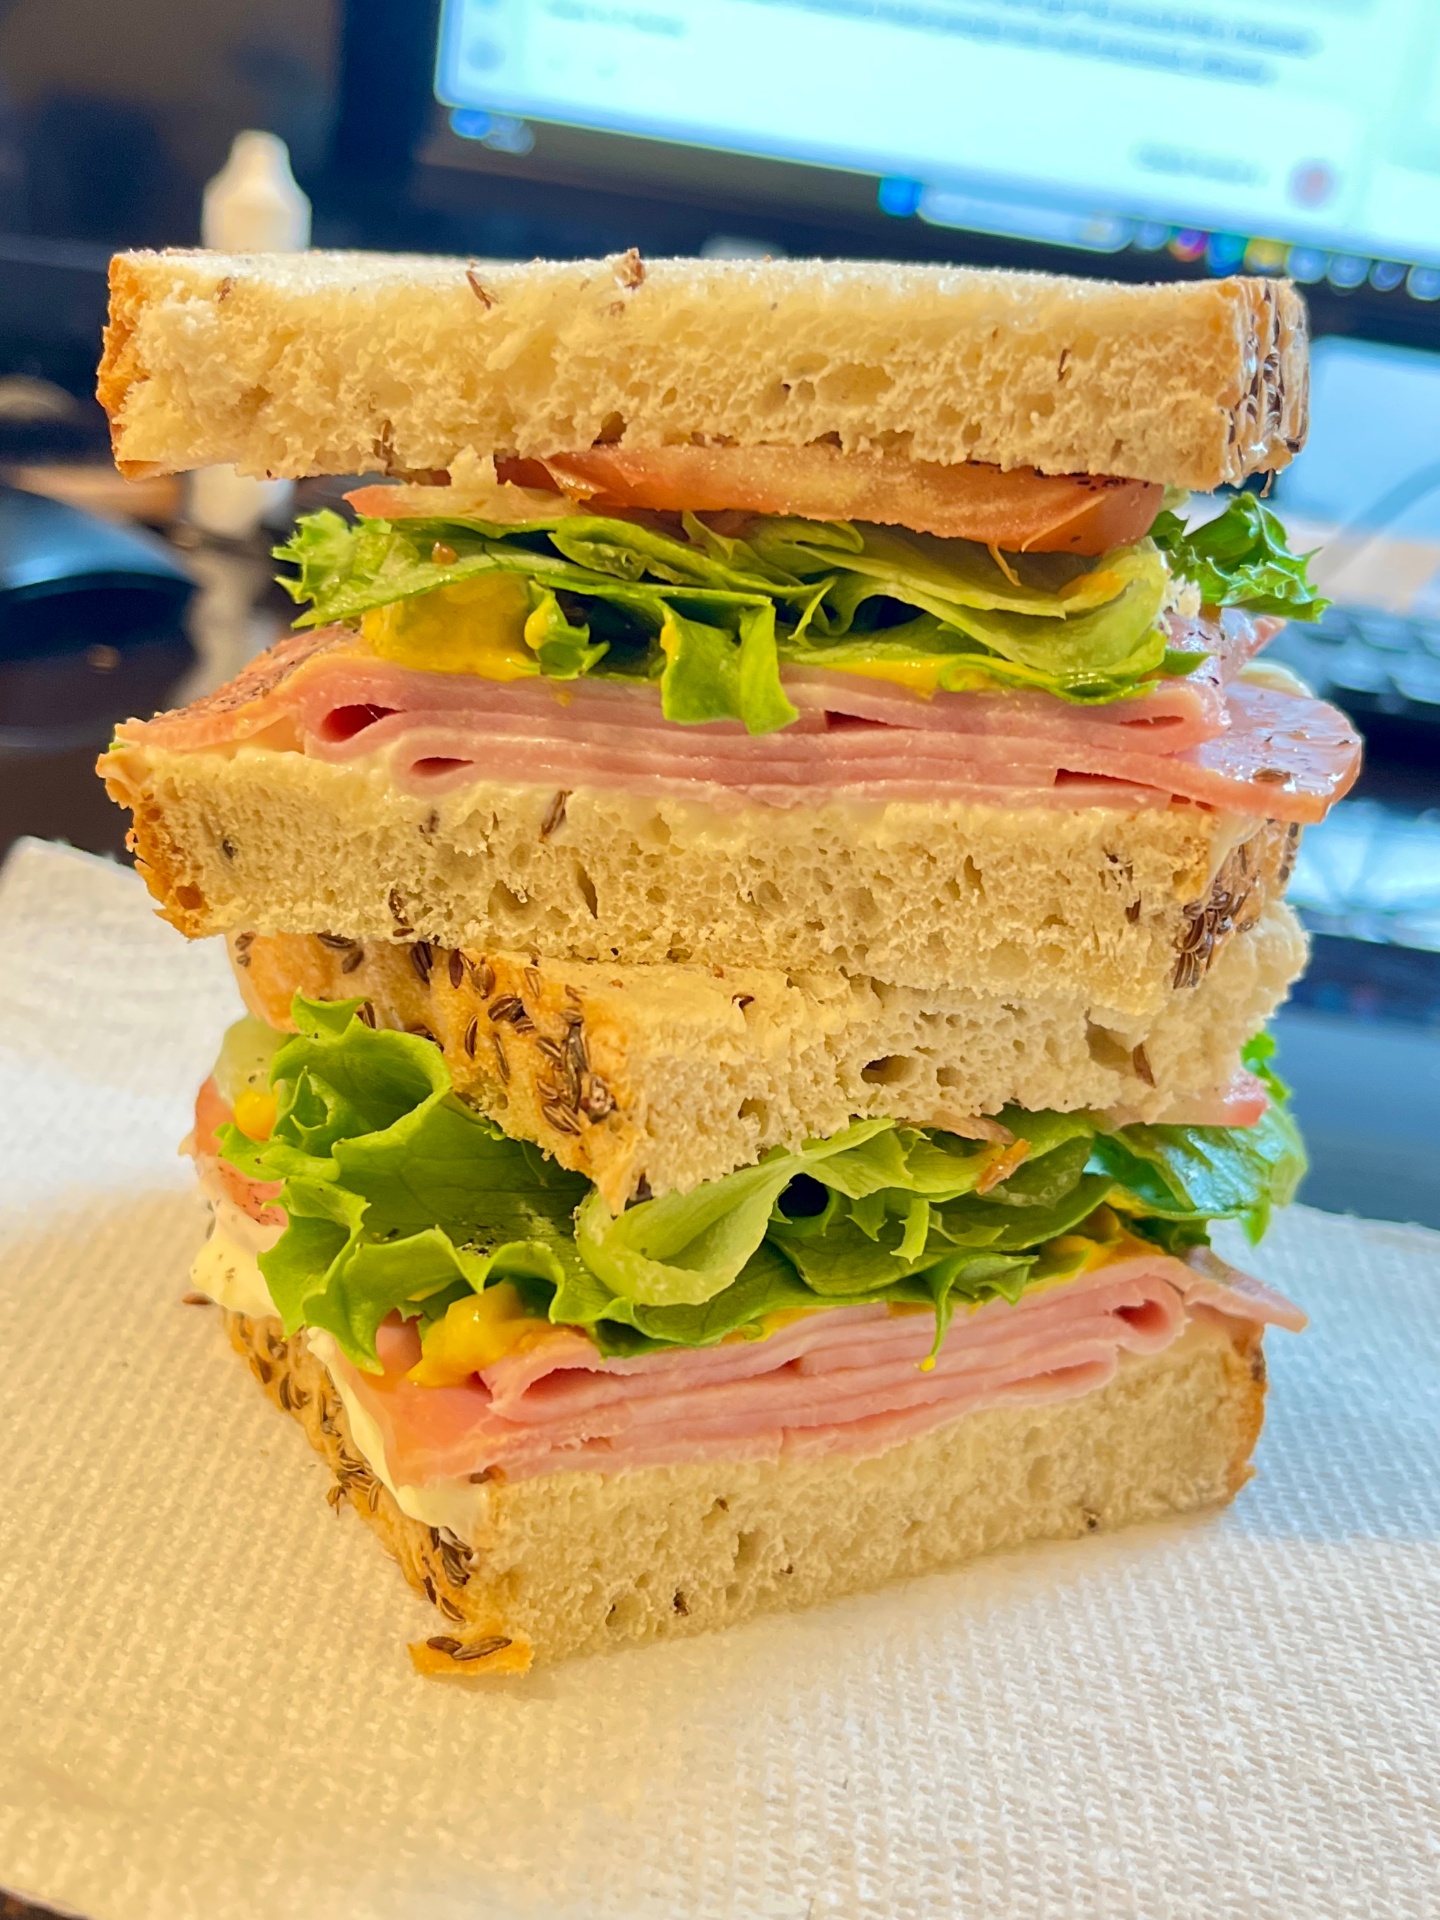
The homemade sandwich loaf your family deserves. Tall, soft, and perfect for everything from PB&J to grilled cheese.
Bake Time
30-35 minutes
Yield
2 loaves (about 12 slices each)

Perfection is not required
"Great bread isn't about perfect technique—it's about understanding the dough."— Henry Hunter Jr.
By Henry Hunter Jr., founder of Crust & Crumb Academy and Baking Great Bread at Home.
Authentic Flavor
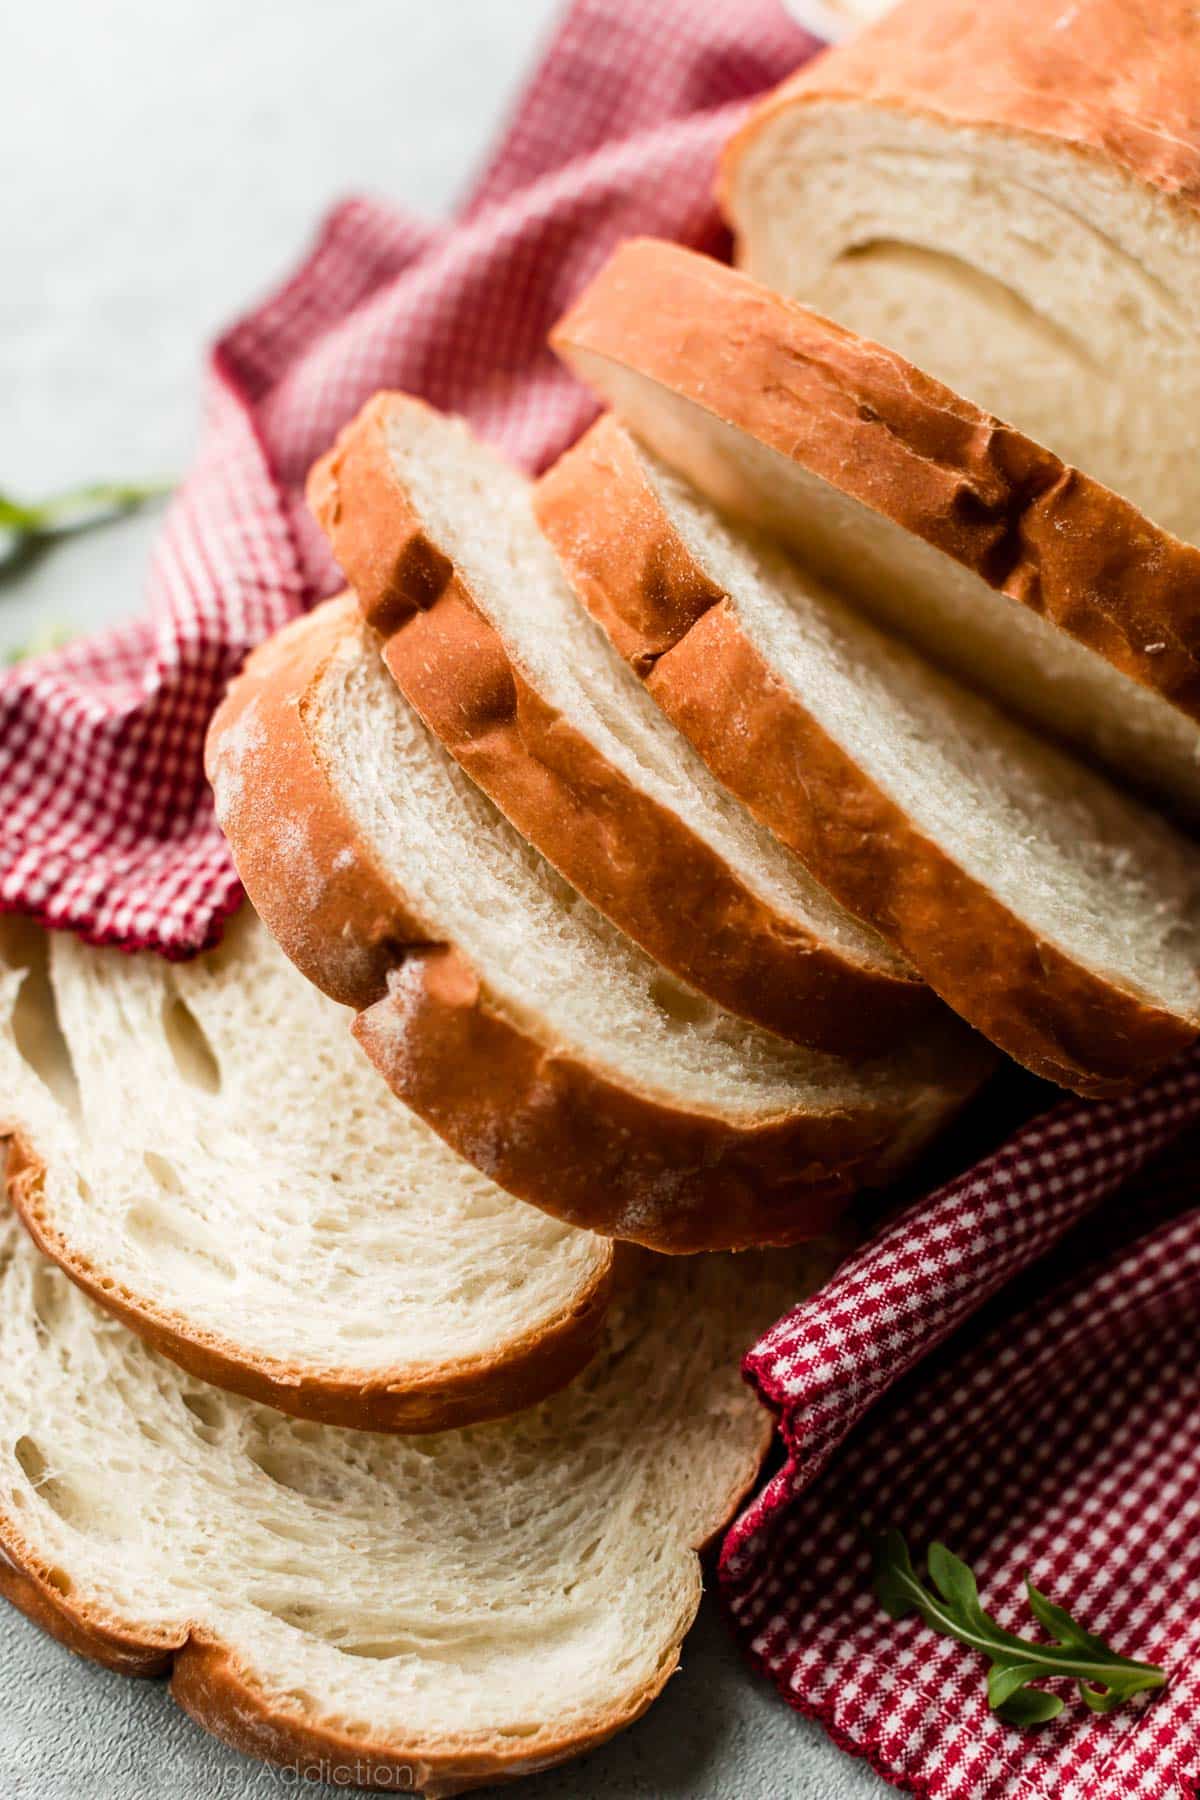
This is the white bread you grew up eating, except better. Soft, fluffy, and impossibly tender, this recipe makes two beautiful loaves that slice perfectly for sandwiches, toast like a dream, and fill your kitchen with that unmistakable fresh bread smell. I've included the tangzhong method as an option because it keeps the bread soft for up to a week without preservatives. But even the classic version makes bread so good you'll wonder why you ever bought it from the store. Make it once and you'll never go back.
Equipment Needed
Ingredients
Pro Tip
Warm liquids should feel like a warm bath, not hot. Too hot kills yeast. Too cold slows it down. Aim for 105-110°F.
Activate the Yeast
Proofing the yeast ensures it's alive and active before you invest time in making the dough.
Click each step to mark complete
Combine warm water, milk, and sugar
In a large mixing bowl or the bowl of your stand mixer, combine the warm water (120g), warm milk (360g for classic, 240g if using tangzhong), and sugar. Stir to dissolve the sugar.
Add yeast
Sprinkle the yeast over the surface of the liquid. Give it a gentle stir.
Wait for activation
Let the mixture sit for 5-10 minutes until it becomes foamy and smells yeasty. This confirms your yeast is alive and ready to work.
⏱ Wait Time
Pro Tip
If using instant yeast, you can skip the proofing step and add the yeast directly with the flour. But I like to proof even instant yeast just to confirm it's active.
Mix the Dough
Bringing the dough together is simple. Add ingredients in order and mix until you have a .
Click each step to mark complete
Add tangzhong (if using)
If you made tangzhong, add the cooled paste to the yeast mixture and stir to combine.
Add flour and salt
Add the bread flour (700g for classic, 660g if using tangzhong since some went into the paste) and salt to the bowl.
Mix until shaggy
Using a dough hook on low speed, or a wooden spoon if mixing by hand, combine everything until a shaggy dough forms and no dry flour remains. This takes about 2 minutes.
Add butter
Add the softened butter pieces and continue mixing until the butter is incorporated.
Pro Tip
The dough will look rough at this stage. Don't worry, will smooth it out.
Knead the Dough
develops the network that gives bread its structure and soft, chewy texture.
Click each step to mark complete
Knead by machine
Increase mixer speed to medium-low (speed 2-3 on a KitchenAid). Knead for 8-10 minutes until the dough is smooth, elastic, and slightly tacky but not sticky. The dough should pull away from the sides of the bowl but may still stick slightly to the bottom.
Knead by hand (alternative)
Turn the dough out onto a lightly floured surface. Knead by pushing the dough away with the heel of your hand, folding it back over itself, and rotating 90 degrees. Repeat for 10-12 minutes until smooth and elastic.
Windowpane test (optional)
Pull off a small piece of dough and gently stretch it between your fingers. If you can stretch it thin enough to see light through without it tearing, development is complete.
Form a ball
Shape the dough into a smooth ball by tucking the edges underneath.
Pro Tip
The dough should feel like a baby's bottom. Smooth, soft, and slightly tacky. If it's too sticky, add flour a tablespoon at a time. If it's too dry and tough, add water a teaspoon at a time.
First Rise (Bulk Fermentation)
The first rise allows the yeast to produce gas that makes the bread light and airy. The dough should roughly double in size.
Click each step to mark complete
Oil the bowl
Lightly grease a large bowl with butter or oil.
Add dough
Place the dough ball in the bowl, turning once to coat with oil.
Cover
Cover the bowl with a damp kitchen towel or plastic wrap.
Rise
Let rise in a warm spot (75-80°F is ideal) until doubled in size, about 1 to 1.5 hours.
⏱ Wait Time
Pro Tip
The ideal spot for rising is somewhere warm and draft-free. Your oven with just the light on works great (don't turn on the oven!). Or place the covered bowl on top of the fridge where it's slightly warmer.
Shape the Loaves
Proper shaping creates surface tension which helps the bread rise tall and even in the pan.
Click each step to mark complete
Prepare the pans
Grease two 9x5 inch loaf pans with butter or non-stick spray.
Punch down
Gently punch down the risen dough to release the large gas bubbles.
Divide
Turn the dough out onto a lightly floured surface. Using a bench scraper or knife, divide into two equal pieces (about 650g each if you have a scale).
Pre-shape
Pat each piece into a rough rectangle, about 8x6 inches.
Roll into log
Starting from a short end, roll the dough tightly into a log, pinching the seam to seal as you go.
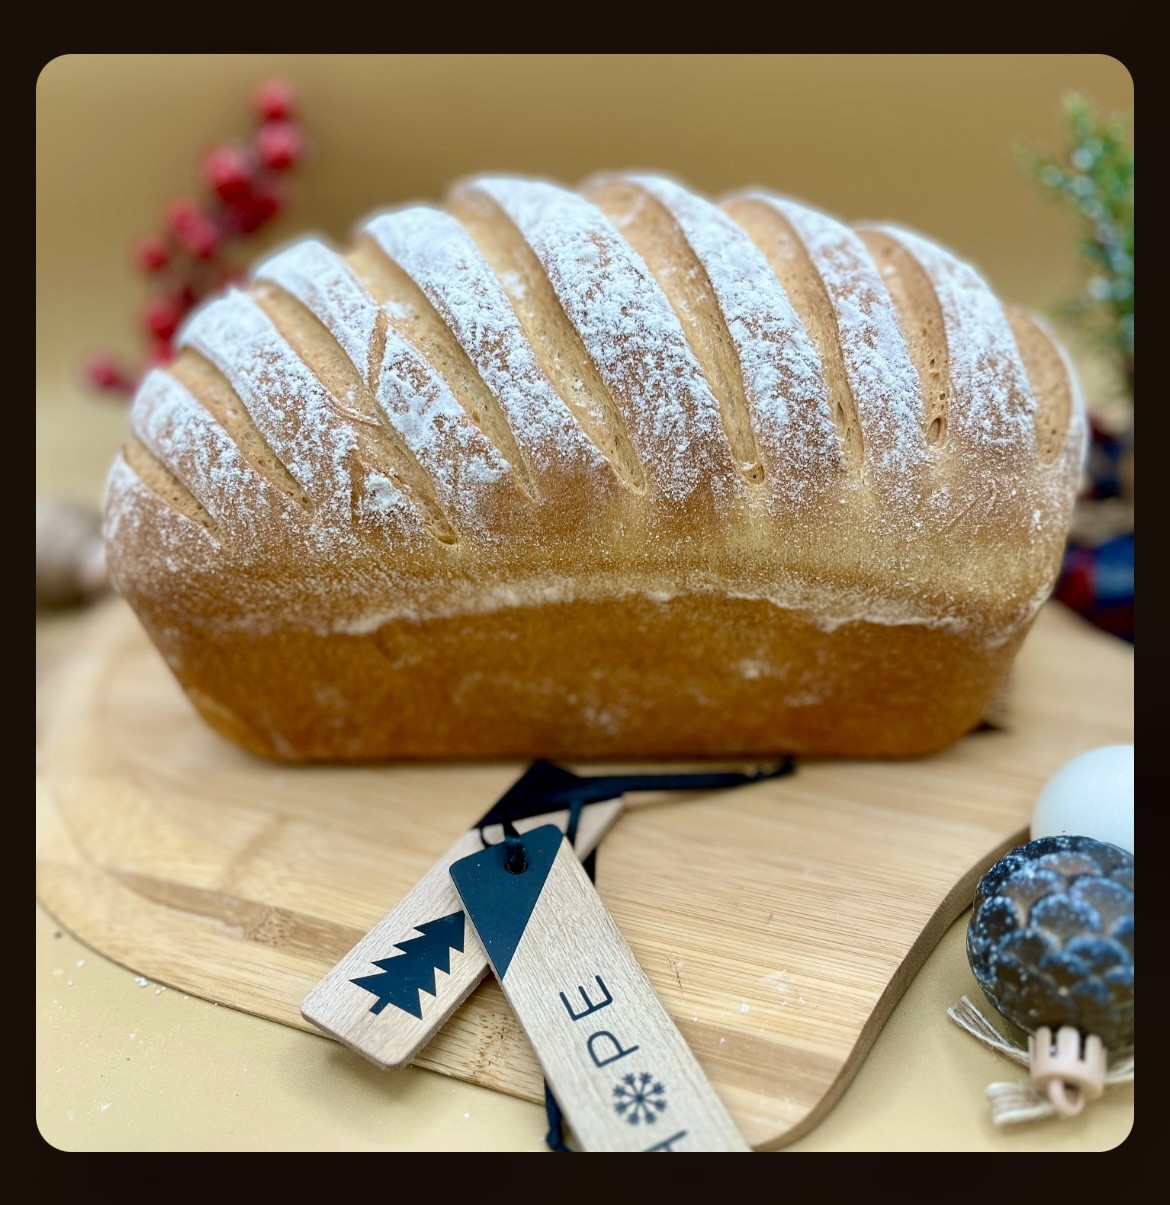
Final shape
Place each log seam-side down into a prepared loaf pan. Press gently to fill the corners of the pan.
Pro Tip
For extra-uniform slices, you can use the "letter fold" method: roll the dough into a larger rectangle (about 8x12 inches), fold the short ends toward the center like a business letter, then roll up tightly starting from a short end.
Second Rise (Proofing)
The second rise lets the shaped loaves puff up to their final size before baking.
Click each step to mark complete
Cover
Cover the loaf pans loosely with a damp towel or greased plastic wrap.
Rise
Let rise in a warm spot until the dough has risen about 1 inch above the rim of the pan, about 45-60 minutes. The dough should look puffy and spring back slowly when gently poked.
Preheat oven
About 15 minutes before the loaves are ready, preheat your oven to 375°F (190°C).
⏱ Wait Time
Pro Tip
Don't over-proof! If the dough rises too high, it may collapse in the oven. The "poke test" works well: press a floured finger about ½ inch into the dough. If the indent springs back slowly but not all the way, it's ready.
The Final Step
Bake
The final transformation happens in the oven. You'll know it's ready by color, sound, and internal temperature.
Step by Step
Optional egg wash
For a golden, shiny crust, brush the tops of the loaves with a beaten egg or milk.
Bake
Place the pans on the center rack of the preheated oven. Bake for 30-35 minutes.
Check for doneness
The bread is done when the tops are deep golden brown, the internal temperature reads 190-200°F (88-93°C), and the loaves sound hollow when tapped on the bottom.
Tent if needed
If the tops are browning too quickly, tent loosely with aluminum foil for the last 10 minutes.
Cool and Slice
Cooling completely before slicing is crucial. Cutting too early results in gummy bread.
Click each step to mark complete
Remove from pans
Immediately after removing from the oven, turn the loaves out of the pans onto a wire cooling rack. If desired, brush the tops with melted butter for a softer crust.
Cool completely
Let the loaves cool completely on the rack, at least 45 minutes to 1 hour. I know it's hard to wait!
Slice
Use a serrated bread knife for clean slices. Aim for slices about ½ inch thick for sandwiches.
⏱ Wait Time
Pro Tip
Bread continues to "set" as it cools. The interior structure firms up and excess moisture escapes. Cutting too early traps steam and makes the crumb gummy. Patience pays off!
Nutrition Facts
Per 1 slice (about 45g) • 24 servings per recipe
* Values are estimates based on standard ingredients
Storage
Room Temperature
Store in a bread box, paper bag, or wrapped in a clean kitchen towel at room temperature for 2-3 days (5-7 days with tangzhong method). Keep away from direct sunlight and heat.
Frozen
Slice the bread first, then place in a freezer bag with as much air removed as possible. Freeze for up to 3 months. Thaw individual slices at room temperature (about 20 minutes) or toast directly from frozen.
Your Feedback
Rate This Recipe
Loading ratings...
Troubleshooting
Baker's Notes
Common questions and solutions for perfect results
If you're serious about scoring, you need the right blade in your hand. Wire Monkey makes handcrafted bread lames from black walnut — built to last, balanced in the hand, and sharp enough to glide through cold dough cleanly every single time. No dragging, no hesitation marks. Just a clean cut.

Wire Monkey Handcrafted Bread Lames
You Might Also Enjoy
More recipes from our pantry that pair well with this bake.
Get More Recipes in Your Inbox
Join thousands of home bakers receiving weekly recipes, tips, and techniques to elevate your bread game.
No spam, ever. Unsubscribe anytime.
More from Baking Great Bread at Home
Tools, resources, and community to help you bake better bread

Crust & Crumb Academy
Go deeper into your craft. FREE courses, challenges, and real feedback. No gatekeeping. Perfection is not required.

Sourdough Starter Companion
Your AI-powered starter assistant. Track feedings, troubleshoot issues, and keep your starter thriving.

BakingGreatBread.com
Real bread for the rest of us

Baking Great Bread Blog
Recipes, tips, and stories from the bread journey

Recipe Converter
Convert sourdough recipes to yeast and back again

Crust & Crumb App
Your AI-powered baking assistant

Facebook Community
Join 50,000+ bakers sharing, learning, and supporting each other

Sourdough for the Rest of Us
Free beginner's guide to sourdough