Soft Sandwich Bread Using the Sponge Method
IntermediateAmerican Sandwich Bread withSponge
by Henry Hunter Jr.
Old-school bakery technique for sandwich bread with more flavor and better texture than a straight dough.
Fermentation
3-5 hours
Bake Time
30-35 minutes
Yield
2 standard loaves (9x5 inch pans)

Perfection is not required
"Great bread isn't about perfect technique—it's about understanding the dough."— Henry Hunter Jr.
By Henry Hunter Jr., founder of Crust & Crumb Academy and Baking Great Bread at Home.
Authentic Flavor
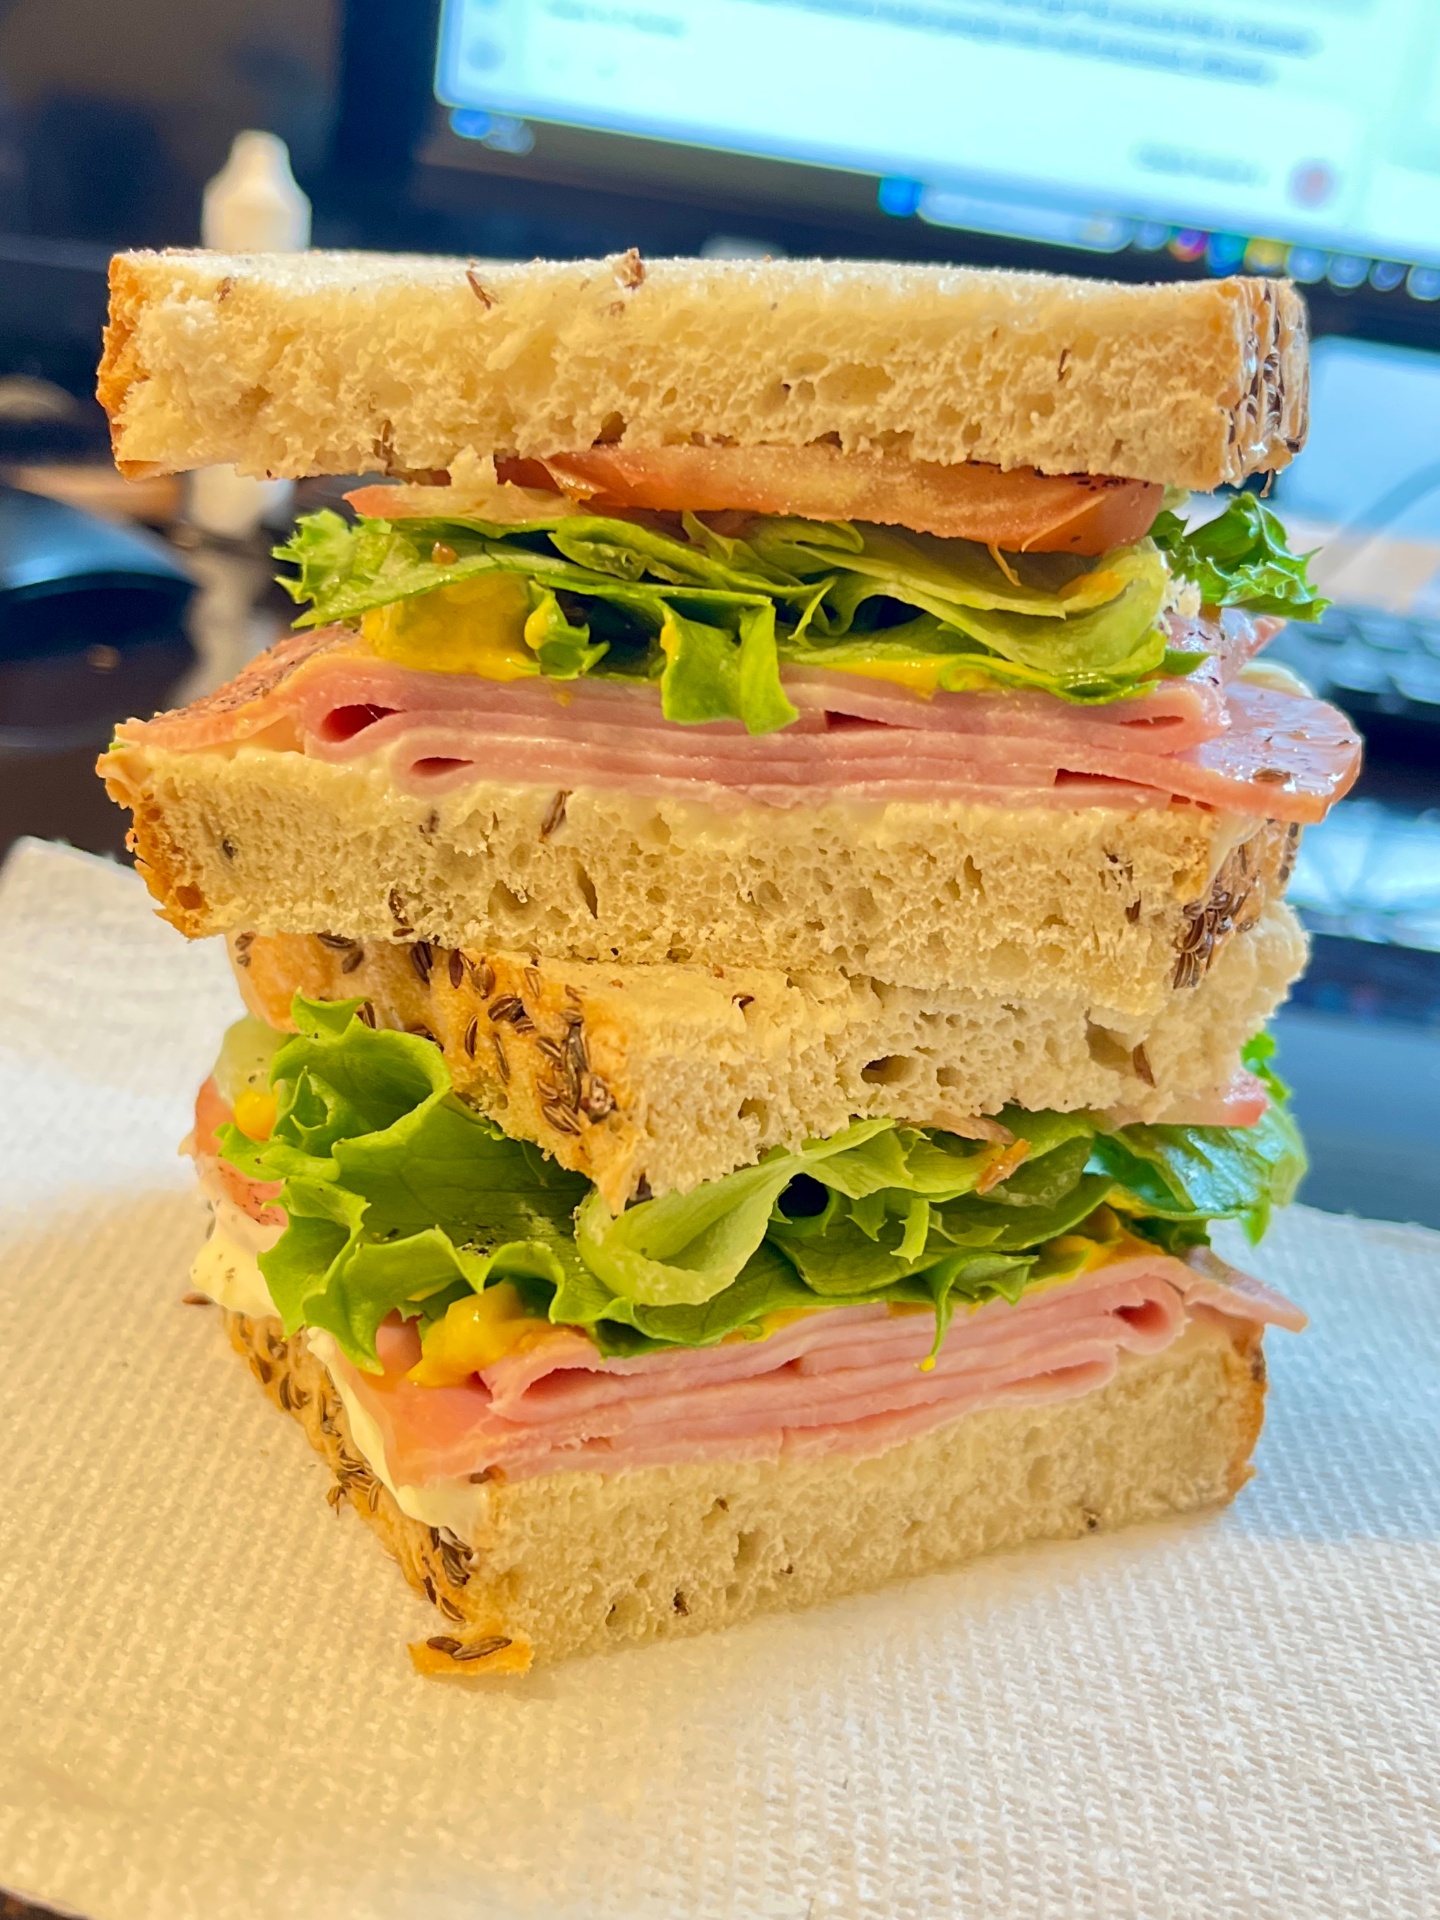
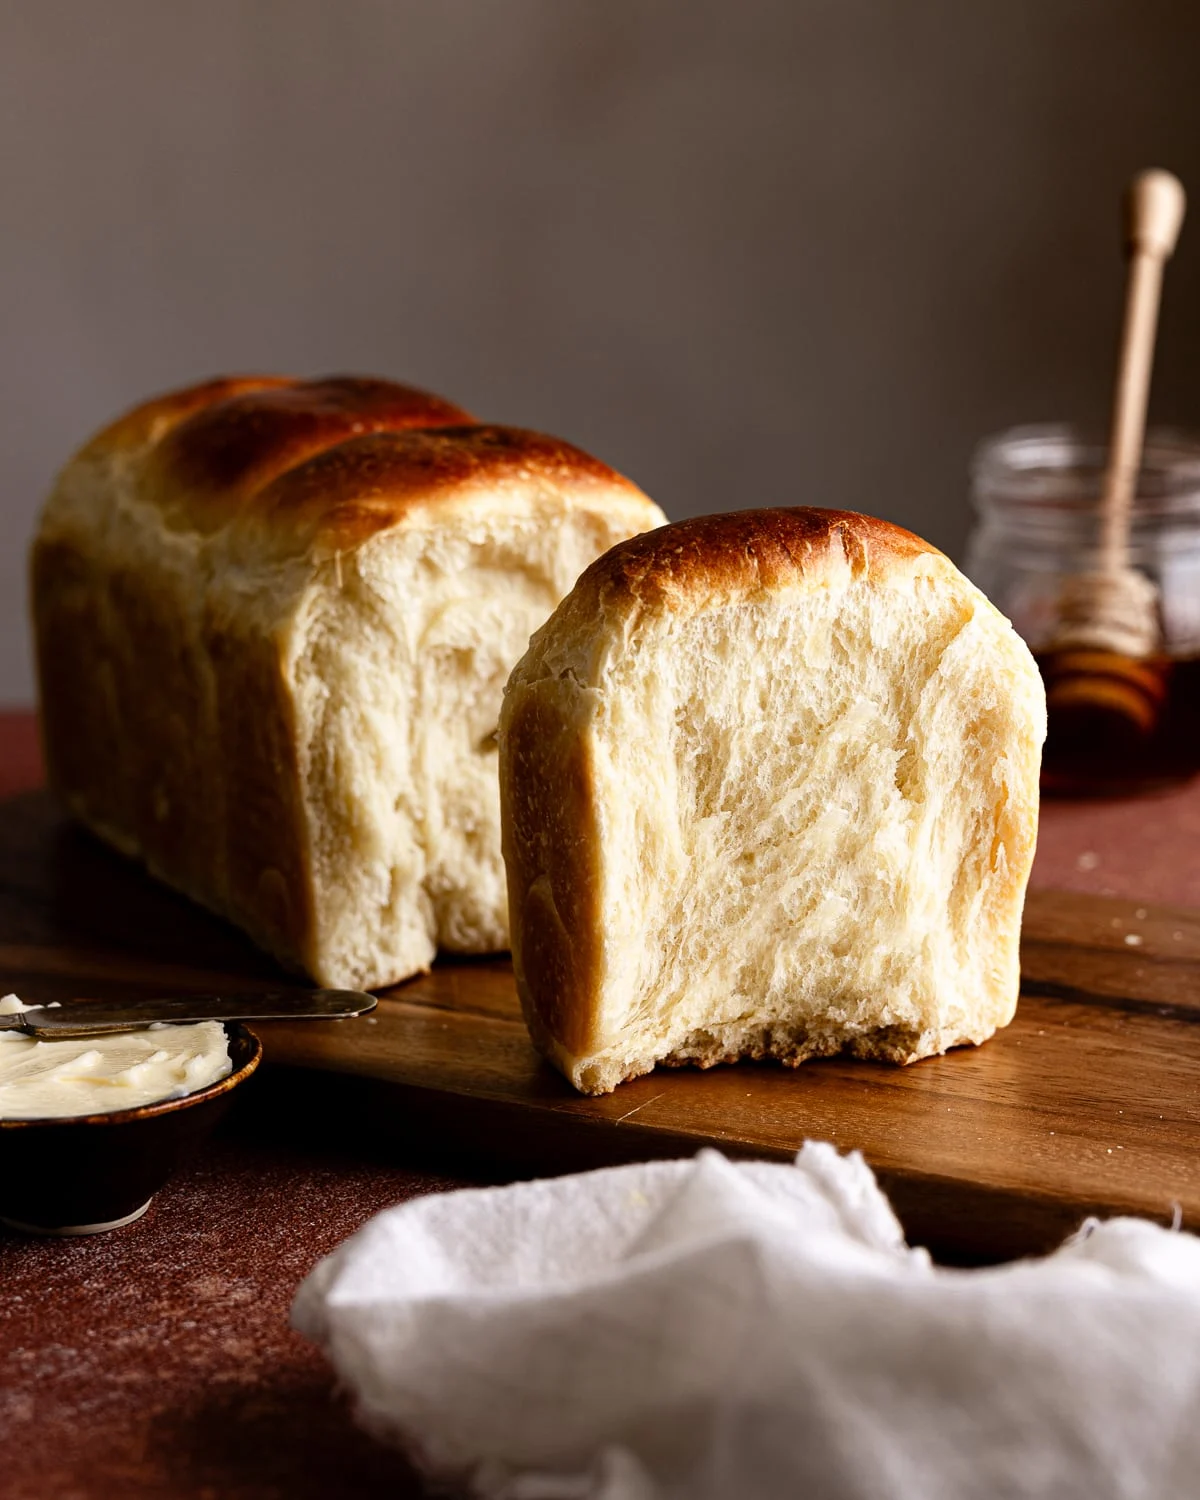
Soft, tender sandwich bread using a method at 50% of total flour. The result is even crumb that slices beautifully—perfect for sandwiches, toast, or just with butter.
Equipment Needed
Ingredients
Sponge (3-5 hours ahead)
Build the {{sponge}} with 75% hydration for flavor development
Final Dough
Enriched dough built on the fermented {{sponge}}
Optional Egg Wash
For a golden, glossy crust
Sponge
Build the Sponge
Create a bubbly, active that provides flavor and leavening.
Click each step to mark complete
Combine flour and water
Add bread flour (280g) and warm water (210g) to a large bowl. Mix until no dry flour remains. The mixture will be thick but stirrable.
Add yeast
Sprinkle the over the surface and stir until evenly distributed.
Cover loosely
Use plastic wrap or a damp towel. The needs room to expand.
Ferment
Leave at warm room temperature (78-82°F) for 3-5 hours. Ready when doubled, domed, bubbly, and smells yeasty.
⏱ Wait Time
Sponge is usable from 2.5 hours (just reaching peak) to 6 hours (slightly past peak)
Pro Tip
This wide timing window is sponge's advantage—it's very forgiving.
Precise Timers
Use these interactive timers to track your stages.
Sponge Fermentation
Mix
Mix the Final Dough
Combine all ingredients and develop smooth, elastic .
Click each step to mark complete
Add sponge to mixer
Scrape all of the into the bowl of a stand mixer fitted with the dough hook.
Add remaining ingredients
Add fresh bread flour (280g), room temperature milk (115g), softened butter (45g), sugar (35g), salt (10g), and (3g).
Mix on low
Mix on low speed (speed 2) for 3 minutes until everything comes together into a rough dough.
Develop gluten
Increase to medium speed (speed 4) and mix for 6-8 minutes until smooth and passes the test.
Pro Tip
Target dough temperature: 78-80°F. The enrichments slow fermentation, so a warmer dough helps.
Precise Timers
Use these interactive timers to track your stages.
Initial Mix
Gluten Development
Rise
Bulk Fermentation
Let the dough double—no folds necessary.
Click each step to mark complete
Prepare for rising
Transfer dough to a lightly oiled bowl. Cover with plastic wrap.
Ferment
Ferment at warm room temperature (78-82°F) until doubled in size, about 1-1.5 hours.
Check readiness
Press gently with a floured finger. If the indent springs back slowly, it's ready.
⏱ Wait Time
Until dough has doubled in size
Precise Timers
Use these interactive timers to track your stages.
Bulk Rise
Divide
Divide and Pre-Shape
Portion the dough and let it relax.
Click each step to mark complete
Divide
Turn onto a lightly floured surface. Divide into two equal pieces (approximately 530g each).
Pre-shape
Gently pat each piece into a rough rectangle, then fold in thirds like a letter. Flip seam-side down.
Rest
Cover loosely and rest 10 minutes to relax the .
Precise Timers
Use these interactive timers to track your stages.
Bench Rest
Shape
Shape for Pan
Roll into tight logs for even slices.
Click each step to mark complete
Prepare pans
Lightly butter or spray two 9x5 inch loaf pans.
Shape each loaf
Flip dough seam-side up. Press or roll into a rectangle about 8 inches wide by 12 inches long.
Roll
Starting from a short end, roll the dough tightly toward you, creating a log. Pinch the seam to seal.
Pan
Pinch ends and tuck under. Place seam-side down in prepared pans. Dough should fill about half the pan.
Proof
Final Proof
Let loaves rise until they crown above the pan rim.
Click each step to mark complete
Cover
Cover loosely with plastic wrap or a damp towel.
Proof
Proof at warm room temperature until dough crowns about 1 inch above the rim of the pan (45-60 minutes).
Test readiness
Poke gently with a floured finger. Indent should spring back slowly and mostly fill in. Don't over-proof.
⏱ Wait Time
Until dough crowns 1 inch above pan rim
Pro Tip
Sandwich bread that over-proofs will collapse during baking. When in doubt, bake sooner.
Precise Timers
Use these interactive timers to track your stages.
Final Proof
Shaping
Shaping
Classic loaf shaping for even slices and great .
Pan Loaf
Traditional sandwich loaf shape for even slices.
RecommendedClick each step to mark complete
Prepare pans
Lightly butter or spray two 9x5 inch loaf pans.
Shape loaf
Flip dough seam-side up. Press or roll into an 8x12 inch rectangle.
Roll tightly
Starting from short end, roll toward you into a tight log. Pinch seam to seal.
Pan loaves
Pinch ends and tuck under. Place seam-down in pans—dough should fill about half.
The Final Step
Baking
Bake until deep golden and internal temperature reaches 195-200°F.
Baking Methods
Bake until deep golden brown with internal temp of 195-200°F.
Equipment: Two 9x5 inch loaf pans, Oven
Preheat
Preheat oven to 375°F (190°C) during last 20 minutes of proofing.
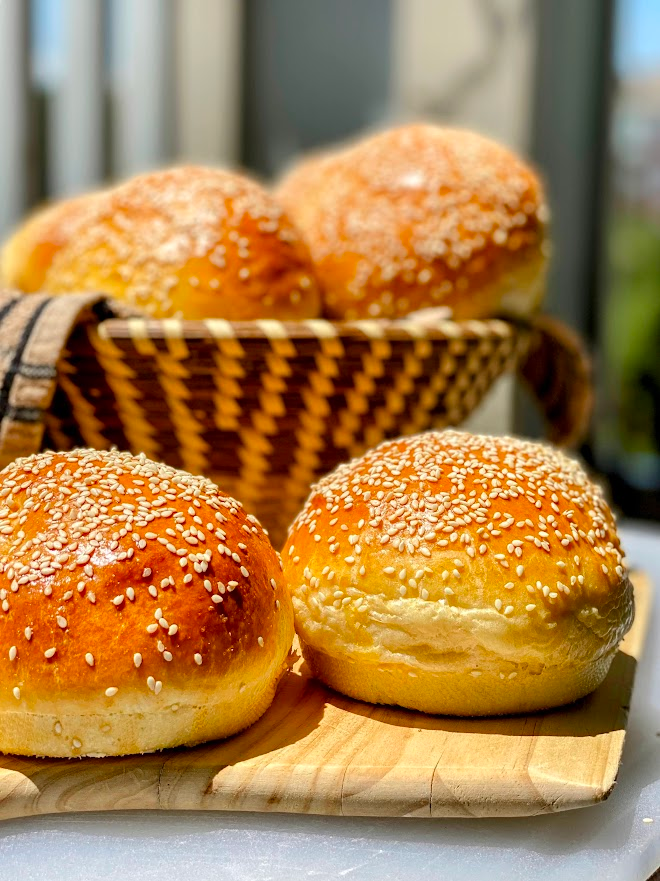
Optional egg wash
Beat egg with water and brush gently over tops for a golden, glossy .
Bake
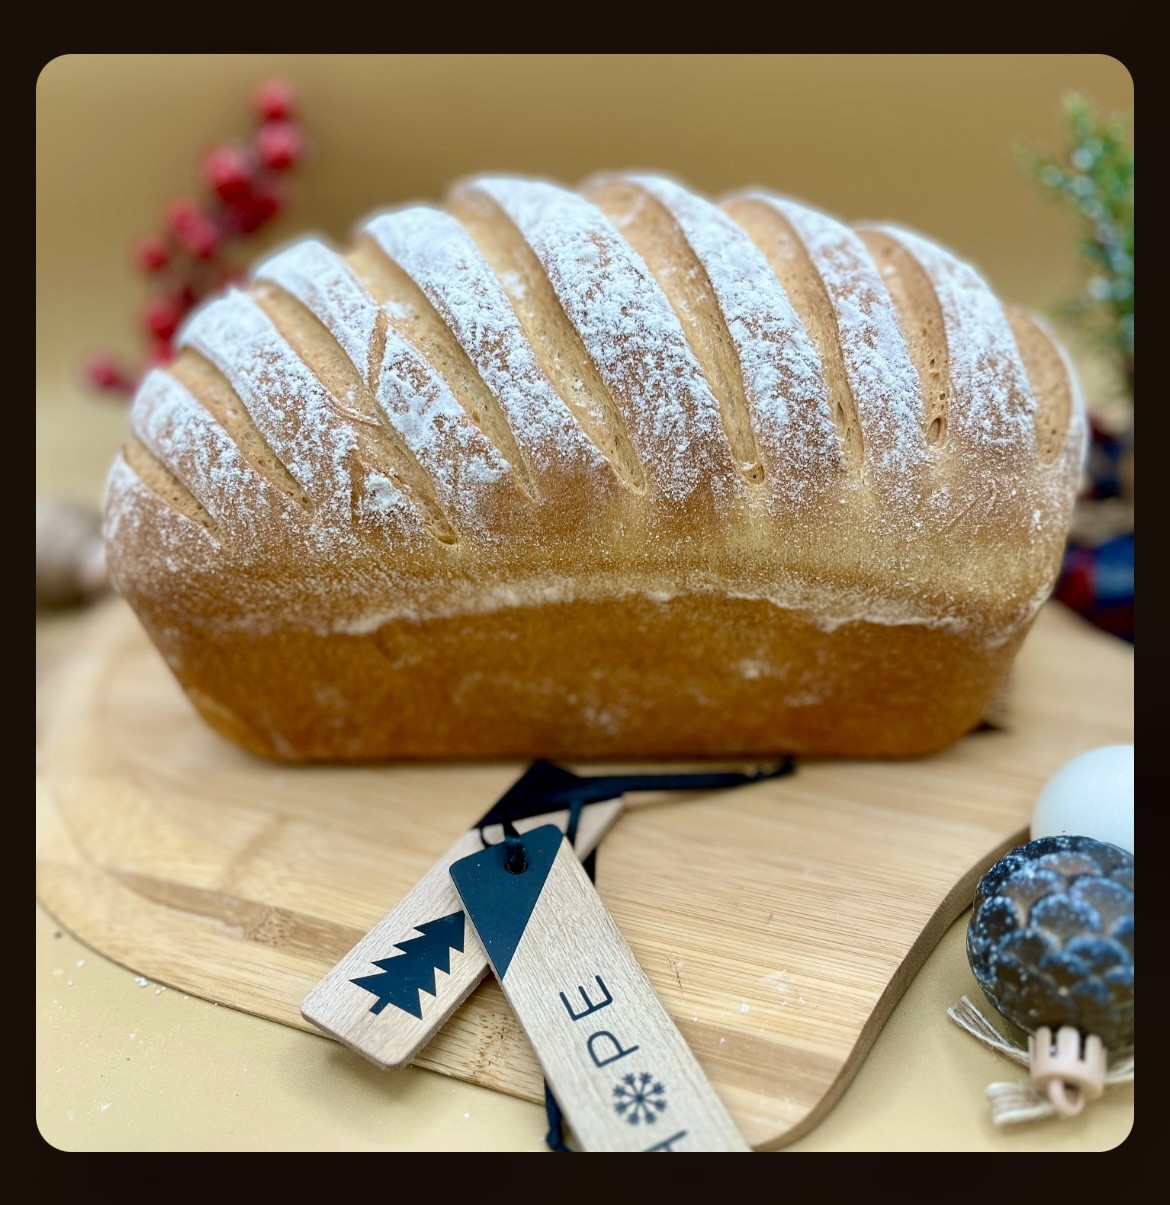
Place pans on middle rack with space between. Bake 30-35 minutes until deep golden brown.
Check doneness
Internal temperature should reach 195-200°F. If tops brown too quickly, tent with foil at 25 minutes.
Cool
Rest in pans 5 minutes. Turn out onto wire rack. Cool completely before slicing—at least 1 hour.
"Cutting too early results in gummy, compressed slices. Let the crumb set completely."
Nutrition Facts
Per 1 slice (about 50g) • 24 slices (12 per loaf) servings per recipe
* Values are estimates based on standard ingredients
Storage
Room Temperature
4 days at room temperature in a plastic bag or bread box.
Frozen
Up to 2 months. Slice before freezing. Toast frozen slices directly.
💡 For softer crust, brush hot loaves with melted butter immediately after baking.
Your Feedback
Rate This Recipe
Loading ratings...
Troubleshooting
Baker's Notes
Common questions and solutions for perfect results
If you're serious about scoring, you need the right blade in your hand. Wire Monkey makes handcrafted bread lames from black walnut — built to last, balanced in the hand, and sharp enough to glide through cold dough cleanly every single time. No dragging, no hesitation marks. Just a clean cut.

Wire Monkey Handcrafted Bread Lames
You Might Also Enjoy
More recipes from our pantry that pair well with this bake.
Get More Recipes in Your Inbox
Join thousands of home bakers receiving weekly recipes, tips, and techniques to elevate your bread game.
No spam, ever. Unsubscribe anytime.
More from Baking Great Bread at Home
Tools, resources, and community to help you bake better bread

Crust & Crumb Academy
Go deeper into your craft. FREE courses, challenges, and real feedback. No gatekeeping. Perfection is not required.

Sourdough Starter Companion
Your AI-powered starter assistant. Track feedings, troubleshoot issues, and keep your starter thriving.

BakingGreatBread.com
Real bread for the rest of us

Baking Great Bread Blog
Recipes, tips, and stories from the bread journey

Recipe Converter
Convert sourdough recipes to yeast and back again

Crust & Crumb App
Your AI-powered baking assistant

Facebook Community
Join 50,000+ bakers sharing, learning, and supporting each other

Sourdough for the Rest of Us
Free beginner's guide to sourdough