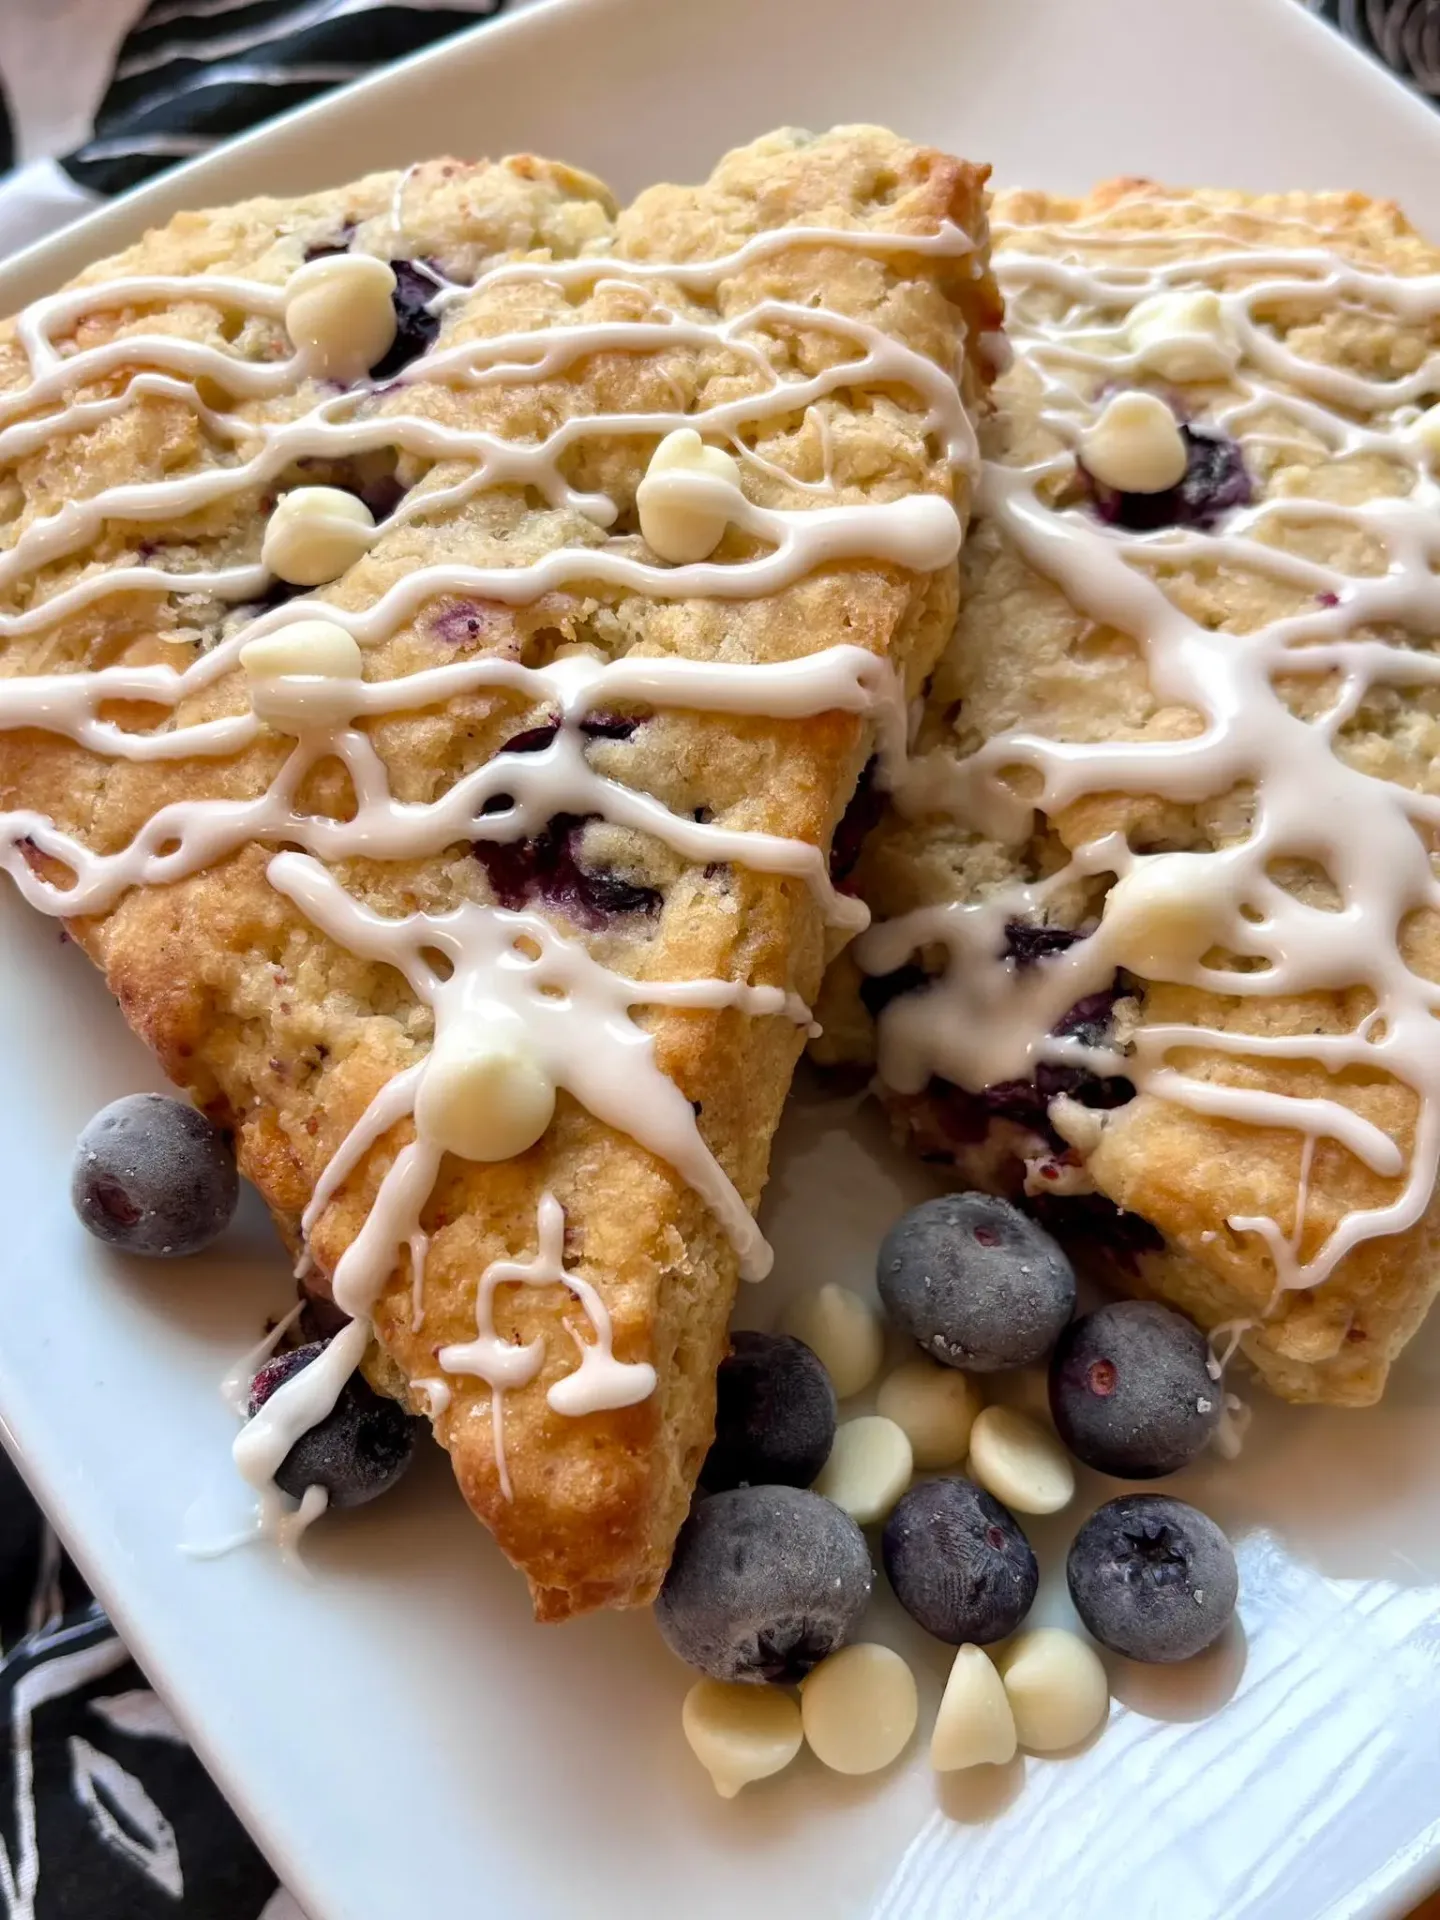
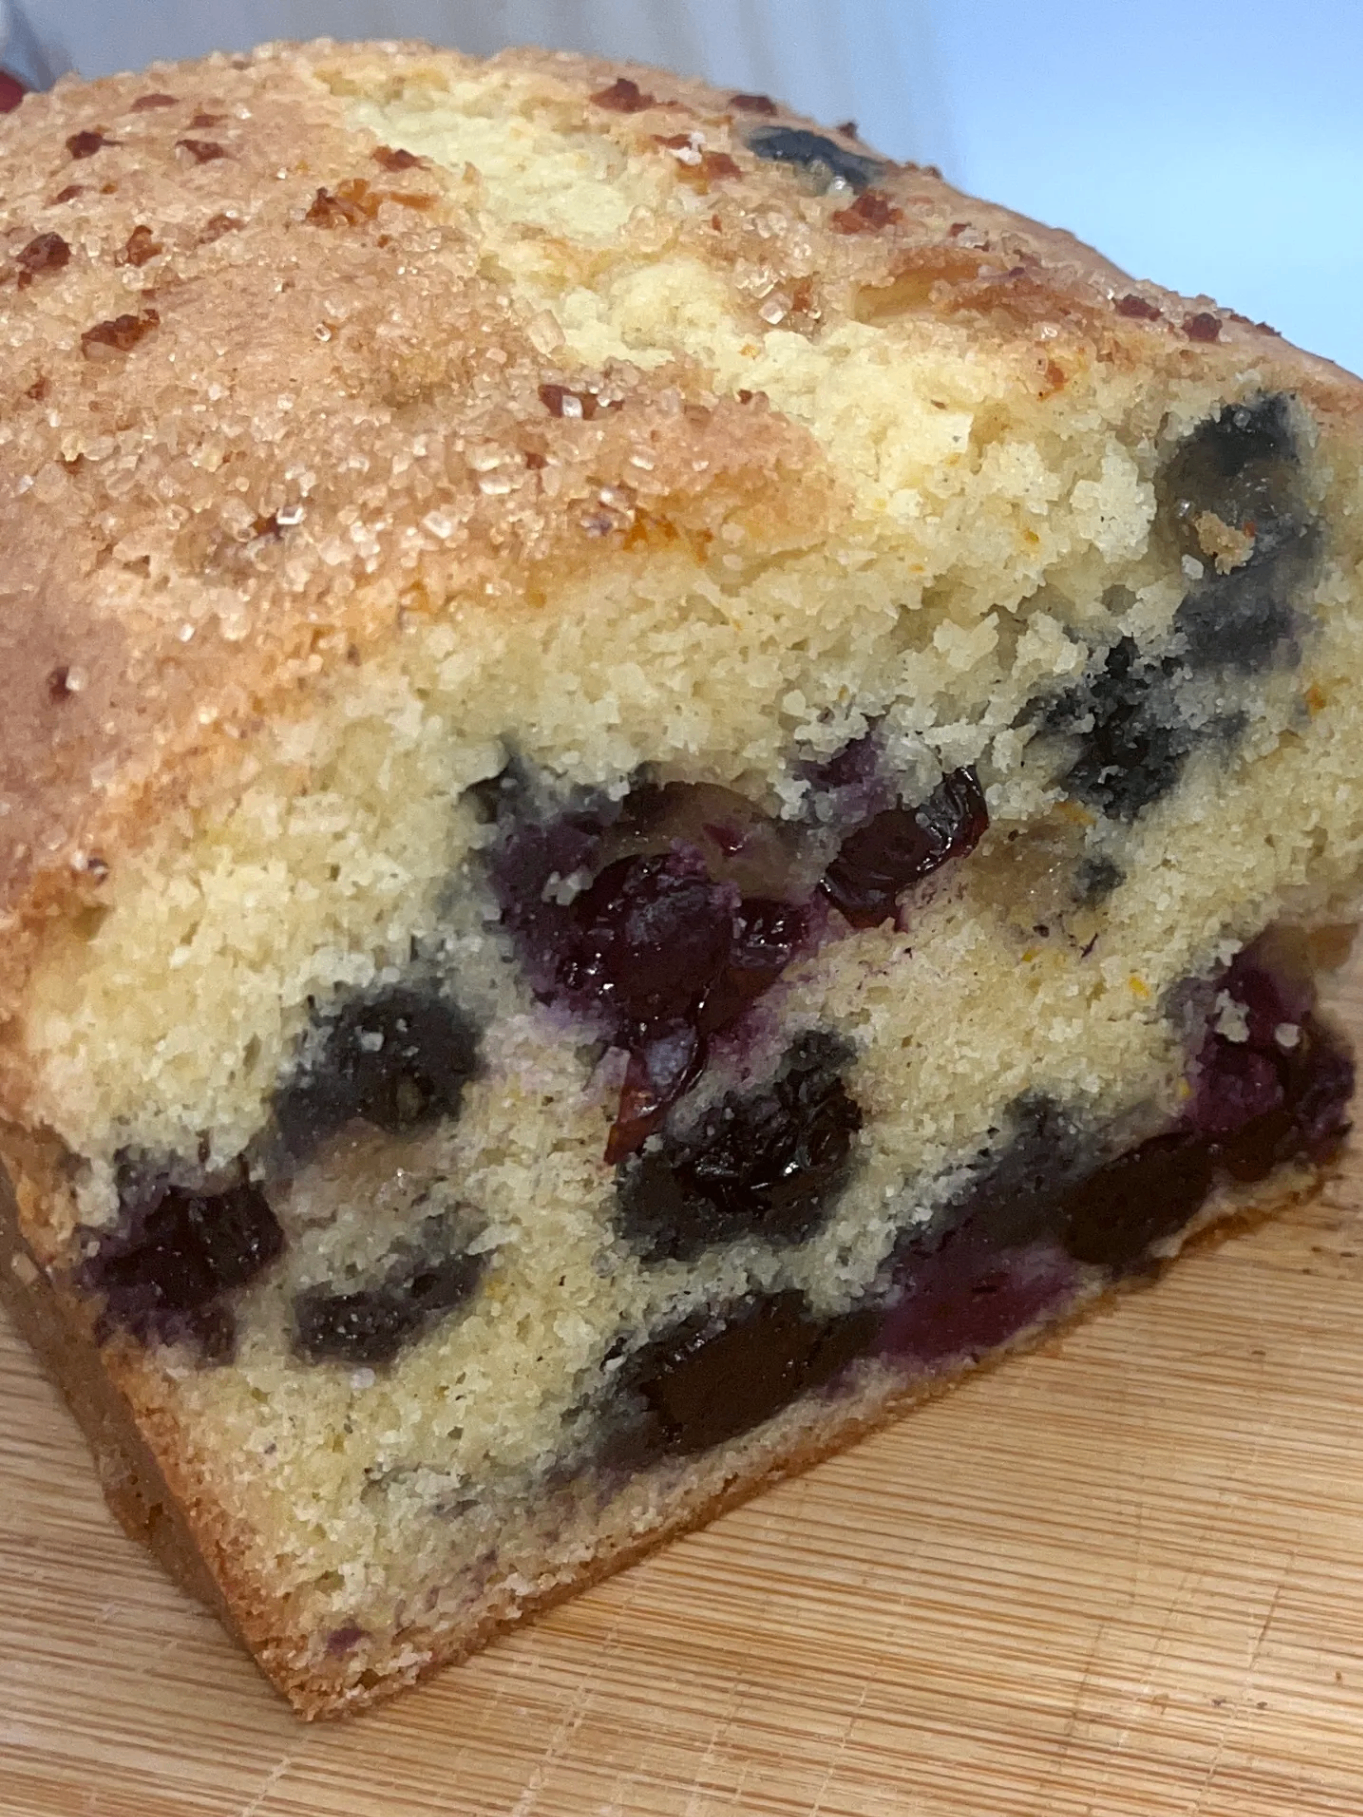
Tall, Flaky, and Bursting with Berries
BeginnerHenry's Bakery-Style BlueberryScones
by Henry Hunter Jr.
Frozen grated butter is the secret to bakery-perfect flakiness
Rise Time
About 1 hour
Bake Time
20-24 minutes
Yield
8 large wedge-shaped scones

Perfection is not required
"Great bread isn't about perfect technique—it's about understanding the dough."— Henry Hunter Jr.
By Henry Hunter Jr., founder of Crust & Crumb Academy and Baking Great Bread at Home.
Authentic Bread Flavor
I've tested dozens of blueberry scone recipes, and this one brings together every technique that actually matters. The frozen grated butter creates those flaky layers. The adds tenderness and a subtle tang that makes the blueberry flavor pop. And that simple step? It's the difference between a good scone and one that makes people ask for the recipe. These aren't dry, crumbly triangles. They're tender inside, crisp on top, and loaded with fresh blueberries in every bite.
Equipment Needed
Ingredients
For the Scones
Frozen butter is non-negotiable for flaky layers
For Topping
The turbinado sugar creates that signature bakery crunch
For the Lemon Glaze (optional)
A bright, tangy finish that takes these over the top
Pro Tip
Freezing and grating is the single most important technique here. Those fine shreds of frozen butter create steam pockets when they hit the hot oven, which is what gives you flaky layers. Don't skip this.
Step 1
Prep Your Dry Ingredients
5 minutes
Getting the dry ingredients combined first ensures even distribution of leavening and aromatics throughout the dough.
Click each step to mark complete
Combine dry ingredients
In a large bowl, whisk together the flour, sugar, , , salt, cinnamon, and lemon zest until well combined.
Pro Tip
The lemon zest mixed with the sugar releases essential oils and adds incredible fragrance to every bite.
Precise Timers
Use these interactive timers to track your stages.
Dry Ingredient Mix
Step 2
Grate Your Frozen Butter
This is the secret to flakiness
The grated frozen butter technique creates thin shreds that coat with flour and create steam pockets during baking—the same principle behind flaky pie crust and croissants.
Click each step to mark complete
Grate the butter
Using the large holes of a box grater, grate the frozen butter directly into the flour mixture.
Toss to coat
Toss gently with your fingertips to coat the butter shreds with flour. Work quickly so the butter stays cold.
Chill the bowl
Pop the bowl in the freezer while you prep the wet ingredients (about 2-3 minutes).
Pro Tip
If your butter starts to soften while grating, put it back in the freezer for a few minutes. Cold butter = flaky scones.
Precise Timers
Use these interactive timers to track your stages.
Grating
Freezer Chill
Step 3
Mix Wet Ingredients
2 minutes
The provides acid that reacts with the for extra lift while adding tenderness to the crumb.
Click each step to mark complete
Combine wet ingredients
In a small bowl, whisk together the , egg, and vanilla extract until smooth.
Pro Tip
Real buttermilk makes a noticeable difference. The acidity tenderizes the dough and reacts with the baking soda for extra lift.
Step 4
Combine and Mix
Don't overmix!
The key to tender scones is mixing just until the dough comes together. Overworking develops too much gluten, resulting in tough, dense scones.
Click each step to mark complete
Make a well
Make a well in the center of the flour mixture.
Add wet ingredients and blueberries
Pour in the wet ingredients. Add the blueberries.
Mix gently
Using a wooden spoon or spatula, gently mix until the dough just comes together. It will look shaggy and rough. That's exactly what you want.
Pro Tip
Do not overmix. Visible streaks of flour are fine—they'll hydrate during the lamination step.
Step 5
Laminate for Height
Optional but worth it
This simplified technique creates flaky layers without the complexity of croissant-making. It adds about 2 minutes to your prep and makes a visible difference in height and flakiness.
Click each step to mark complete
Turn out the dough
Turn the dough out onto a lightly floured surface.
First fold
Gently shape it into a rough rectangle about 1 inch thick. Fold it in thirds like a letter.
Second fold
Rotate 90 degrees, pat it out again, and fold in thirds once more. This creates flaky layers without overworking the dough.
Pro Tip
This is the same technique used for croissants, just simplified. Those folds create distinct layers that separate during baking.
Precise Timers
Use these interactive timers to track your stages.
Lamination
Shaping
Shaping the Scones
The classic wedge shape is traditional, but you can also use a round cutter for individual scones. The key is not overworking the dough.
Classic Wedges
The traditional British style—cut from a round disc into triangular wedges.
RecommendedClick each step to mark complete
Shape into a disc
Pat the dough into a circle about 8 inches across and 1 inch thick.
Cut into wedges
Using a or sharp knife, cut into 8 equal wedges.
Arrange on baking sheet
Place the wedges on a parchment-lined baking sheet, spacing them about 2 inches apart.
Proof Test: The dough should feel cold and slightly tacky but not sticky. If it's too sticky, dust with a tiny bit more flour.
The Final Step
Chilling and Baking
The chill step is non-negotiable. Cold dough = tall, flaky scones. Warm dough = flat, greasy disappointment.
Baking Methods
The classic method for golden, flaky scones
Equipment: Baking sheet with parchment paper
Chill the scones
Refrigerate the shaped scones for at least 15 minutes while your oven preheats. This step is non-negotiable for tall, flaky scones.
Preheat oven
Preheat your oven to 400°F (200°C).
Brush and top
Brush the tops of the chilled scones with cream or . Sprinkle generously with turbinado sugar.
Bake
Bake for 20-24 minutes, until the tops are golden brown and the edges are set.
Cool
Let the scones cool on the pan for 5 minutes, then transfer to a wire rack.
Storage
Room Temperature
Scones are best the day they're baked. Store leftovers in an airtight container at room temperature for up to 2 days.
Frozen
Unbaked shaped scones freeze beautifully for up to 1 month. Bake from frozen, adding 3-4 extra minutes.
Your Feedback
Rate This Recipe
Loading ratings...
Troubleshooting
Baker's Notes
Common questions and solutions for perfect results
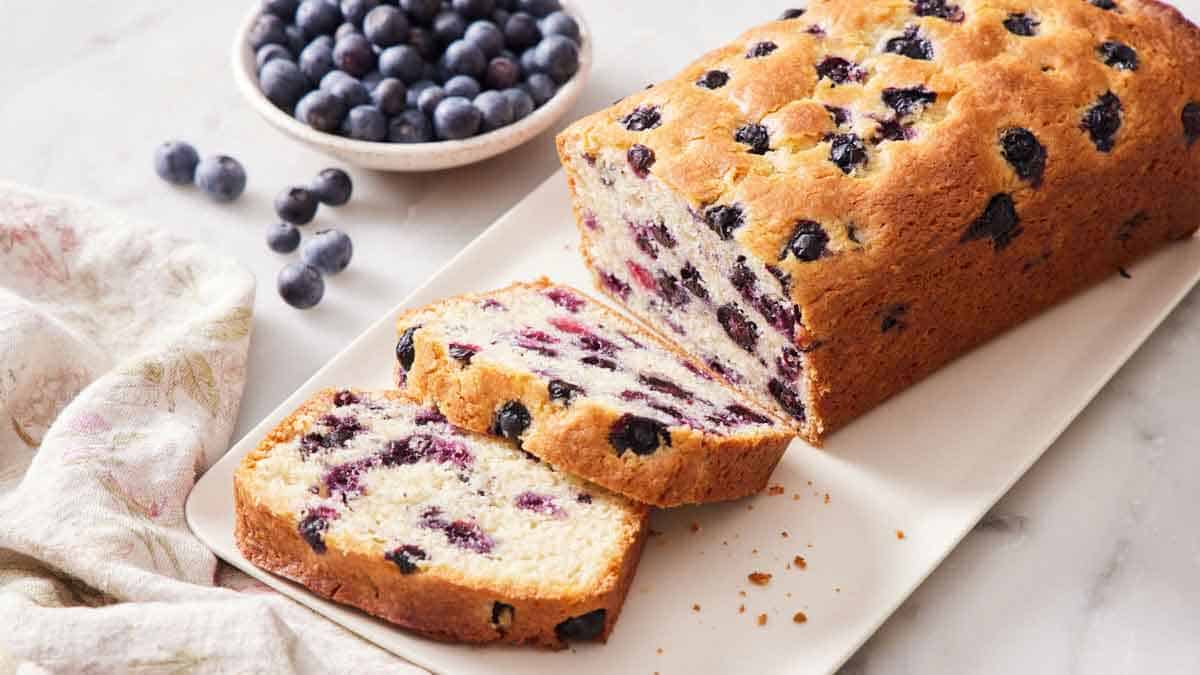
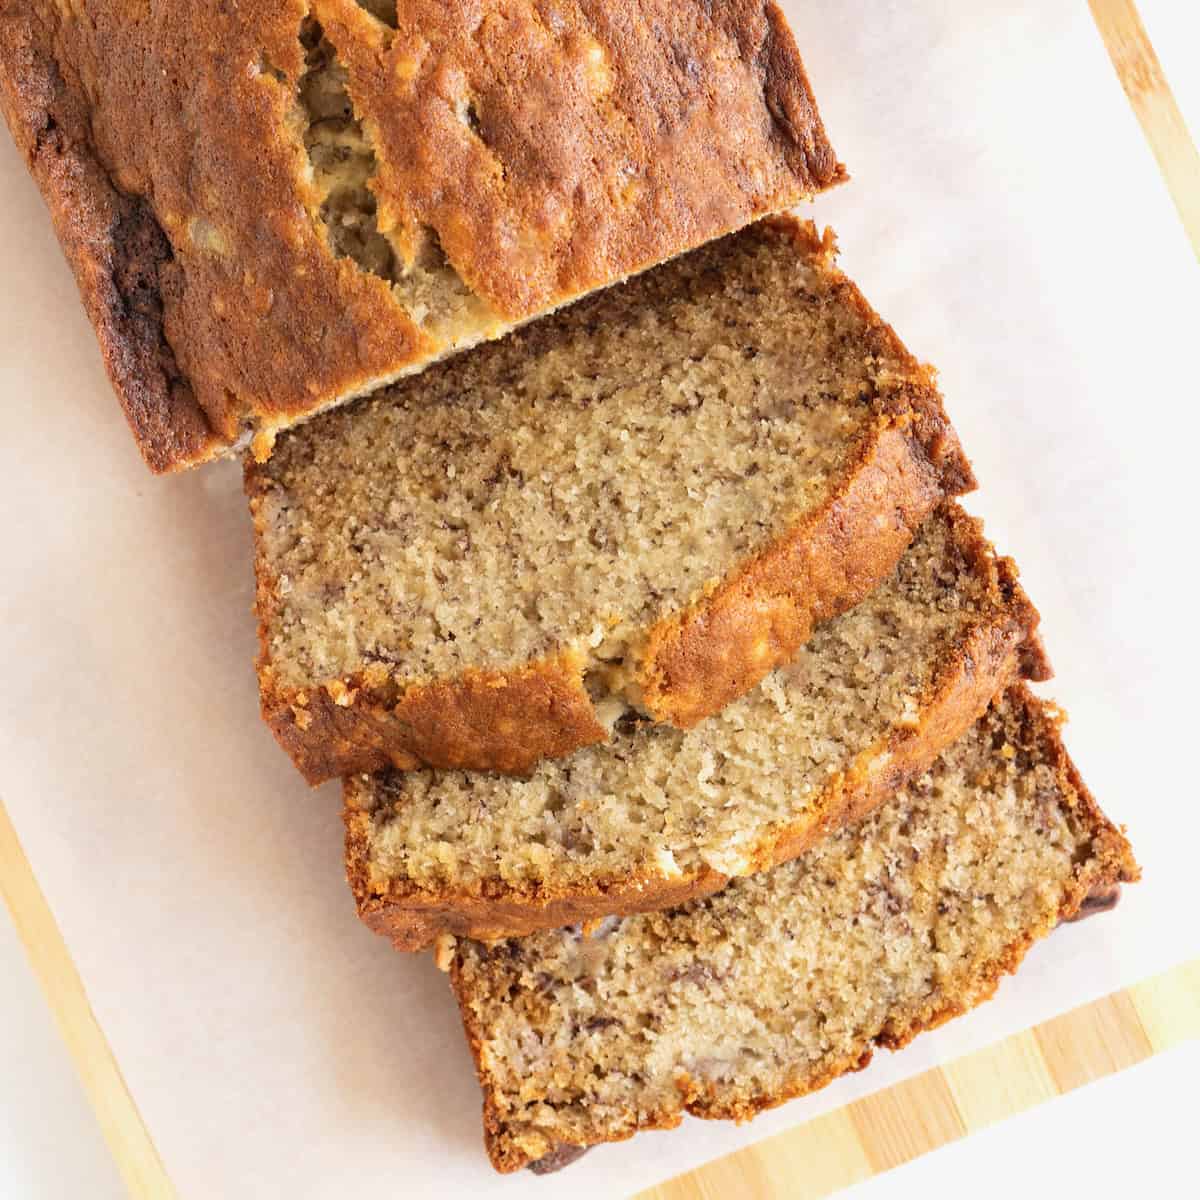
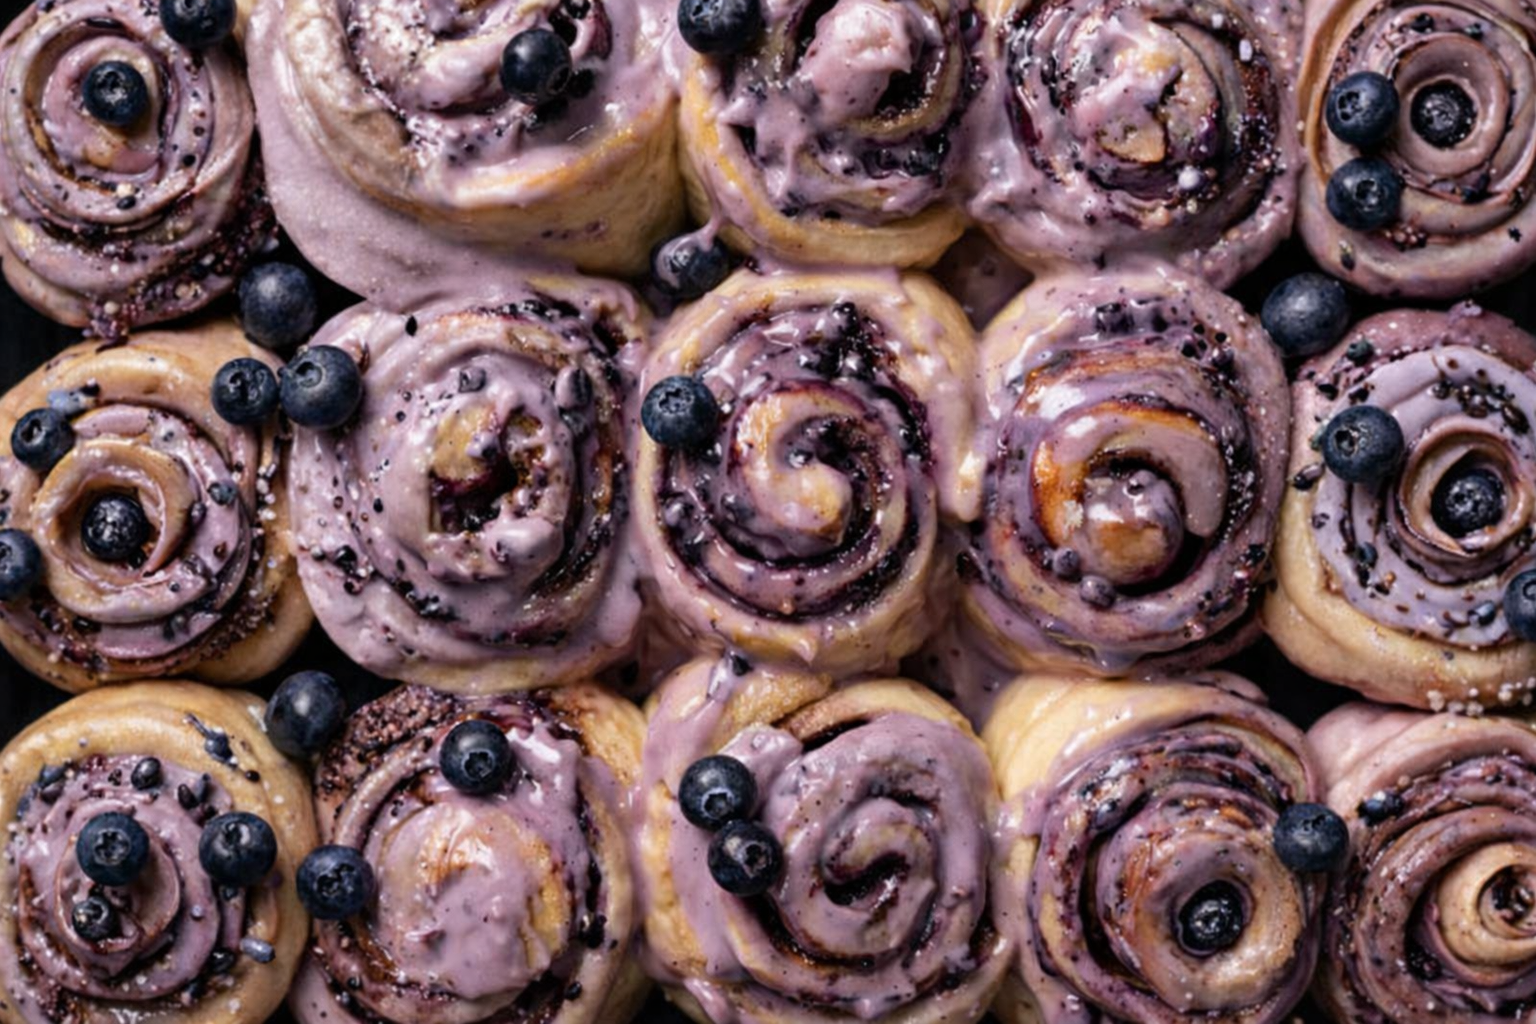
You Might Also Enjoy
More recipes from our pantry that pair well with this bake.
Get More Recipes in Your Inbox
Join thousands of home bakers receiving weekly recipes, tips, and techniques to elevate your bread game.
No spam, ever. Unsubscribe anytime.
More from Baking Great Bread at Home
Tools, resources, and community to help you bake better bread

Crust & Crumb Academy
Go deeper into your craft. FREE courses, challenges, and real feedback. No gatekeeping. Perfection is not required.

Sourdough Starter Companion
Your AI-powered starter assistant. Track feedings, troubleshoot issues, and keep your starter thriving.

BakingGreatBread.com
Real bread for the rest of us

Baking Great Bread Blog
Recipes, tips, and stories from the bread journey

Recipe Converter
Convert sourdough recipes to yeast and back again

Crust & Crumb App
Your AI-powered baking assistant

Facebook Community
Join 50,000+ bakers sharing, learning, and supporting each other

Sourdough for the Rest of Us
Free beginner's guide to sourdough