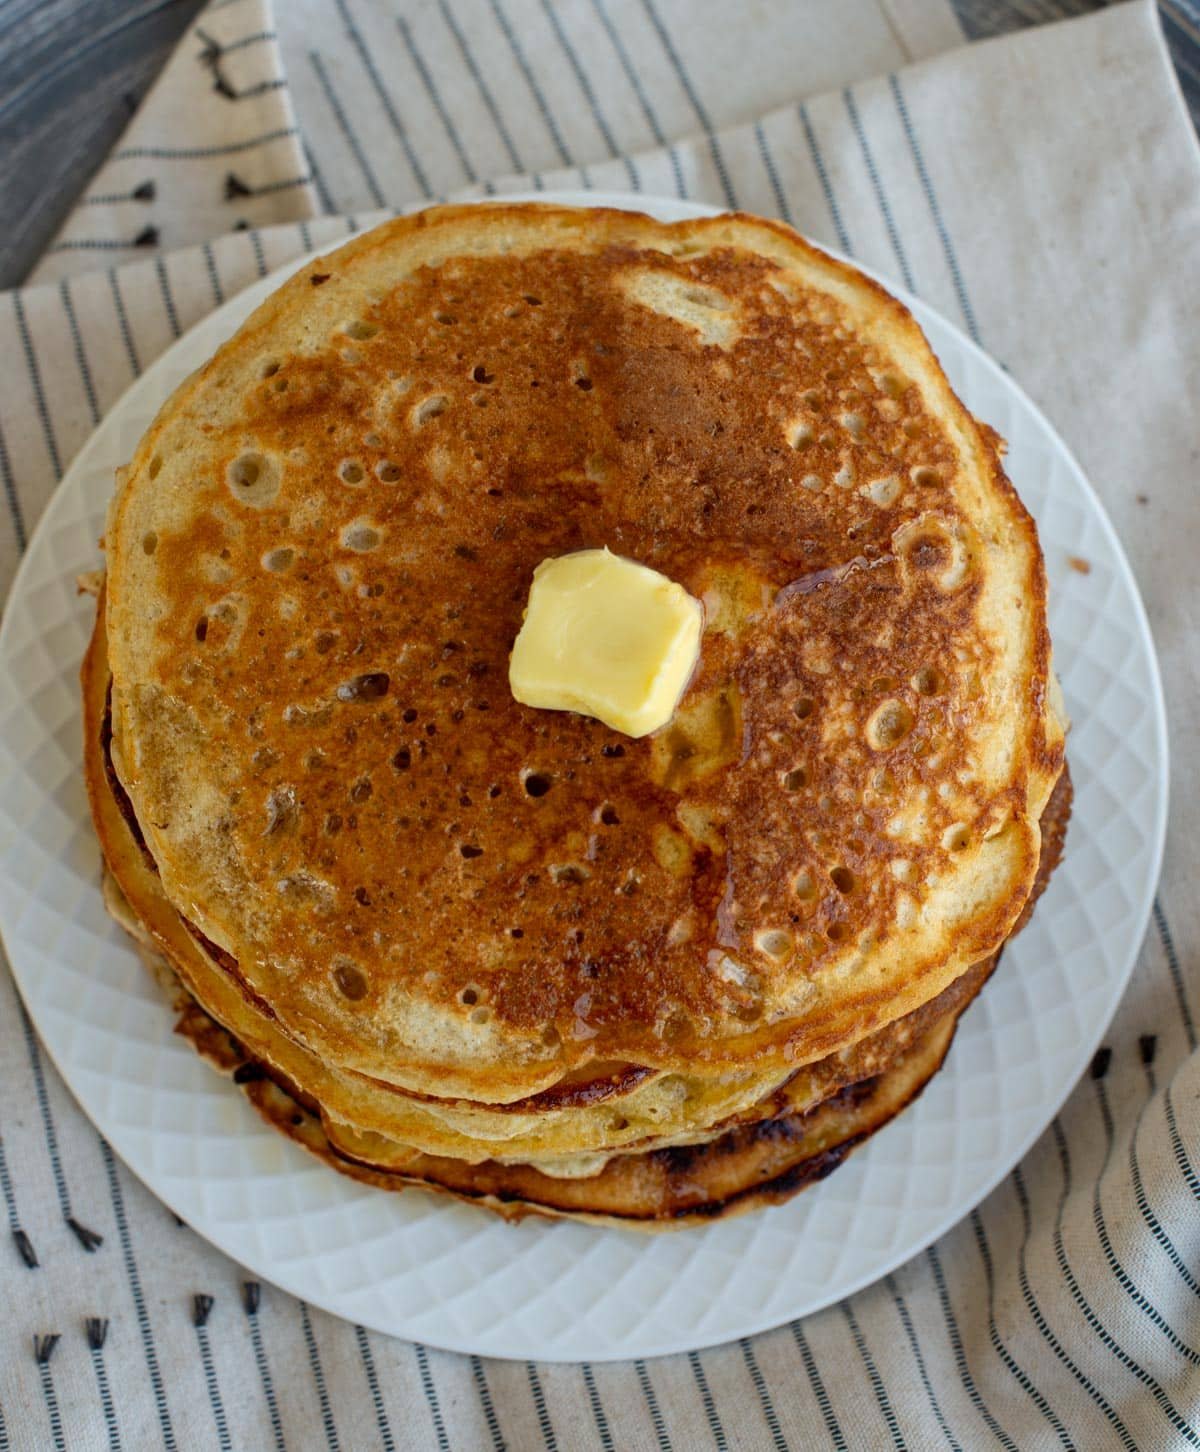
Turn Leftover Starter into the Fluffiest Pancakes Ever
BeginnerKids Can Bake: Sourdough DiscardPancakes
by Henry Hunter Jr.
The best way to use up leftover sourdough starter — and kids can do the whole thing.
Bake Time
Varies
Yield
10-12 pancakes (serves 3-4)

Perfection is not required
"Great bread isn't about perfect technique—it's about understanding the dough."— Henry Hunter Jr.
By Henry Hunter Jr., founder of Crust & Crumb Academy and Baking Great Bread at Home.
Authentic Bread Flavor
Kid-friendly sourdough discard pancakes that are fluffy, tangy, and ready in 30 minutes. Perfect for weekend breakfast with the family.
Equipment Needed
Ingredients
Pancake Batter
Pro Tip
Cold discard from the fridge works perfectly here. No need to feed or warm it up first.
Mix
Mix the Batter
5 minutes — kids can do this whole step
This is a one-bowl recipe. Mix wet, add dry, stir until just combined. Lumps are your friend.
Click each step to mark complete
Combine wet ingredients
In a large bowl, whisk together the sourdough discard, milk, egg, melted butter, sugar, and vanilla until smooth.
Add dry ingredients
Add the flour, baking powder, baking soda, and salt to the wet mixture. Stir gently with a fork or whisk until JUST combined. Stop stirring when you still see a few lumps. Over-mixing makes pancakes tough.
Let batter rest
Let the batter sit for 5 minutes while the pan heats up. The baking powder starts working and you'll see tiny bubbles forming on the surface. That's the chemistry happening.
Pro Tip
Don't over-mix! Lumpy batter = fluffy pancakes. Smooth batter = tough pancakes.
The Chemistry
Sourdough discard is acidic (that's why it tastes tangy). When you add baking soda (a base), it reacts with that acid and creates tiny carbon dioxide bubbles. The baking powder adds even more bubbles. Those bubbles get trapped in the batter and expand when they hit the hot pan — that's what makes your pancakes fluffy instead of flat.
The Takeaway
The tang in your discard isn't a bug — it's the secret ingredient that makes these pancakes extra fluffy.
Cook
Cook the Pancakes
15-20 minutes
Low and slow is the secret. Medium-low heat gives you evenly golden pancakes instead of burnt outsides and raw centers.
Click each step to mark complete
Heat the pan
Place a griddle or large non-stick skillet over medium-low heat. Add a small pat of butter and let it melt. The pan is ready when a drop of water sizzles gently — not violently.
Pour the batter
Use a ¼-cup measuring cup to scoop batter onto the pan. Leave about 2 inches between each pancake so they don't run together. You can usually fit 3-4 at a time.
Watch for bubbles
Cook for 2-3 minutes until you see bubbles forming on the surface AND the edges look set (slightly dry). This is the signal to flip. Don't flip before the bubbles appear — that's the most common mistake.
Flip and finish
Flip each pancake with a spatula and cook for another 1-2 minutes until golden brown on the bottom. Press gently on the center — when it springs back, it's done.
Keep warm
Stack finished pancakes on a plate and cover with a clean towel or put them in a 200°F (93°C) oven to stay warm while you cook the rest.
Pro Tip
Add butter to the pan between batches. If the pan starts smoking, it's too hot — turn it down.
Precise Timers
Use these interactive timers to track your stages.
First Side
Second Side
Nutrition Facts
Per 2 pancakes • 5-6 servings per recipe
* Values are estimates based on standard ingredients
Storage
Room Temperature
Not recommended — eat them fresh!
Frozen
Up to 2 months. Cool completely, stack with parchment between each pancake, freeze in a zip-top bag. Reheat in toaster or microwave.
Refresh
Toast frozen pancakes directly in a toaster for 1-2 cycles, or microwave for 30 seconds.
Your Feedback
Rate This Recipe
Loading ratings...
Troubleshooting
Baker's Notes
Common questions and solutions for perfect results
Temperature is the invisible ingredient. I use the Goldie and DoughBed from SourHouse to keep my starter and dough at the perfect temperature, every time.
SourHouse Temperature Control Products
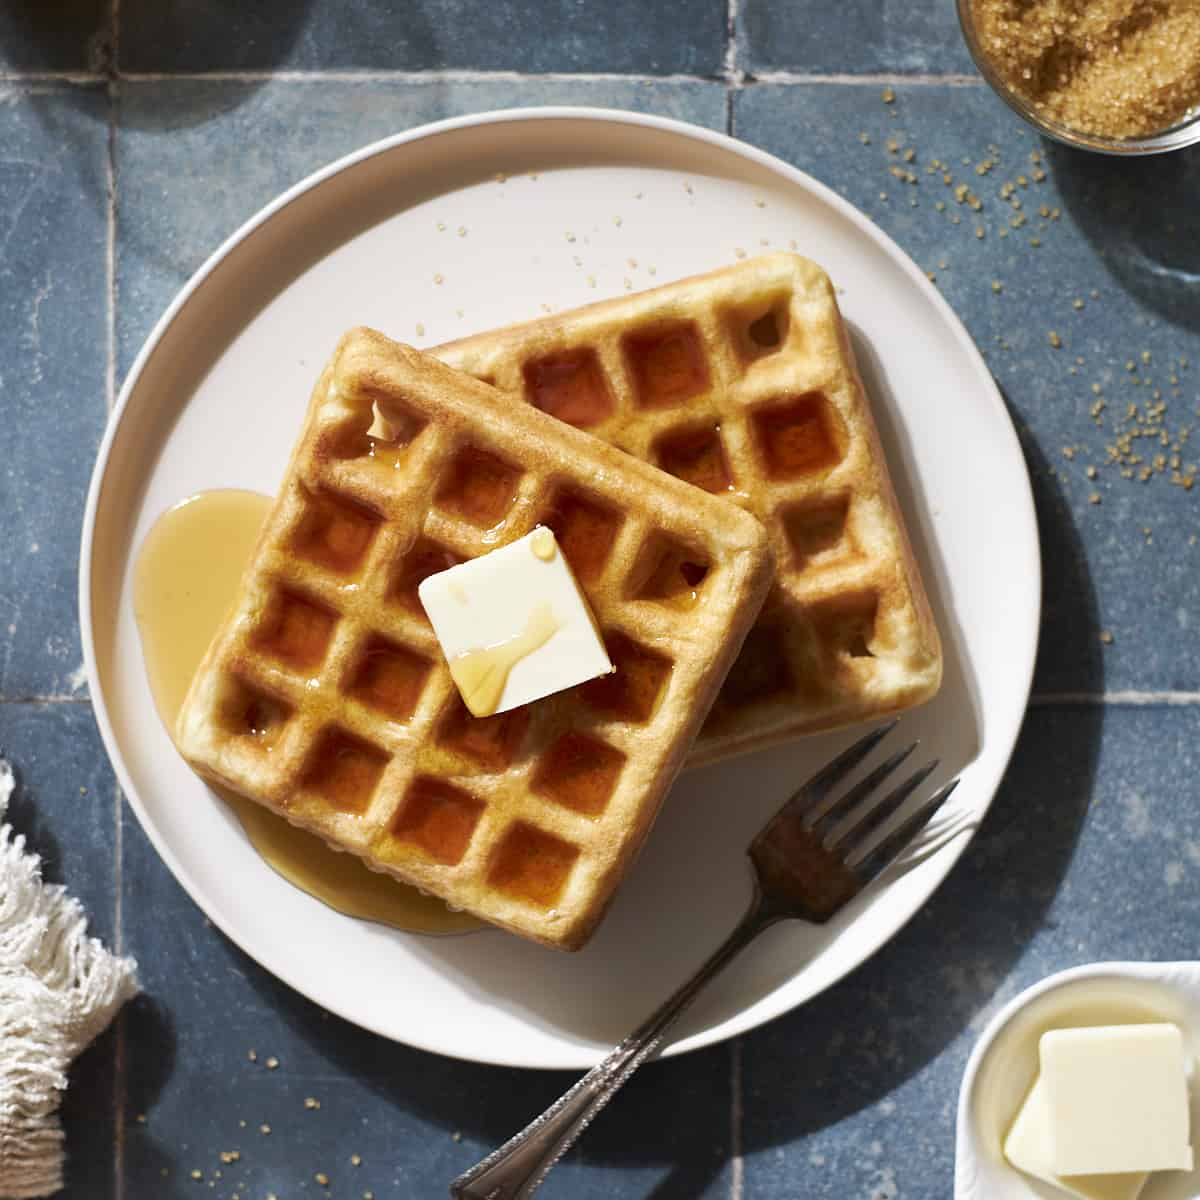
You Might Also Enjoy
More recipes from our pantry that pair well with this bake.
Get More Recipes in Your Inbox
Join thousands of home bakers receiving weekly recipes, tips, and techniques to elevate your bread game.
No spam, ever. Unsubscribe anytime.
More from Baking Great Bread at Home
Tools, resources, and community to help you bake better bread

Crust & Crumb Academy
Go deeper into your craft. FREE courses, challenges, and real feedback. No gatekeeping. Perfection is not required.

Sourdough Starter Companion
Your AI-powered starter assistant. Track feedings, troubleshoot issues, and keep your starter thriving.

BakingGreatBread.com
Real bread for the rest of us

Baking Great Bread Blog
Recipes, tips, and stories from the bread journey

Recipe Converter
Convert sourdough recipes to yeast and back again

Crust & Crumb App
Your AI-powered baking assistant

Facebook Community
Join 50,000+ bakers sharing, learning, and supporting each other

Sourdough for the Rest of Us
Free beginner's guide to sourdough