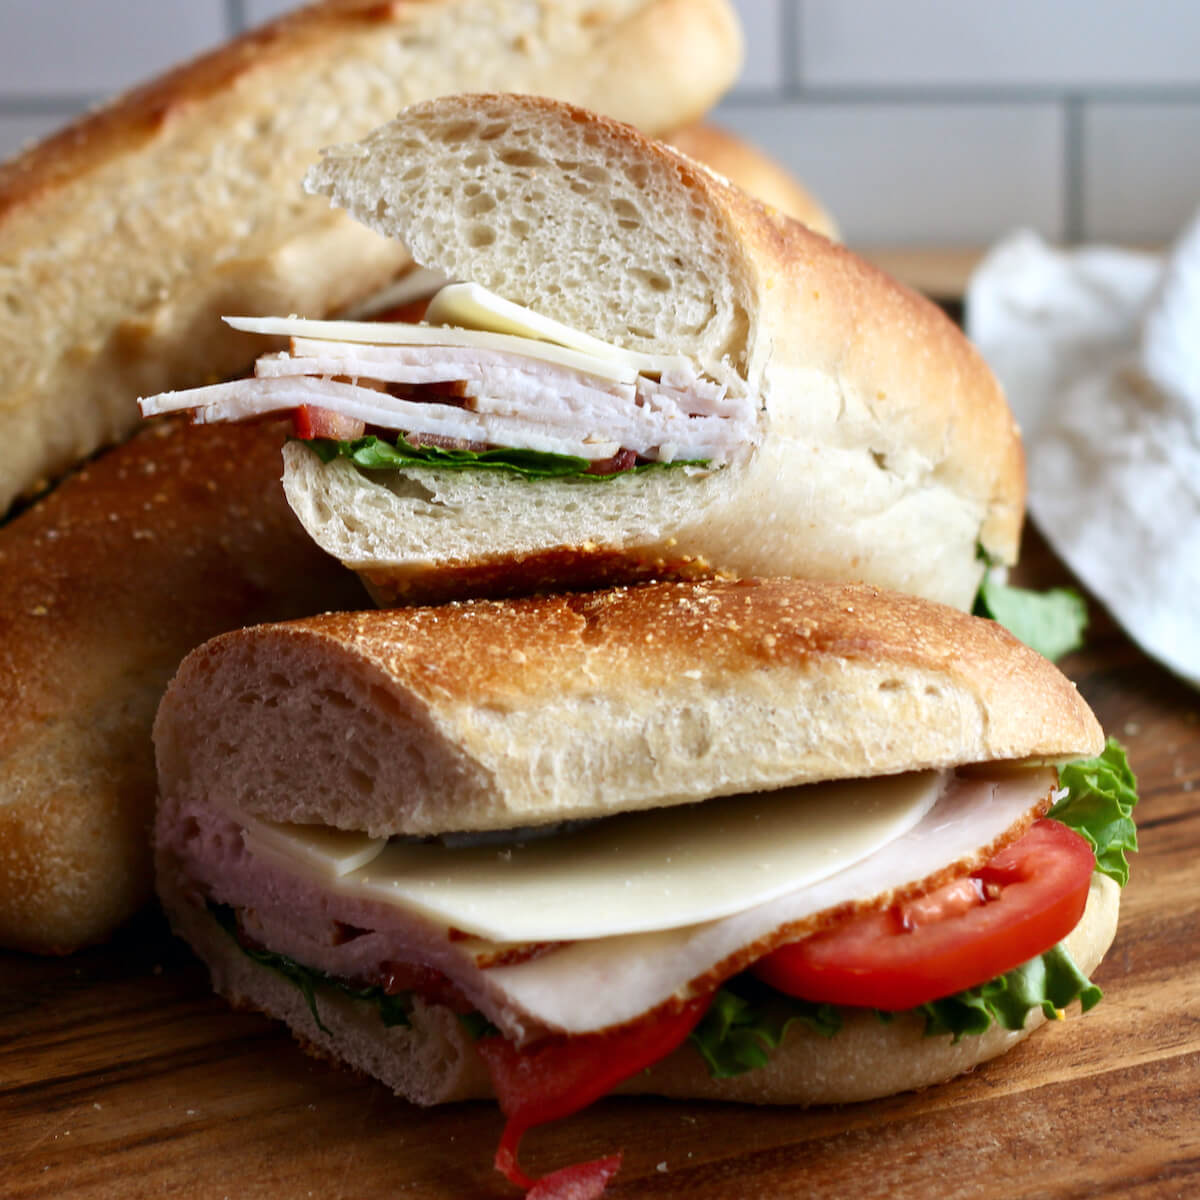
Bakery Hoagies With Real Sourdough Flavor and Baguette Technique
IntermediateSourdough HoagieRolls
by Henry Hunter Jr.
The best sandwich roll you'll ever pull from your own oven.
Fermentation
4-5 hours bulk (or overnight cold)
Bake Time
20-22 minutes
Yield
6 rolls, approximately 9 inches each. Scale to 120g of dough per roll.


Perfection is not required
"Perfection is not required. Progress is."— Henry Hunter Jr.
By Henry Hunter Jr., founder of Crust & Crumb Academy and Baking Great Bread at Home.
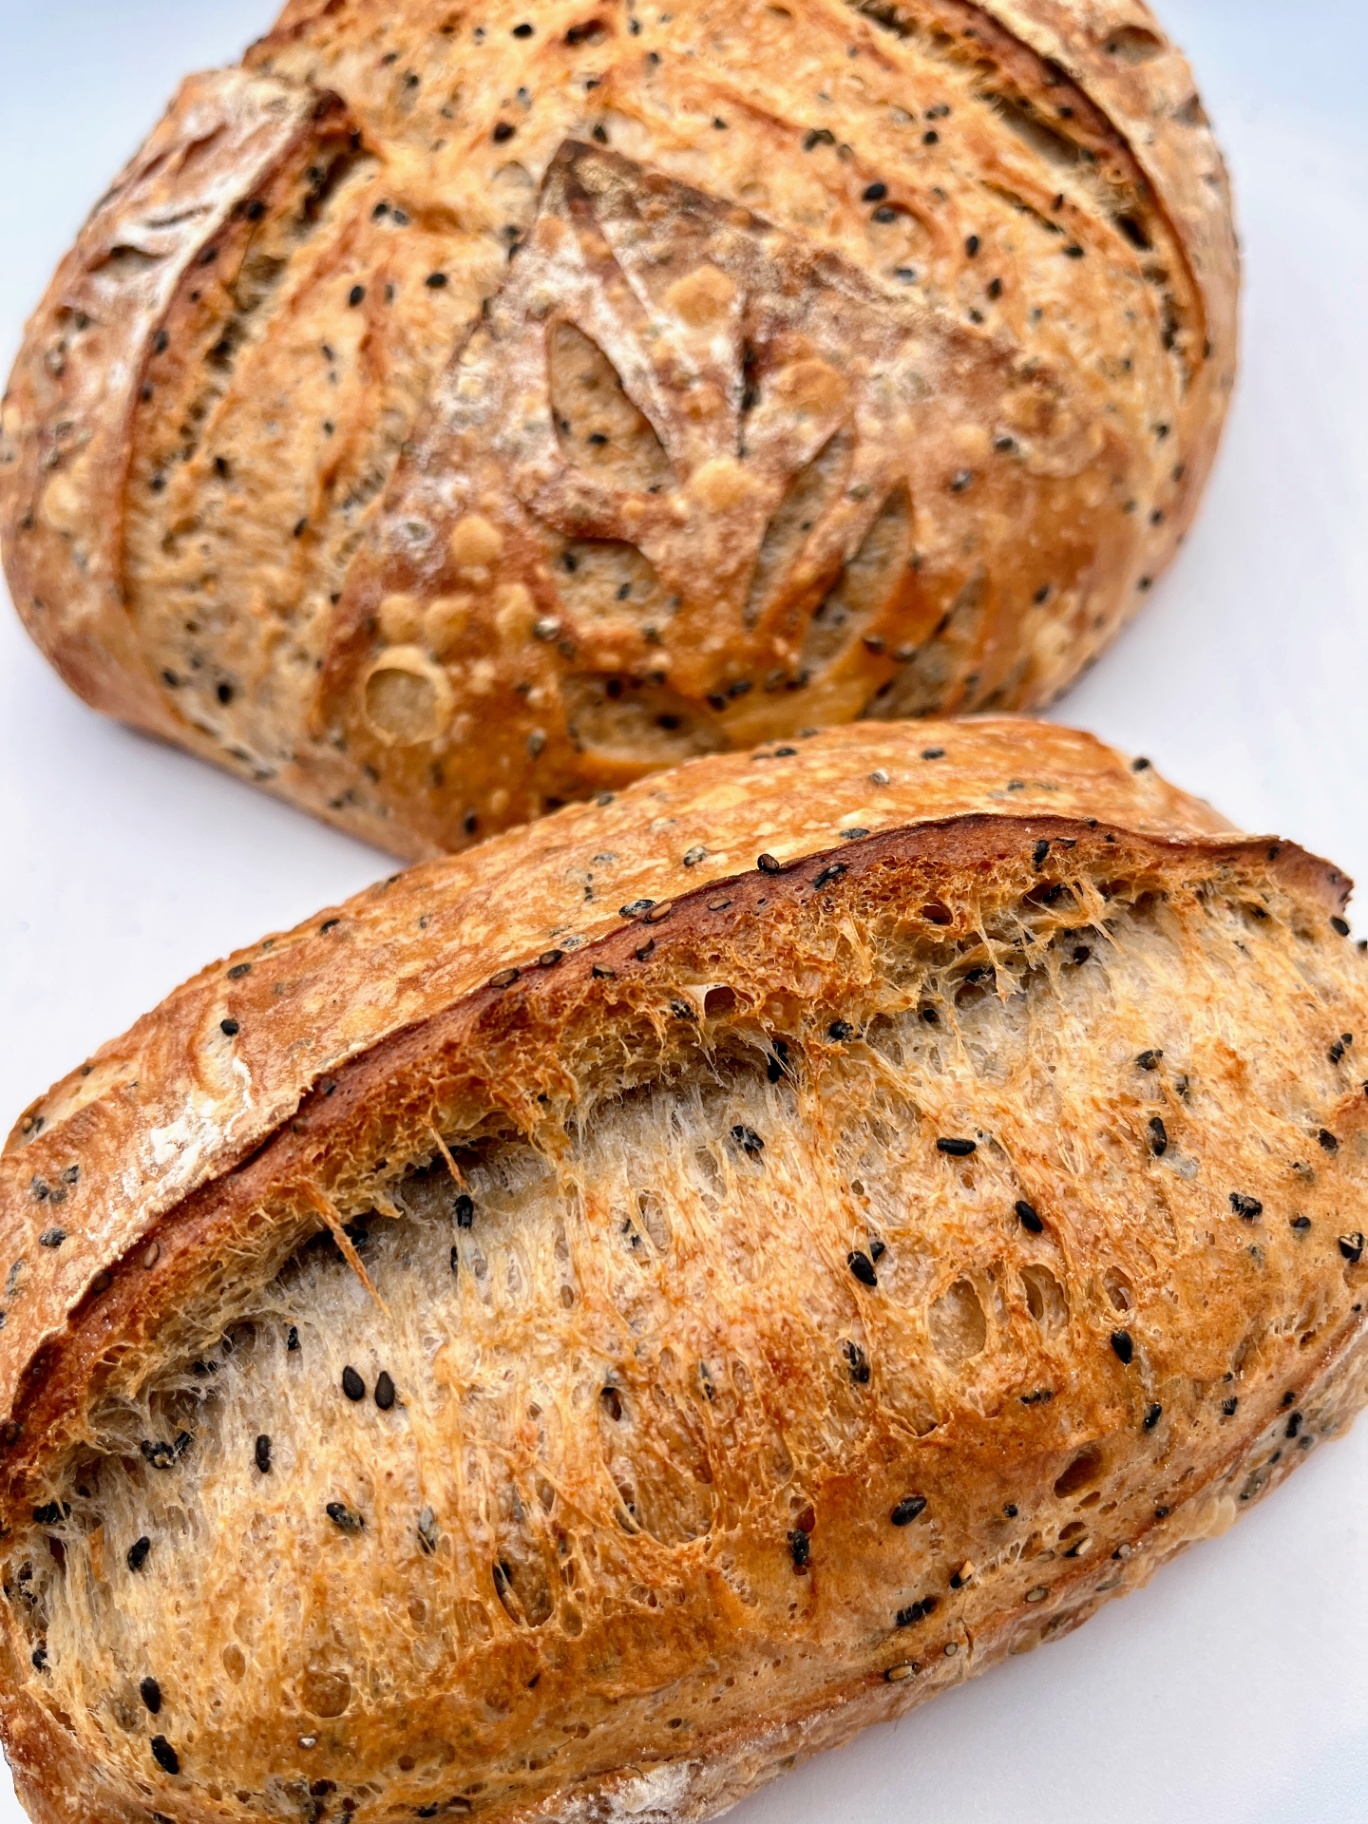
Authentic Bread Flavor
Henry Hunter Jr. teaches bread shaping, fermentation, and sourdough technique at Crust & Crumb Academy and through the Baking Great Bread at Home community. These rolls are his answer to the question: 'What's a good intermediate sourdough project that teaches real baguette technique?'
Equipment Needed
Ingredients
The Levain (Build 4-12 Hours Before)
Build the levain first. It needs to be active and domed before the dough goes together.
The Dough
Optional Egg Wash
Pro Tip
The honey is doing two jobs here: it gives the yeast in the levain an easy early food source and it helps the crust brown in a steam oven at high temperature. Don't skip it even if you prefer a less sweet roll — the amount is small and the flavor contribution is barely detectable once baked.
4-12 Hours Before
Build the Levain
A stiff-ish levain (1:2.5:2.5 ratio) gives these rolls a moderate tang without the sourness that can overpower a sandwich. If you want more tang, build a 1:1:1 levain and use it at 8 hours.
Click each step to mark complete
Mix the levain
In a small jar, combine the starter, bread flour, and water. Stir thoroughly until no dry flour remains. Cover loosely and leave at room temperature (72-76°F / 22-24°C).
Wait for peak activity
The levain is ready when it has doubled (or more), smells pleasantly tangy, and the surface is domed or just beginning to fall. At 74°F (23°C), this takes 5-8 hours. In a warmer kitchen, check at 4 hours.
⏱ Wait Time
4-12 hours
Pro Tip
For a morning bake, build the levain the night before and leave it at room temperature. For an afternoon bake, build it first thing in the morning.
Mix
Mix and Fermentolyse
We combine everything — including the — before the rest period. This starts enzymatic activity early and gives us a head start on gluten development without any kneading.
Click each step to mark complete
Combine all dough ingredients
In the bowl of your stand mixer, combine the bread flour, water, olive oil, honey, and ripe levain. Mix on low speed just until a shaggy dough forms — about 2-3 minutes. Do not add salt yet. Cover and rest 30-45 minutes.
⏱ Wait Time
30-45 minutes
Salt Slows Everything Down
Salt tightens gluten and slows fermentation. If you add it at the beginning of mixing, you're fighting both effects while you're also trying to develop the dough. Adding it after a rest period means the gluten has already started developing on its own (through hydration and the enzymes in the levain), and the yeast has gotten a head start before the salt slows it down.
Sourdough Double Benefit
For sourdough specifically, the delayed salt also gives the wild yeast and bacteria in the levain 30-45 unimpeded minutes to begin their work in the new dough. More early fermentation activity means a more developed flavor profile even in a roll that doesn't ferment for days.
The Takeaway
Salt after the rest. The dough is better for it.
Precise Timers
Use these interactive timers to track your stages.
Fermentolyse Rest
Develop
Add Salt and Develop the Dough
After the fermentolyse rest, add the salt and develop the gluten properly. We're building the strength these rolls need to hold their shape through shaping, proofing, and baking.
Click each step to mark complete
Add salt and mix
Sprinkle the salt over the rested dough. Mix on low speed for 2 minutes, then increase to medium speed and knead for 7-9 minutes until the dough is smooth and slightly tacky. It should clear the sides of the bowl and feel elastic.
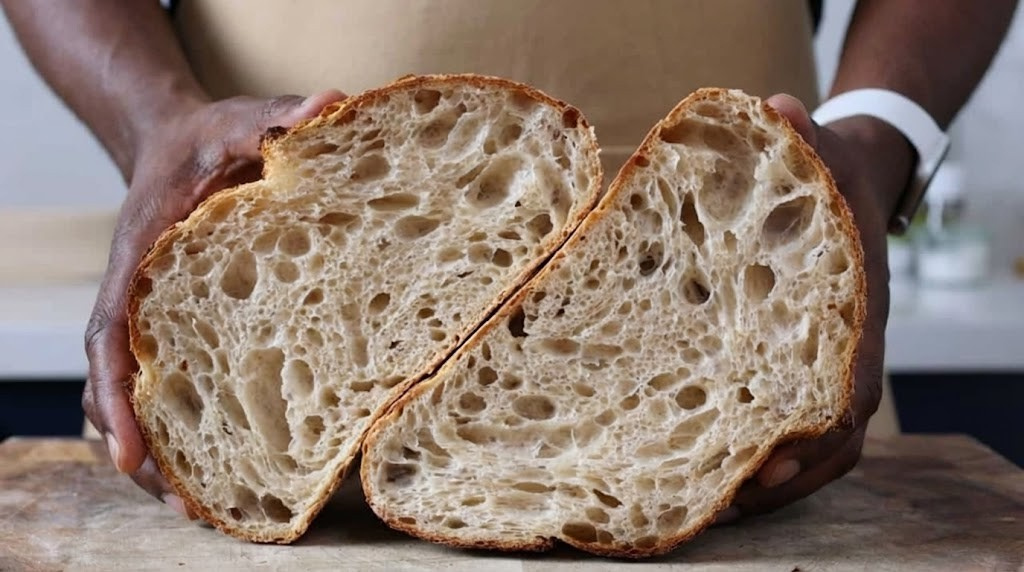
Windowpane test
Pull a small piece of dough and stretch it gently. It should stretch thin and slightly translucent before tearing. Sourdough dough won't windowpane quite as dramatically as commercial yeast dough, but you should get a clear, elastic stretch without immediate tearing.
Pro Tip
The sourdough version can also be developed by hand using the slap-and-fold method. 8-10 minutes of hand development gives you excellent gluten structure and keeps the dough temperature lower, which is a real advantage for controlling fermentation.
Precise Timers
Use these interactive timers to track your stages.
Mixing with Salt
Bulk
Bulk Fermentation
Three sets of build the dough strength. Then we let fermentation finish undisturbed. At 17% inoculation, this is a controlled, manageable bulk — not a race.
Click each step to mark complete
Transfer to a container
Move the dough to a lightly oiled bowl or straight-sided container. Mark the level with a rubber band or tape so you can track growth.
Stretch and fold — three sets
At 30-minute intervals, perform a set of : with a wet hand, grab one side of the dough, stretch it up high, fold it over to the other side. Rotate 90 degrees and repeat four times. Do this at the 30-minute, 60-minute, and 90-minute marks. After the third set, leave the dough undisturbed.
Continue bulk until 50-75% grown
At 72-76°F (22-24°C), bulk fermentation takes approximately 4-5 hours total from when you added the levain. Look for 50-75% growth, a domed top, visible bubbles at the edges, and a dough that jiggles as a single mass when you shake the container. At 17% inoculation, this is a slow build. Don't rush it.
Option: Cold overnight bulk
For best flavor and easiest morning shaping, after the three stretch-and-fold sets (90 minutes in), cover the container tightly and refrigerate overnight — 8-16 hours. The cold slows fermentation, builds flavor, and makes the dough firmer and easier to shape precisely. Pull it from the fridge and shape directly, no warm-up needed.
⏱ Wait Time
4-5 hours (same-day) or overnight
Pro Tip
The overnight cold bulk is genuinely the better path for these rolls. Cold dough shapes beautifully — it holds tension, resists springing back, and gives you clean, precise rolls. If you have the time, plan ahead and use it.
Precise Timers
Use these interactive timers to track your stages.
First S&F
Second S&F
Third S&F
Divide
Divide and Pre-Shape Oblong
Same method as the yeasted version. Pre-shape toward the final shape. Oblong, not round.
Click each step to mark complete
Divide into 6 equal pieces
Turn the dough out onto a lightly floured surface. Using a bench scraper, divide into 6 pieces at approximately 120g each. Weigh each piece — consistency here means consistent rolls.
Pre-shape oblong
For each piece: gently flatten into an oval with your fingertips — not a circle, an oval. You're already moving toward the final shape. The gluten in cold dough is tight; use light, confident pressure.
Bench rest 20-25 minutes
Cover with a kitchen towel and rest 20-25 minutes. If working from cold dough, the bench rest also allows the dough to temper slightly, which makes final shaping easier. Sourdough dough at fridge temperature is stiffer than yeasted dough at room temp — the extra bench rest matters more here.
Precise Timers
Use these interactive timers to track your stages.
Bench Rest
Shape
Final Shape — Baguette Method
Same shaping sequence as the yeasted version. The sourdough dough has more extensibility from the fermentation acids, so it may stretch more easily — but it also has a stronger gluten network from the longer development. Work with confidence.
Click each step to mark complete
Flatten the pre-shaped piece
Gently press each rested piece into an oval with your fingertips. Aim for about 5 inches wide and 7-8 inches long. Work from center to edges.
Pull and tuck the ends
Stretch the two short ends outward slightly to lengthen. Fold each end in about 1 inch toward the center. This establishes the tapered ends.
Fold top edge to center
Fold the top long edge down to the middle and press firmly with your fingertips along the entire length.
Rotate and fold bottom edge to center
Rotate 180 degrees. Fold the other long edge to the center and press firmly to seal.
Final fold and seal
Fold the top half all the way over to the bottom edge. Use the heel of your hand to seal the seam firmly along the full length.
Roll to length
Seam-side down, roll gently with both hands to 8-9 inches. Taper the ends slightly with more pressure at the tips. Place seam-side down in a greased hoagie mold or on parchment-lined baking sheet.
Pro Tip
The sourdough version holds its shape through proofing and baking slightly better than the yeasted version because the fermentation acids have strengthened the gluten. You'll notice the rolls have more structural integrity when you handle them going into the oven.
Proof
Final Proof
Room temperature proof until the rolls are visibly puffy. Because we've been conservative with inoculation and fermentation, the rolls have plenty of yeast energy left for the final proof and oven spring.
Click each step to mark complete
Proof at room temperature
Cover the shaped rolls loosely. Proof at room temperature (72-76°F / 22-24°C) until visibly puffed — 50-75% larger than their shaped size. From cold dough, this takes 1.5-2.5 hours. From room-temperature dough, closer to 60-90 minutes.
Preheat oven
About 30 minutes before baking, preheat oven to 450°F (232°C) with a metal pan on the lower rack.
Poke test
Press a floured finger gently into the side of a roll. Slow spring-back is ready. Immediate spring-back needs more time. No spring-back means bake immediately.
⏱ Wait Time
1.5-2.5 hours
Precise Timers
Use these interactive timers to track your stages.
Final Proof
Oven Preheat
Shaping
Baguette-Style Sourdough Hoagie Shaping
The shaping method is identical to the yeasted version. The cold sourdough dough holds tension better and shapes more cleanly. Take your time with the bench rest.
Baguette-Style Hoagie — Recommended
RecommendedClick each step to mark complete
Pre-shape oblong at divide
Flatten each piece into an oval, not a round. Already moving toward the final shape.
Bench rest 20-25 minutes
Critical for cold dough. The gluten needs to relax before it will extend properly.
Flatten to oval
Fingertips, not rolling pin. 5 inches wide, 7-8 inches long.
Pull and tuck ends
Extend short ends, fold each in 1 inch.
Fold top to center, seal
Top long edge folds to middle. Press firmly.
Rotate, fold bottom to center, seal
Other long edge folds to middle. Press firmly.
Final fold and seal with heel
Fold top half fully over. Seal entire seam with heel of hand.
Roll to 8-9 inches seam-down
Gentle, even pressure. Taper ends.
Proof Test: Slow spring-back on the poke test. Rolls should look pillowy and about 50-75% larger than their shaped size. The sourdough version holds its shape a little longer at the edge of over-proof than the yeasted version — but don't push it. Bake when it's ready.
Score & Bake
Score and Bake
Score like a baguette. Steam in the first phase. Same technique as the yeasted version — but the sourdough crust will be slightly more robust and the ear a little more dramatic.
Step by Step
Optional egg wash
Brush lightly with egg white wash if you want a shiny crust. Skip for a more rustic, matte finish.
Score — baguette pattern
Using a lame at a 30-35 degree angle, make 3-4 overlapping diagonal cuts across each roll, each about 2.5-3 inches long and ½ inch deep. Each cut should begin before the last one ends — overlapping like baguette scores. One confident long slash down the center also works. Hesitation gives you torn, ragged cuts. Commit to each score.
Steam and load
Pour 1 cup of boiling water into the preheated metal pan. Load the rolls immediately and close the oven door.
Bake with steam 10 minutes
Bake at 450°F (232°C) with steam for 10 minutes. Don't open the door.
Remove steam, continue baking
Remove the steam pan (or vent the oven briefly). Continue baking 10-12 more minutes at 450°F (232°C) until deep golden brown. Internal temperature 200-205°F (93-96°C).
Cool on a wire rack
Transfer immediately to a wire rack. The crust crisps as it cools. Give them at least 20-30 minutes before cutting.
Steam Bake Phase
Dry Bake Phase
Cool Before Cutting
Baking Methods
Equipment: Baking sheet or hoagie roll mold, metal pan for steam
Preheat oven and steam pan to 450°F (232°C)
At least 30 minutes full preheat.
Pour 1 cup boiling water into hot steam pan
Load rolls immediately. Close door.
Steam bake 10 minutes at 450°F (232°C)
Hands off.
Remove steam, bake dry 10-12 more minutes
Deep golden. Internal temp 200-205°F (93-96°C).
Nutrition Facts
Per 1 roll (approx 120g baked) • 6 servings per recipe
* Values are estimates based on standard ingredients
Storage
Room Temperature
Better shelf life than the yeasted version — 2-3 days in a bread bag. The sourdough acids keep the crumb from staling as quickly.
Frozen
Freeze after fully cooled. Up to 3 months. Refresh in a 350°F (175°C) oven for 8-10 minutes.
Refresh
350°F (175°C) for 8-10 minutes. The sourdough crust crisps right back up.
Your Feedback
Rate This Recipe
Loading ratings...
Troubleshooting
Baker's Notes
Common questions and solutions for perfect results
Temperature is the invisible ingredient. I use the Goldie and DoughBed from SourHouse to keep my starter and dough at the perfect temperature, every time.

SourHouse Temperature Control Products
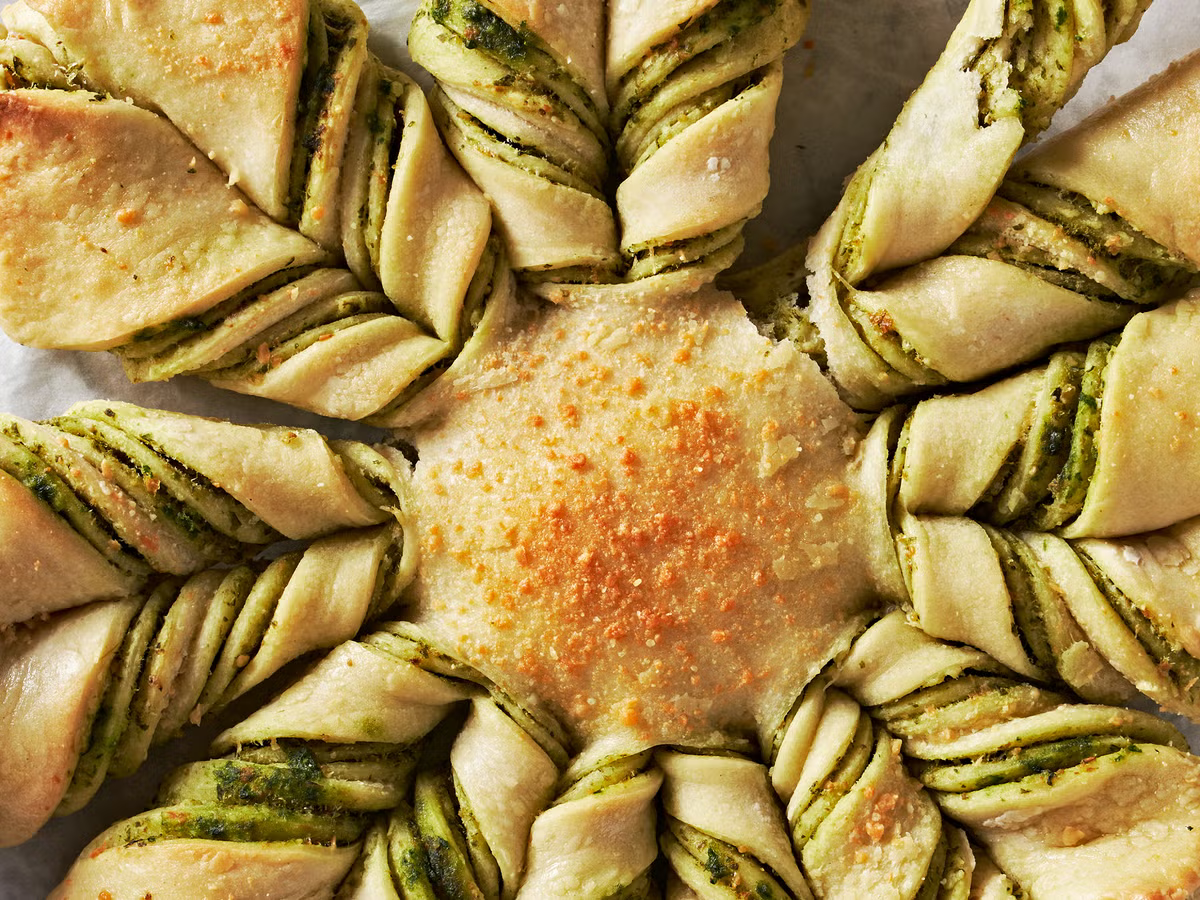
You Might Also Enjoy
More recipes from our pantry that pair well with this bake.
Get More Recipes in Your Inbox
Join thousands of home bakers receiving weekly recipes, tips, and techniques to elevate your bread game.
No spam, ever. Unsubscribe anytime.
More from Baking Great Bread at Home
Tools, resources, and community to help you bake better bread

Crust & Crumb Academy
Go deeper into your craft. FREE courses, challenges, and real feedback. No gatekeeping. Perfection is not required.

Sourdough Starter Companion
Your AI-powered starter assistant. Track feedings, troubleshoot issues, and keep your starter thriving.

BakingGreatBread.com
Real bread for the rest of us

Baking Great Bread Blog
Recipes, tips, and stories from the bread journey

Recipe Converter
Convert sourdough recipes to yeast and back again

Crust & Crumb App
Your AI-powered baking assistant

Facebook Community
Join 50,000+ bakers sharing, learning, and supporting each other

Sourdough for the Rest of Us
Free beginner's guide to sourdough