Flaky Butter Pastry Filled with Fresh Blueberries
IntermediateBlueberry Puff Pastry HandPies
by Henry Hunter
Bakery-quality hand pies from scratch, laminated dough and all.
Bake Time
25 minutes
Yield
12 individual hand pies


Perfection is not required
"The rustic, pieced-together tops look beautiful and taste just as good as perfectly cut tops."— Henry Hunter
By Henry Hunter Jr., founder of Crust & Crumb Academy and Baking Great Bread at Home.
Authentic Flavor
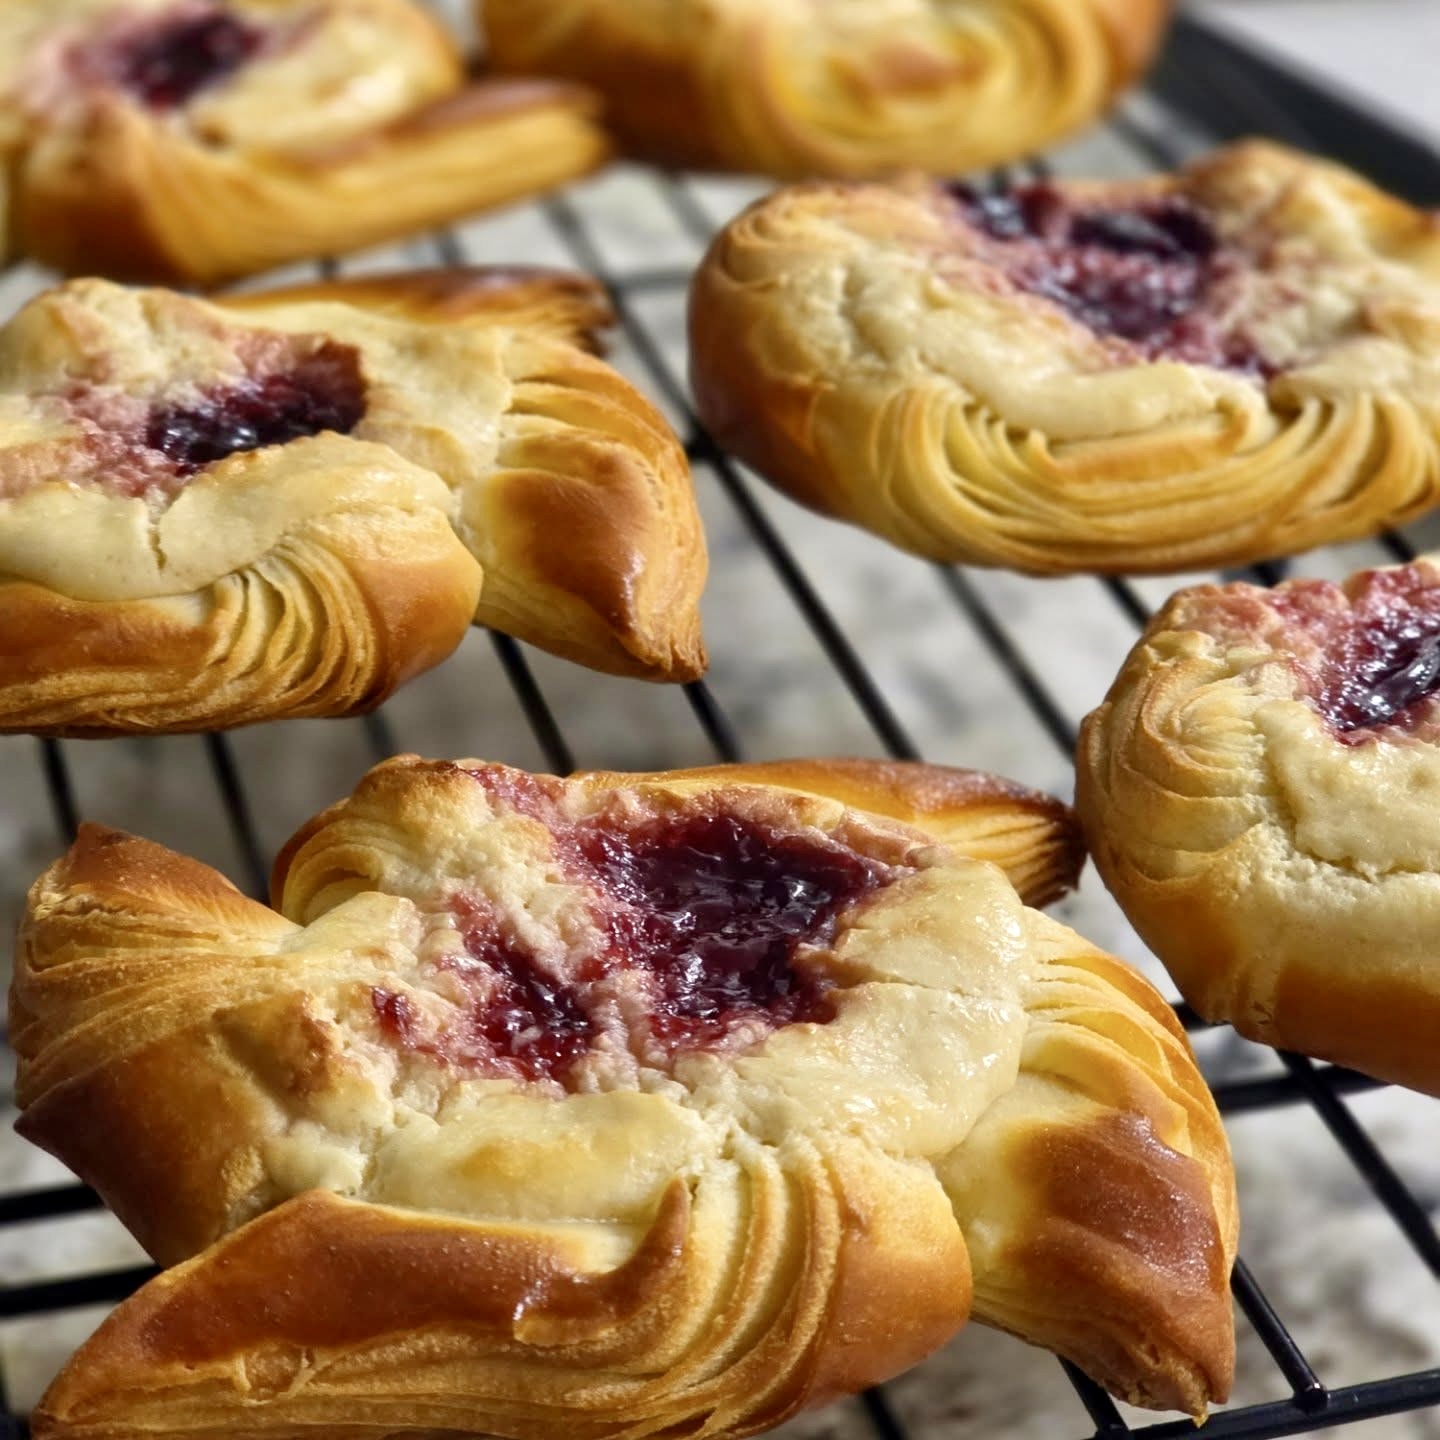
Flaky, golden blueberry hand pies made with homemade laminated dough and a simple jammy blueberry filling. This recipe uses the same laminated dough technique from our Danish pastry bake along. The process takes time but rewards you with layers upon layers of buttery, crispy pastry that store-bought versions simply can't match.
Equipment Needed
Ingredients
Laminated Dough
Keep very cold for proper lamination
Blueberry Filling
Assembly
Dough
Make the Dough
Day before or morning of
Create a smooth, enriched dough that will become the base for your laminated pastry.
Click each step to mark complete
Combine Dry Ingredients
In the bowl of a stand mixer, combine flour, instant yeast, sugar, and salt. Mix briefly to distribute.
Add Wet Ingredients
Add the egg, softened butter, and lukewarm milk. Mix on low speed with the dough hook until the dough comes together, about 2 minutes.
Knead the Dough
Increase to medium speed and knead for 6 to 8 minutes until the dough is smooth, elastic, and slightly tacky but not sticky. It should pull away from the sides of the bowl.
Shape and Chill
Shape the dough into a rectangle about 8x10 inches. Wrap tightly in plastic wrap and refrigerate for at least 1 hour, or overnight.
⏱ Wait Time
Dough chills for at least 1 hour (overnight recommended)
Pro Tip
This rest is crucial for easier lamination. The dough should be cold and firm but still pliable.
Precise Timers
Use these interactive timers to track your stages.
Knead Time
Butter Block
Prepare the Butter Block
Create a pliable butter block that will create all those flaky layers.
Click each step to mark complete
Pound the Butter
Place the cold 225g of butter between two sheets of parchment paper or plastic wrap. Using a rolling pin, pound and roll the butter into a flat rectangle about 5x7 inches.
Check Consistency
The butter should be pliable but still cold—bendable without cracking but not soft or greasy. Return to refrigerator until ready to use.
Pro Tip
If the butter is too cold, it will crack when folding. If too warm, it will squeeze out. Aim for a consistency similar to the dough.
First Turn
Laminate the Dough (First Turn)
Enclose the butter and create your first fold.
Click each step to mark complete
Roll Out Dough
Remove the chilled dough from refrigerator. On a lightly floured surface, roll it into a rectangle approximately 10x14 inches.
Enclose Butter
Place the butter block in the center of the dough. Fold the top third of dough down over the butter, then fold the bottom third up, like folding a letter. You've now enclosed the butter.
Complete First Turn
Turn the dough 90 degrees. Roll it out again into a rectangle about 10x14 inches. Fold into thirds again—this is your first turn.
Rest
Wrap and refrigerate for 30 minutes.
⏱ Wait Time
Rest 30 minutes between turns
Precise Timers
Use these interactive timers to track your stages.
First Rest
More Turns
Second and Third Turns
Continue building layers for maximum flakiness.
Click each step to mark complete
Second Turn
Remove dough from refrigerator. Roll into a 10x14 inch rectangle again. Fold into thirds (second turn). Wrap and refrigerate 30 minutes.
Third Turn
Repeat one more time: roll, fold into thirds (third turn), wrap, and refrigerate at least 1 hour before using, or overnight.
⏱ Wait Time
Final rest at least 1 hour (overnight ideal)
Pro Tip
After three turns, you'll have 27 layers of butter. Don't skip the rests—they prevent the butter from breaking through.
Precise Timers
Use these interactive timers to track your stages.
Second Rest
Final Rest
Filling
Make the Blueberry Filling
Create a jammy, concentrated filling that won't make your pastry soggy.
Click each step to mark complete
Make Slurry
Whisk together the cornstarch and water in a small bowl to create a slurry. Set aside.
Cook Berries
Combine the frozen blueberries, sugar, and lemon juice in a small saucepan over medium heat. Stir occasionally as the berries break down and release their liquid, 3 to 4 minutes.
Thicken
Once bubbling with berries broken down, stir in the cornstarch slurry. Continue stirring 1 to 2 minutes until the mixture thickens to a jammy consistency.
Cool Completely
Remove from heat and cool completely before using. This is essential to prevent soggy bottoms.
Pro Tip
The filling should be thick enough to mound on a spoon. If too thin, cook a bit longer.
Precise Timers
Use these interactive timers to track your stages.
Cook Berries
Shape
Shape and Fill
Cut and form your hand pies in the muffin tin.
Click each step to mark complete
Roll Out Dough
Remove the laminated dough from refrigerator. On a lightly floured surface, roll it out to about ⅛ inch thickness.
Cut Circles
Using a funnel (open side down) and paring knife, or a 4-inch round cutter, cut circles large enough to line muffin cups with slight overhang. Gather and re-roll scraps as needed, being careful not to overwork.
Line Muffin Cups
Gently press each circle into a muffin cup without stretching the dough. The dough should come up the sides with a slight overhang.

Look at those beautiful laminated layers!
Bake
Assemble and Bake
Fill, top, and bake to golden perfection.
Step by Step
Preheat Oven
Preheat oven to 400°F (200°C).
Fill
Spoon 1 to 2 tablespoons cooled blueberry filling into each pastry-lined cup. Don't overfill or filling will bubble over.
Add Tops
Cut remaining pastry scraps into rough pieces to cover tops. Lay pieces over filling and pinch edges together to seal. The rustic, pieced-together look is beautiful!
Egg Wash and Sugar
Brush tops with beaten egg and sprinkle generously with turbinado sugar.
Bake
Bake 20 to 25 minutes until puffed and deep golden brown.
Cool
Cool in tin 5 minutes before removing to prevent sticking.
Bake Time
Cool in Pan
Baking Methods
Equipment: 12-cup muffin tin
Preheat
Preheat oven to 400°F (200°C) with rack in center position.
Bake
Bake 20-25 minutes until puffed and deep golden brown. The tops should be richly colored—don't pull them too early.
Cool
Cool in tin 5 minutes, then carefully remove to a wire rack.
Nutrition Facts
Per 1 hand pie • 12 servings per recipe
* Values are estimates based on standard ingredients
Storage
Room Temperature
Best eaten day of baking. Store in airtight container up to 2 days.
Frozen
Freeze unbaked filled pies up to 1 month. Bake from frozen, adding 5-7 minutes to bake time.
💡 Reheat at 350°F (175°C) for 5-7 minutes to restore crispness. The microwave will make them soggy.
Your Feedback
Rate This Recipe
Loading ratings...
Troubleshooting
Baker's Notes
Common questions and solutions for perfect results
If you're serious about scoring, you need the right blade in your hand. Wire Monkey makes handcrafted bread lames from black walnut — built to last, balanced in the hand, and sharp enough to glide through cold dough cleanly every single time. No dragging, no hesitation marks. Just a clean cut.

Wire Monkey Handcrafted Bread Lames
You Might Also Enjoy
More recipes from our pantry that pair well with this bake.
Get More Recipes in Your Inbox
Join thousands of home bakers receiving weekly recipes, tips, and techniques to elevate your bread game.
No spam, ever. Unsubscribe anytime.
More from Baking Great Bread at Home
Tools, resources, and community to help you bake better bread

Crust & Crumb Academy
Go deeper into your craft. FREE courses, challenges, and real feedback. No gatekeeping. Perfection is not required.

Sourdough Starter Companion
Your AI-powered starter assistant. Track feedings, troubleshoot issues, and keep your starter thriving.

BakingGreatBread.com
Real bread for the rest of us

Baking Great Bread Blog
Recipes, tips, and stories from the bread journey

Recipe Converter
Convert sourdough recipes to yeast and back again

Crust & Crumb App
Your AI-powered baking assistant

Facebook Community
Join 50,000+ bakers sharing, learning, and supporting each other

Sourdough for the Rest of Us
Free beginner's guide to sourdough