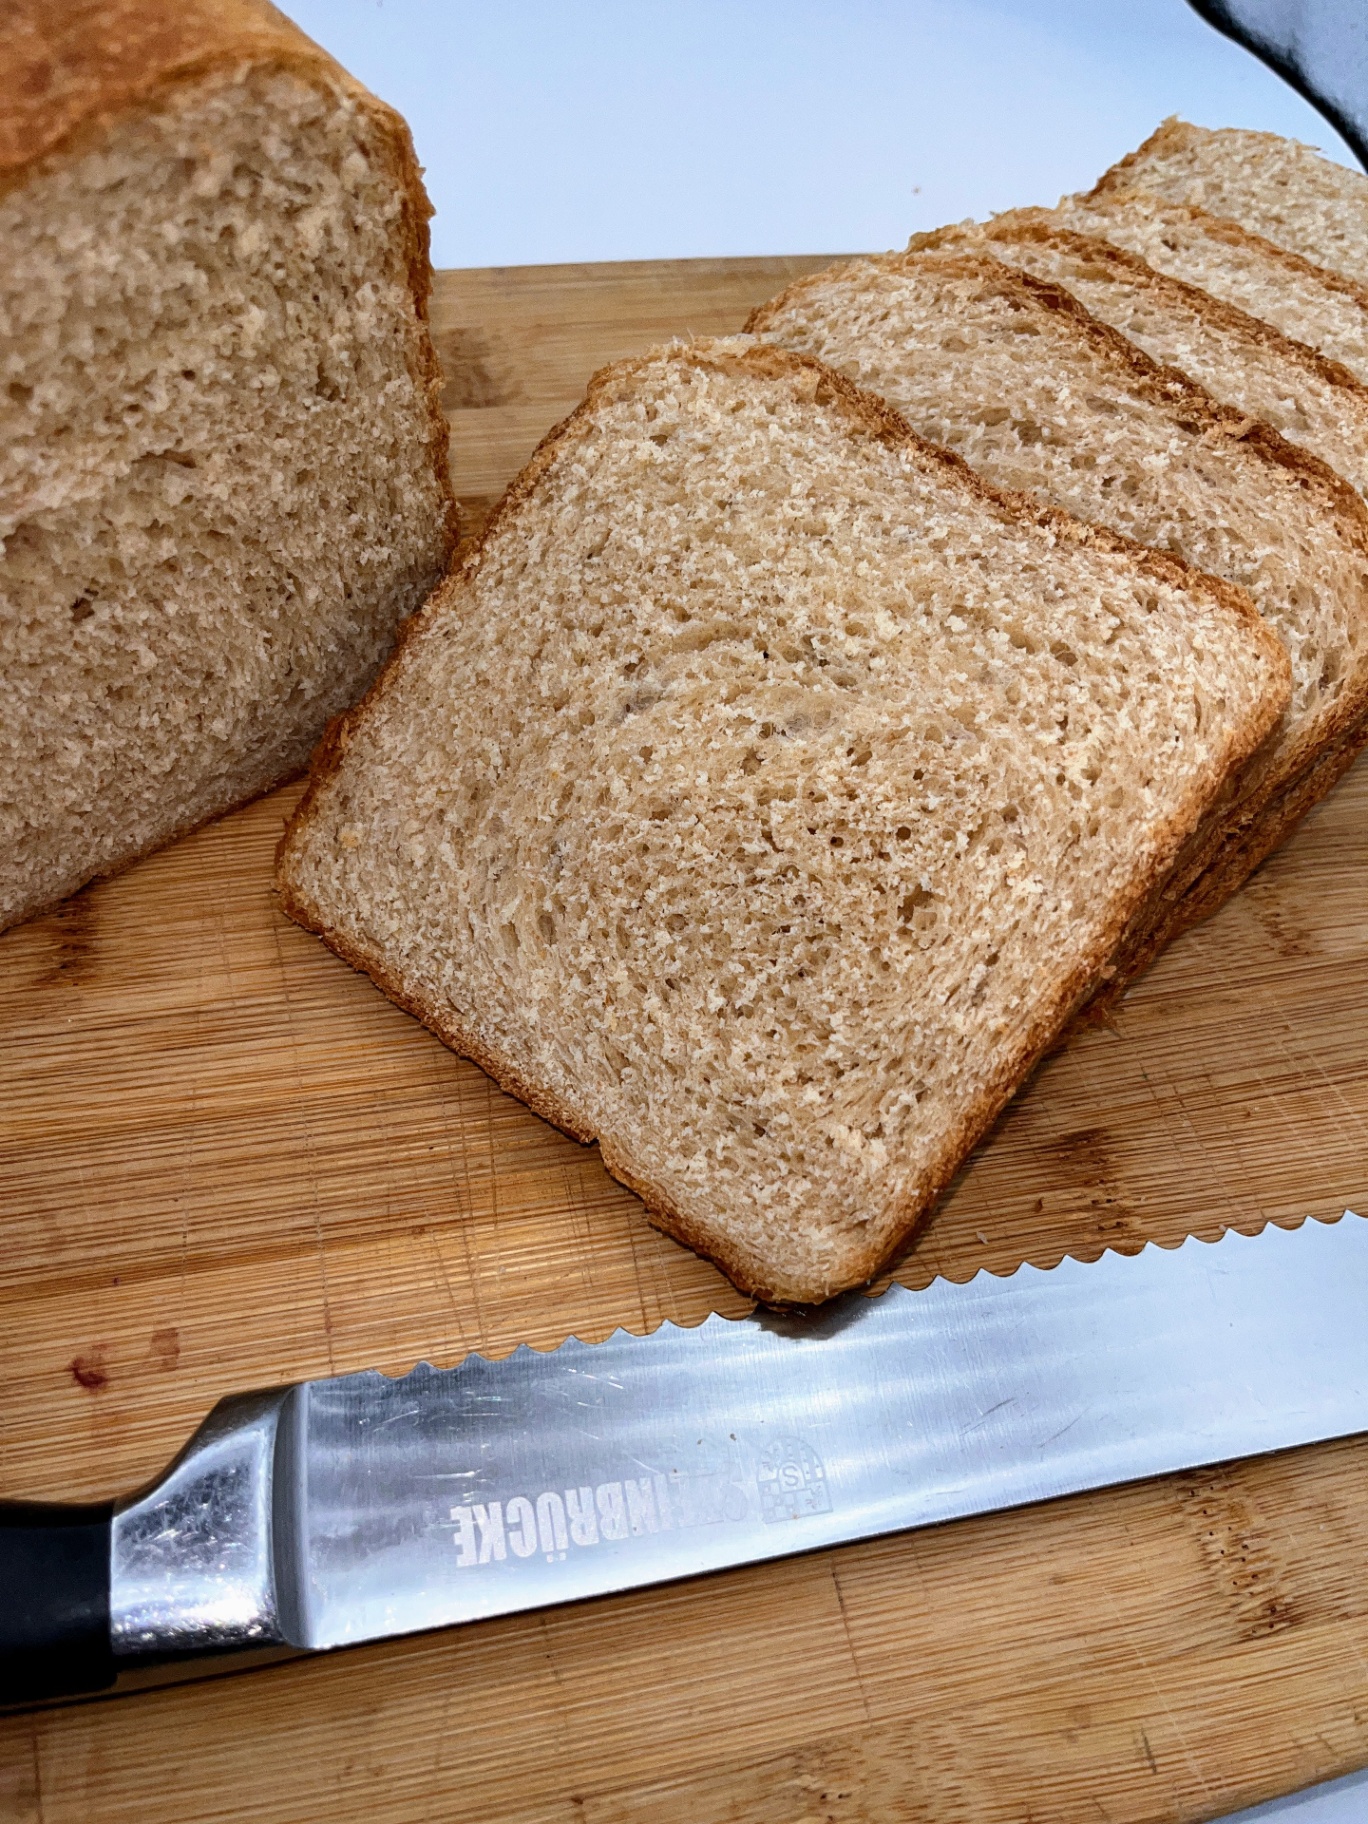
The Softest 60% Whole Wheat Sandwich Loaf You'll Ever Make
IntermediateWhole Wheat Honey MilkBread
by Henry Hunter Jr.
All the nutrition. None of the density.
Fermentation
1-1.5 hours
Bake Time
35-40 minutes
Yield
About 10-12 slices. Baked in an 8½ x 4½ inch loaf pan.

Perfection is not required
"Perfection is not required. Progress is."— Henry Hunter Jr.
By Henry Hunter Jr., founder of Crust & Crumb Academy and Baking Great Bread at Home.
Authentic Bread Flavor
Henry Hunter Jr. has been baking bread for over 26 years and teaches thousands of home bakers through Crust & Crumb Academy and the Baking Great Bread at Home community. He's the author of five books on bread baking, including Vitale Sourdough Mastery and From Oven to Market.
Equipment Needed
Ingredients
Tangzhong (Make First)
This is the step that sets our recipe apart. Cook it first and let it cool while you measure everything else.
The Dough
Optional Topping
Pro Tip
Hard white whole wheat gives you a lighter, more extensible dough with a milder flavor. Hard red whole wheat gives you more depth and earthiness but a slightly denser crumb. Both work. The tangzhong compensates for either. Use what you have or what you prefer.
Step 1
Make the Tangzhong
The is a simple flour-water paste cooked until the starches gelatinize. It takes five minutes and it's the single biggest upgrade you can make to a whole wheat sandwich loaf.
Click each step to mark complete
Combine and cook
In a small saucepan, whisk together the whole wheat flour and water until no lumps remain. Set over medium-low heat and cook, stirring constantly, until the mixture thickens into a smooth paste and reaches 150°F (65°C). It will look like thick pudding or a roux. This takes about 3-5 minutes.
Cool completely
Scrape the tangzhong into a bowl and press plastic wrap directly onto the surface to prevent a skin from forming. Cool to room temperature before adding to the dough. You can speed this up by placing it in the refrigerator for 15 minutes.
What Tangzhong Actually Does
When you heat flour and water together past 150°F (65°C), the starch granules absorb water and swell — a process called gelatinization. Those gelatinized starches can hold significantly more water than raw starch can, and they hold it even through baking. The result is a softer, more tender crumb that stays moist for days longer than a standard loaf.
Why It Matters Especially for Whole Wheat
Whole wheat bran is thirsty. It absorbs water aggressively during mixing, competing with the gluten-forming proteins for the available moisture. By pre-cooking a portion of the whole wheat flour, we're giving the bran a head start — it gets its water early, before it can interfere with gluten development. The rest of the dough forms better gluten structure as a result.
The Market Gap
Almost every whole wheat sandwich loaf recipe out there either ignores density or fights it with more yeast and more sugar. Nobody's applying tangzhong to whole wheat. That's our angle.
The Takeaway
Five extra minutes upfront buys you a softer crumb, longer shelf life, and better gluten development in a flour that fights you at every step.
Precise Timers
Use these interactive timers to track your stages.
Tangzhong Cooling Time
Step 2
Mix and Rest
Getting all the liquid into the whole wheat bran before kneading starts is non-negotiable. The rest here isn't about flavor — it's about softening the bran so it damages the gluten less.
Click each step to mark complete
Warm the milk and dissolve the honey
Warm the milk to 95-100°F (35-38°C). Stir in the honey until dissolved. Add the instant yeast and stir to combine.
Combine all dough ingredients
In a large bowl or the bowl of your stand mixer, combine the whole wheat flour, all-purpose flour, and salt. Add the warm milk mixture and the cooled tangzhong. Mix with a dough whisk or on low speed until no dry flour remains. The dough will look rough and a little shaggy. That's fine.
Rest 15-20 minutes
Cover the bowl and let the dough rest for 15-20 minutes. Do not skip this. The bran in the whole wheat flour needs time to fully absorb the liquid and soften. Hard, dry bran acts like tiny razors on your gluten strands. Softened bran is far less destructive.
⏱ Wait Time
15-20 minutes
Pro Tip
The milk accounts for significant water content (87% water by weight). We've already calculated that into this recipe's hydration — don't add extra water unless the dough feels genuinely tight after the rest.
Precise Timers
Use these interactive timers to track your stages.
Bran Hydration Rest
Step 3
Add Butter and Develop the Dough
Butter goes in after the initial hydration rest. Adding fat to fully developed gluten is a cornerstone of enriched dough technique — fat added too early coats the proteins and blocks gluten formation.
Click each step to mark complete
Add softened butter
Add the softened butter in small pieces to the rested dough. Mix on medium-low speed (or work in by hand) until fully incorporated. The dough may look greasy and shaggy for a minute — keep going, it comes together.
Knead by hand (recommended) or by mixer
Transfer the dough to a wet surface — not floured, wet. Using wet hands, perform a series of motions: grab the dough, slap it against the surface, fold it back over itself. Repeat for 4-5 minutes until the dough becomes tacky and springy and starts to pull away from the surface cleanly. Alternatively, knead on medium speed in a stand mixer for 6-7 minutes. Stop when the dough is smooth and slightly tacky. Do not over-knead — in a stand mixer especially, extended kneading on a 60% whole wheat dough risks overworking and degrading the gluten.
Check for readiness
The dough is ready when it's smooth, slightly tacky (not sticky), and springs back when you poke it. A partial will show some translucency but won't be as dramatic as a white flour dough. That's normal for whole wheat.
Two Things Gluten Needs
For a good rise, your gluten network needs two things working together: Strength, which comes from kneading and gives the structure the ability to hold its shape and trap gas without collapsing. And extensibility, which is the gluten's ability to stretch as the dough expands during fermentation and baking. A dough that's strong but not extensible tears. A dough that's extensible but weak collapses.
The Whole Wheat Problem
Whole wheat flour has a higher total protein level than all-purpose flour, but a lower concentration of the gluten-forming proteins specifically. Those are concentrated in the endosperm — and in whole wheat, the bran and germ take up space that endosperm would occupy in white flour. Plus the bran has sharp edges that cut gluten strands as you knead. This is why whole wheat doughs need gentler handling and why using hard white wheat (with its milder bran) gives you a more extensible, less dense result.
Why the Pan Matters
This is a pan loaf for a reason. The pan acts as an exoskeleton — it supports the dough during the final rise and bake, compensating for any gluten strength that was sacrificed to protect against bran damage. It's not a shortcut. It's smart baking.
The Takeaway
Knead enough to build strength. Stop before the bran destroys what you built. The pan handles the rest.
Precise Timers
Use these interactive timers to track your stages.
Hand Kneading / Slap and Fold
Stand Mixer Kneading
Step 4
Bulk Fermentation
A straightforward at room temperature. No folds needed — the kneading did the work.
Click each step to mark complete
First rise until doubled
Shape the dough into a ball and place it in a lightly oiled bowl. Cover with plastic wrap or a shower cap. Leave at room temperature (72-76°F / 22-24°C) until the dough has roughly doubled in size, about 1 to 1.5 hours. The enrichment (milk, honey, butter) means fermentation runs slightly slower than a lean dough. Don't rush it.
⏱ Wait Time
1-1.5 hours
Pro Tip
In a warm kitchen (78°F+), check at 45 minutes. In a cooler kitchen, it may take up to 2 hours. Look at the dough, not the clock.
Precise Timers
Use these interactive timers to track your stages.
Bulk Fermentation
Step 5
Shape and Pan
Straightforward sandwich loaf shaping. The goal is a tight, even cylinder that fills the pan edge to edge.
Click each step to mark complete
Turn out and flatten
Turn the risen dough out onto a lightly floured surface. Gently press it into a rough rectangle about as wide as your loaf pan (8½ inches). Don't tear the dough — just encourage it flat with your palms.
Roll into a log
Starting from the short end closest to you, roll the dough into a tight log, pressing gently as you roll to eliminate air pockets. Pinch the seam firmly along the entire length.
Place in pan
Place seam-side down in a lightly greased 8½ x 4½ inch loaf pan. The dough should fill roughly two-thirds of the pan. Gently press the dough into the corners with your fingertips.
Add topping (optional)
If using wheat germ or oats on top: brush the surface of the loaf with egg wash, then sprinkle wheat germ or oats evenly over the top. Press lightly so they adhere.
Pro Tip
Lightly greasing the pan with butter or pan spray is sufficient. Don't line with parchment — you want the bottom and sides to develop a light crust against the pan.
Step 6
Final Proof
The loaf needs to crown about 1 inch above the edge of the pan before it goes into the oven. That's your visual target — not a time.
Click each step to mark complete
Proof until crowned
Cover the pan loosely with plastic wrap or a clean kitchen towel. Proof at room temperature until the dough crowns about 1 inch above the pan edge, approximately 1.5 to 2 hours. The dough should look pillowy and domed, not tight or flat.
Preheat the oven
About 20-30 minutes before the loaf is ready, preheat your oven to 350°F (175°C). Place a rack in the lower third of the oven.
⏱ Wait Time
1.5-2 hours
Pro Tip
If you probe the dough with a floured finger, it should spring back slowly but not completely. A fingerprint that disappears immediately means underproofed. A fingerprint that never springs back means you're pushing overproofed territory — get it in the oven now.
Precise Timers
Use these interactive timers to track your stages.
Final Proof
Oven Preheat
Shaping
Shape the Sandwich Loaf
A tight, even roll gives you a fine, consistent crumb with no large holes through the center.
Standard Sandwich Roll — Recommended
RecommendedClick each step to mark complete
Flatten gently
Press dough into a rectangle, width matching the pan length.
Roll tight
Roll from short end toward you, pressing gently to seal each turn.
Pinch seam
Pinch the full length of the seam firmly, then place seam-down in the greased pan.
Proof Test: Dough is ready when it crowns at least 1 inch above the pan edge and a floured finger poke springs back slowly. Don't bake before it reaches that crown — whole wheat loaves need the full proof to achieve the open, tender crumb the tangzhong is working to build.
Step 7
Bake
Low and slow for this enriched loaf. The honey and milk brown the crust beautifully at 350°F (175°C) — no need to go higher.
Step by Step
Bake 35-40 minutes
Place the loaf pan in the lower third of the preheated 350°F (175°C) oven. Bake 35-40 minutes until the crust is deep golden brown and the internal temperature reaches 190-195°F (88-90°C). Whole wheat loaves can look done on the outside before they're done on the inside — always verify with a thermometer.
Cool in pan 10 minutes
Remove from the oven. Let the loaf cool in the pan for 10 minutes. It will pull slightly away from the edges as it cools.
Cool completely on a wire rack
Turn the loaf out onto a wire rack and cool at least 1 hour before slicing. The tangzhong crumb needs time to set — cutting too early gives you gummy, compressed slices.
Bake Time
Cool in Pan
Cool on Rack
Baking Methods
Equipment: 8½ x 4½ inch loaf pan, lightly greased
Preheat to 350°F (175°C)
Lower third rack position.
Bake 35-40 minutes
Until deep golden and internal temp hits 190-195°F (88-90°C).
Cool in pan 10 min, then on rack
Full 1-hour cool before slicing.
"If the top is browning too fast before the interior is done, tent loosely with foil after the first 20 minutes."
Nutrition Facts
Per 1 slice (approx 62g) • 12 servings per recipe
* Values are estimates based on standard ingredients
Storage
Room Temperature
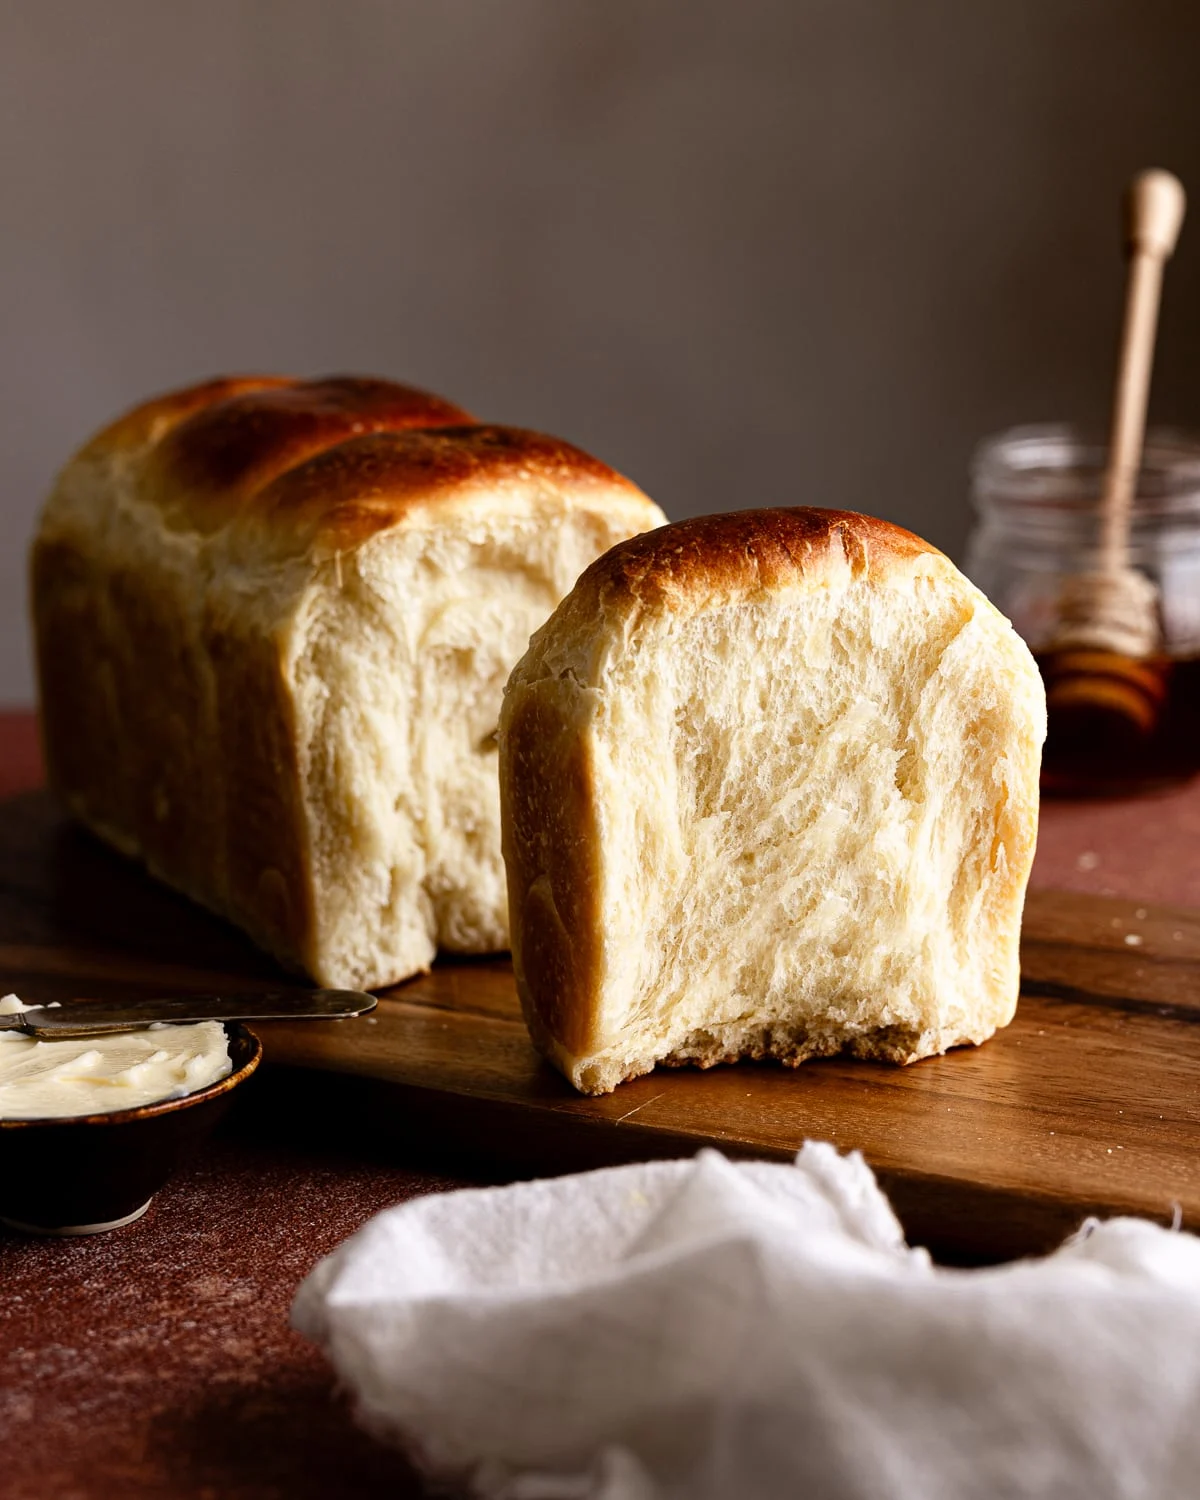
3-4 days wrapped in a bread bag or beeswax wrap. The tangzhong keeps this loaf noticeably softer than a standard whole wheat recipe at day 3.
Refrigerated
Up to 1 week, though refrigeration accelerates staling in enriched breads. Better to freeze what you won't use in 3-4 days.
Frozen
Slice before freezing. Up to 3 months in a zip-lock bag. Toast directly from frozen.
Refresh
Warm slices in a toaster or at 325°F (160°C) for 8 minutes. The honey crust revives beautifully.
Your Feedback
Rate This Recipe
Loading ratings...
Troubleshooting
Baker's Notes
Common questions and solutions for perfect results
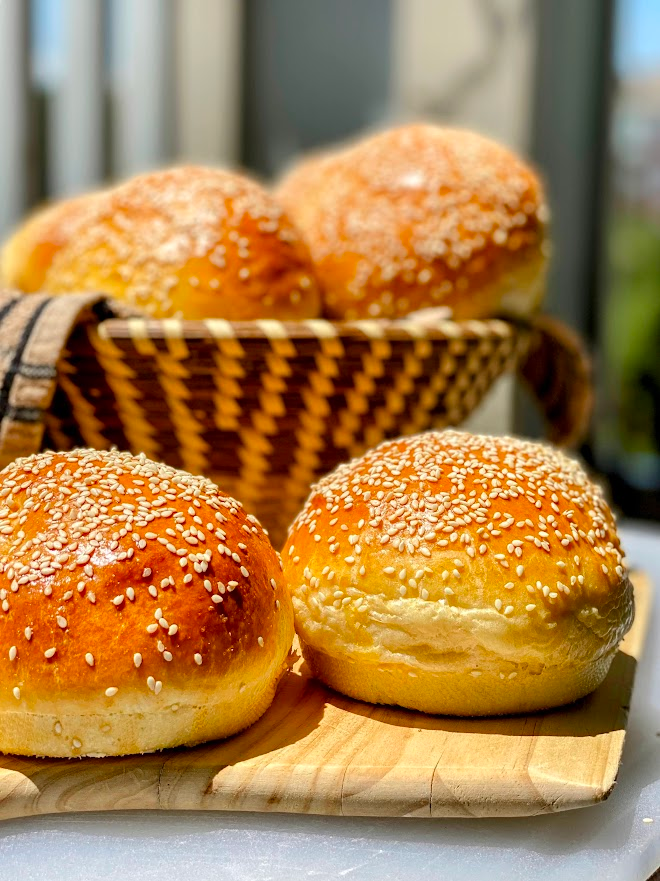
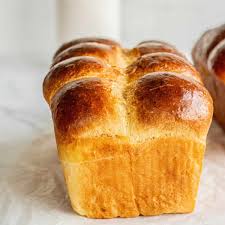
You Might Also Enjoy
More recipes from our pantry that pair well with this bake.
Get More Recipes in Your Inbox
Join thousands of home bakers receiving weekly recipes, tips, and techniques to elevate your bread game.
No spam, ever. Unsubscribe anytime.
More from Baking Great Bread at Home
Tools, resources, and community to help you bake better bread

Crust & Crumb Academy
Go deeper into your craft. FREE courses, challenges, and real feedback. No gatekeeping. Perfection is not required.

Sourdough Starter Companion
Your AI-powered starter assistant. Track feedings, troubleshoot issues, and keep your starter thriving.

BakingGreatBread.com
Real bread for the rest of us

Baking Great Bread Blog
Recipes, tips, and stories from the bread journey

Recipe Converter
Convert sourdough recipes to yeast and back again

Crust & Crumb App
Your AI-powered baking assistant

Facebook Community
Join 50,000+ bakers sharing, learning, and supporting each other

Sourdough for the Rest of Us
Free beginner's guide to sourdough