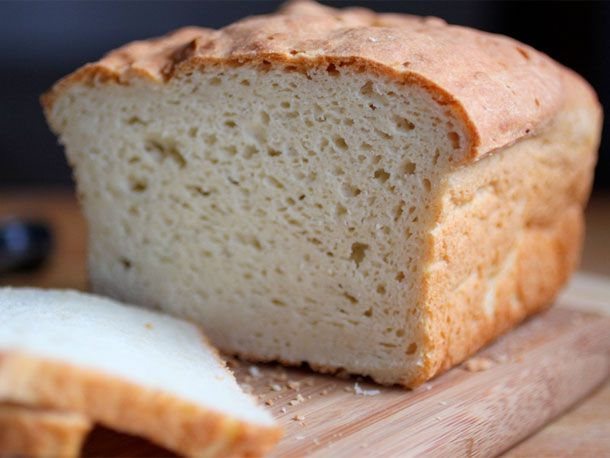
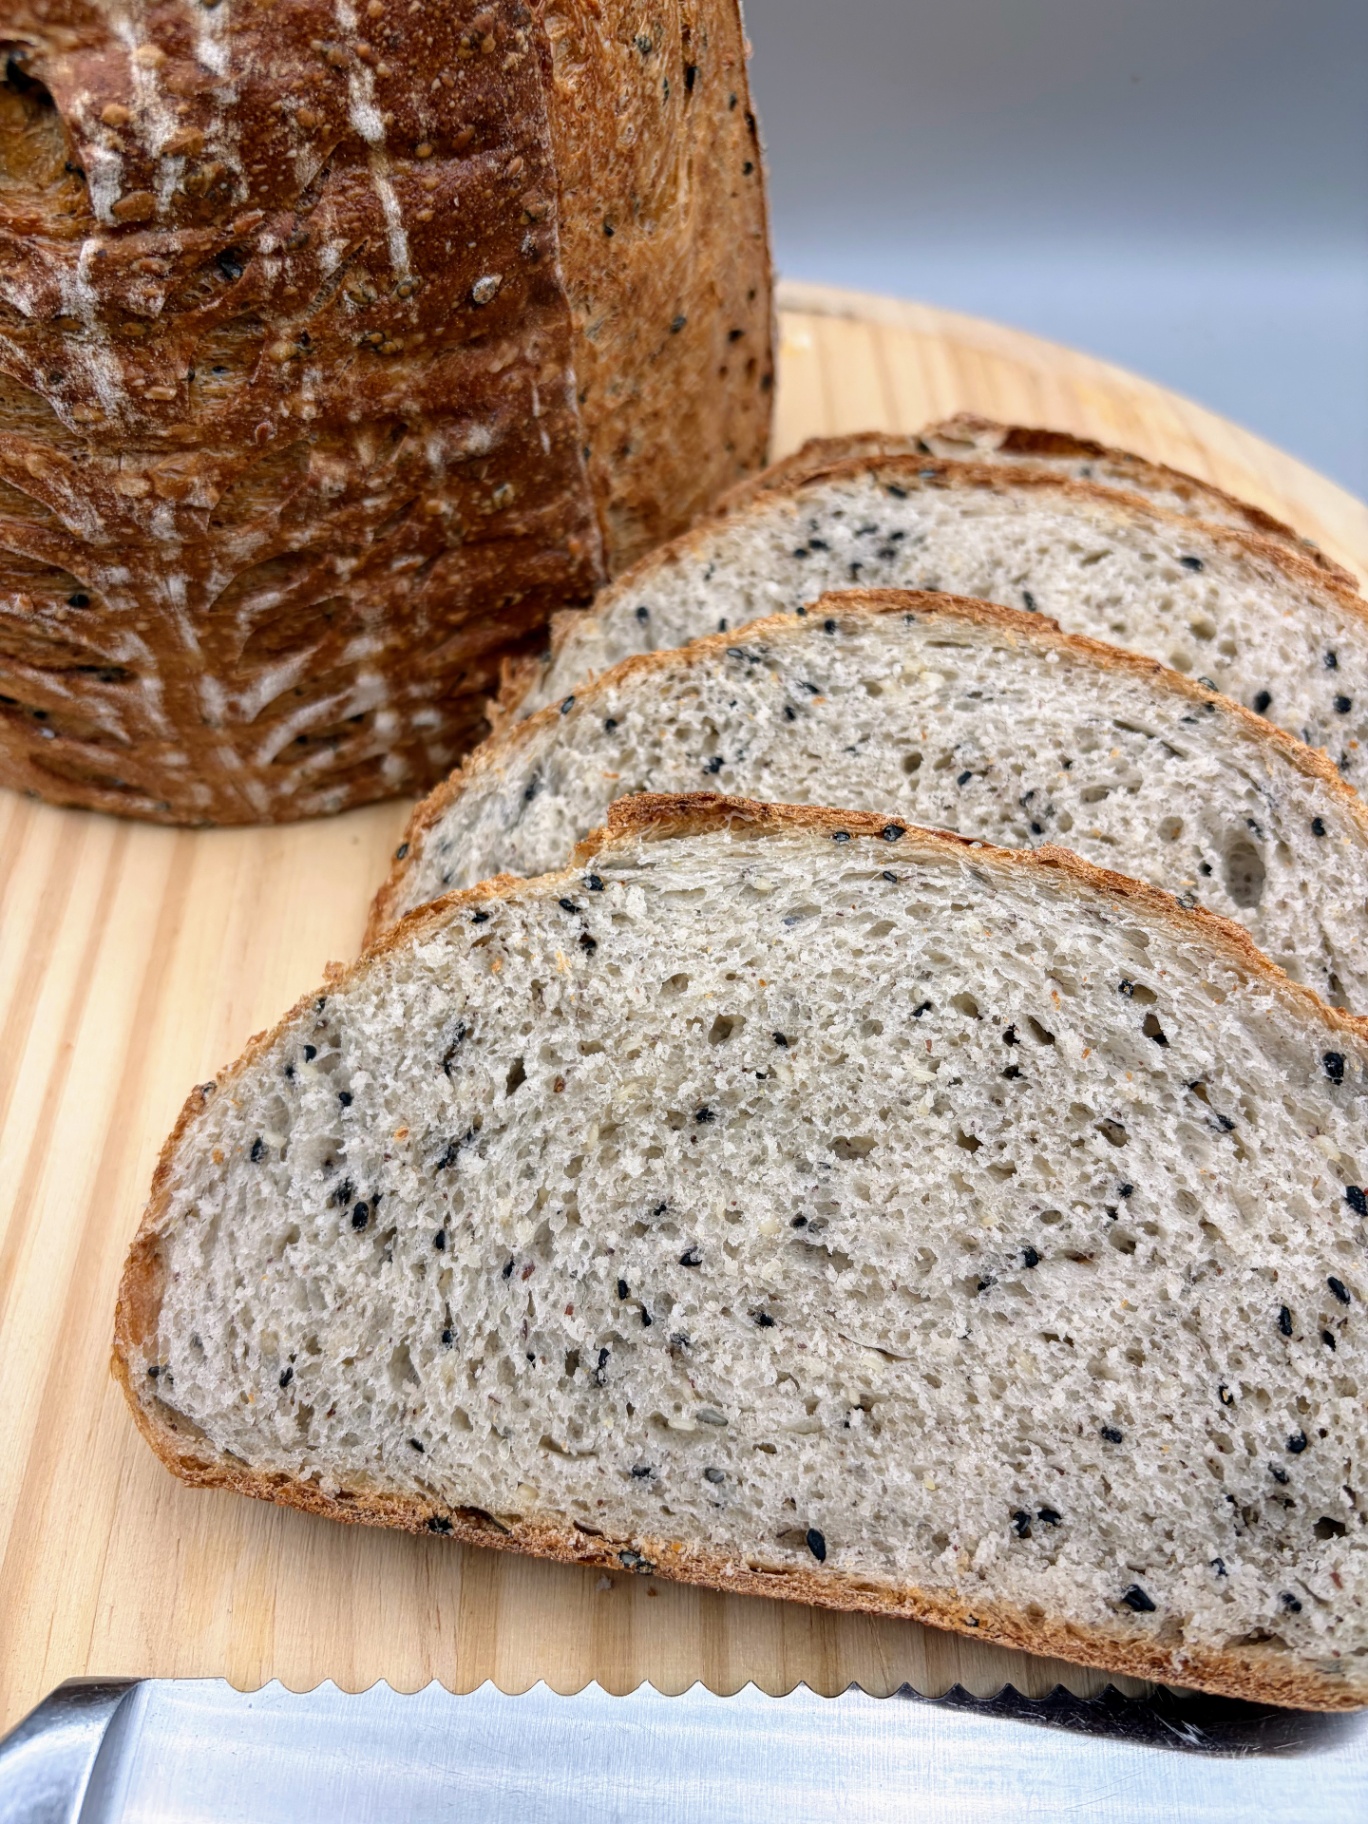
Soft, sliceable sandwich bread — no one will know it's gluten-free
BeginnerGluten-Free SandwichBread
by Henry Hunter Jr.
Real bread texture, zero gluten.
Rise Time
1 hour 30 minutes
Bake Time
45–50 minutes
Yield
One 9×5 inch loaf (about 12 slices)

Perfection is not required
"Great bread isn't about perfect technique—it's about understanding the dough."— Henry Hunter Jr.
By Henry Hunter Jr., founder of Crust & Crumb Academy and Baking Great Bread at Home.
Authentic Flavor
A tender, sliceable gluten-free sandwich bread using psyllium husk for structure. Better than store-bought, and you'll know exactly what's in it.
Ingredients
Dry Ingredients
Wet Ingredients
Pro Tip
Weigh every ingredient. In gluten-free baking, 5g difference in starch can change your texture significantly. A scale is the single best investment for GF success.
Step 1
Activate the Yeast
Gluten-free doughs don't develop structure the same way wheat doughs do — yeast activity is even more critical because you have no gluten network to trap gas. We confirm the yeast is alive before committing to the full recipe.
Click each step to mark complete
Proof the yeast
Combine the warm water (105–110°F / 40–43°C), sugar, and instant yeast in a large bowl or stand mixer bowl. Stir and let sit for 5–8 minutes until foamy. If it doesn't foam, your yeast is dead — start with fresh yeast before proceeding.
The Yeast Kill Zone
begins when yeast consumes sugars and releases CO2 gas. Yeast thrives between 75–110°F (24–43°C). Above 120°F (49°C) the proteins in yeast cells denature and die. Below 70°F (21°C) they go dormant. Always use a thermometer — 'warm to the touch' is too imprecise for consistent results.
The Takeaway
Nail the water temp and your yeast blooms every time.
Precise Timers
Use these interactive timers to track your stages.
Yeast Bloom
Step 2
Build the Batter-Dough
Gluten-free sandwich bread has a thick, pourable batter consistency — not a kneadable dough. That's normal and correct. Psyllium husk is our structural hero here: it forms a gel when hydrated that mimics gluten's job of holding the loaf together.
Click each step to mark complete
Whisk the dry ingredients
In a separate bowl, whisk together the white rice flour, tapioca starch, potato starch, psyllium husk powder, and salt. Whisking distributes the psyllium husk evenly — pockets of un-mixed psyllium will create gummy streaks in the finished loaf.
Add wet ingredients
Add the eggs, oil, and apple cider vinegar to the yeast mixture. The vinegar isn't just flavor — its acidity strengthens the psyllium gel structure and gives the bread a better rise and crumb. Mix briefly, then add the flour blend all at once.
Mix until smooth
Beat on medium speed for 2–3 minutes (or vigorously by hand for 3–4 minutes). The batter will thicken noticeably as the psyllium husk hydrates — you'll see it transform from loose to a thick, sticky, paste-like dough. This is the psyllium gel forming. Don't add more flour.
The Gluten Substitute
in wheat flour forms long protein strands that stretch and trap CO2 bubbles, creating structure. In a gluten-free dough, nothing does this naturally. Psyllium husk powder (not whole husks) absorbs water and swells into a viscous gel that surrounds the starch particles and CO2 bubbles, acting like a flexible net. The result: a bread that slices cleanly instead of crumbling.
Psyllium Powder vs. Whole Husks
Always use psyllium husk *powder*, not whole psyllium husks. The powder has a much finer particle size and gels more uniformly. Using whole husks at the same weight will produce a denser, gummier loaf. If your bag says 'psyllium husk' without 'powder,' grind it fine in a blender first.
The Takeaway
Psyllium gel = gluten substitute. Get it right and your loaf holds together beautifully.
Step 3
First Rise
Transfer the batter to a greased 9×5 inch loaf pan and smooth the top with a wet spatula or wet fingers. Cover with plastic wrap and let rise in a warm place (75–80°F / 24–27°C) until the dough crowns about 1 inch above the rim of the pan.
Click each step to mark complete
Pan and shape
Lightly grease the loaf pan with oil or cooking spray. Scrape the dough into the pan and smooth the top as evenly as possible with a wet spatula — a smooth top prevents the crust from cracking unevenly. GF dough doesn't need pre-shaping the way wheat dough does.
Cover and rise
Cover loosely with oiled plastic wrap (so it doesn't stick to the rising dough) and set in a warm spot. A turned-off oven with the light on holds around 80°F (27°C) — ideal. Rise time is 60–90 minutes. Watch the dough, not the clock: you want it to dome 1 inch over the pan edge.
⏱ Wait Time
Let the dough rise 60–90 minutes until it domes above the pan rim
Pro Tip
If your kitchen is cold (below 68°F / 20°C), the rise will take longer. Don't rush it by raising heat too high — slow fermentation builds better flavor.
No Gluten = Less Gas Retention
In wheat bread, the network stretches to accommodate expanding CO2 bubbles. In GF bread, the psyllium gel holds bubbles but doesn't stretch as elastically. This means GF loaves often don't dome dramatically — a 1-inch crown is a great rise. Overproofing a GF loaf is a real risk: push it too far and the gel structure collapses, leaving a dense, sunken loaf.
The Takeaway
1 inch of dome = perfect proof. Stop there.
Precise Timers
Use these interactive timers to track your stages.
First Rise
Step 4
Bake
Preheat your oven to 375°F (190°C). GF sandwich bread bakes at a lower, gentler temperature than artisan loaves — the goal is full internal cooking without burning the crust before the center sets.
Step by Step
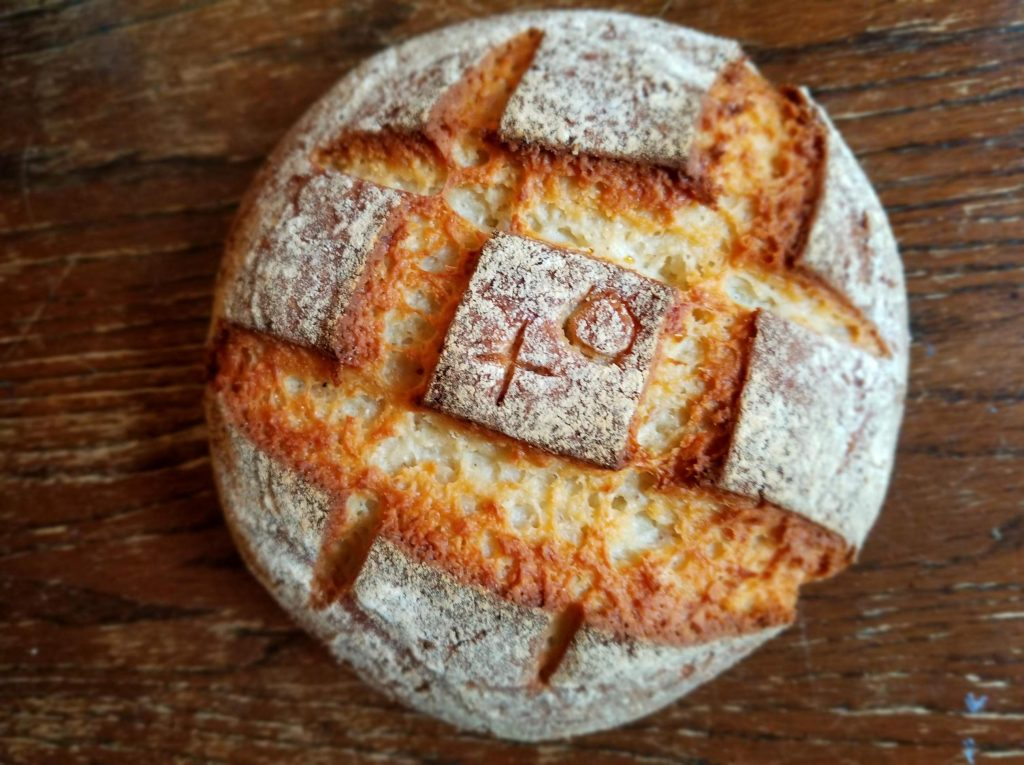
Preheat and score (optional)
Preheat oven to 375°F (190°C). Optionally, score the top with a wet knife or — a single long slash down the center helps control where the bread opens and prevents random cracks.
Bake until done
Bake for 45–50 minutes. The loaf is done when the internal temperature reads 205–210°F (96–99°C) on an instant-read thermometer. The crust will be golden brown. Don't trust color alone — GF loaves can look done on the outside while the center is still gummy.
Cool completely before cutting
Remove from pan and cool on a wire rack for at least 2 hours before slicing. This is non-negotiable. The psyllium gel continues to set as it cools — cutting early will give you a gummy, collapsed crumb. It feels torturous to wait, but it's the difference between a beautiful loaf and a disappointing one.
Bake Time
Baking Methods
Center rack, no steam needed for sandwich bread
Preheat
375°F (190°C) — at least 20 minutes
Bake
45–50 minutes until internal temp reaches 205–210°F (96–99°C)
Cool
Wire rack, 2 hours minimum before slicing
Nutrition Facts
Per 1 slice (65g) • 12 servings per recipe
* Values are estimates based on standard ingredients
Storage
Room Temperature
2–3 days wrapped tightly at room temperature — GF bread stales faster than wheat bread
Frozen
Up to 3 months. Slice before freezing for best convenience.
💡 GF bread is best on day 1–2. Toast it on day 3 for restored texture. Never refrigerate — cold temperatures accelerate staling in GF loaves.
Your Feedback
Rate This Recipe
Loading ratings...
Troubleshooting
Baker's Notes
Common questions and solutions for perfect results
If you're serious about scoring, you need the right blade in your hand. Wire Monkey makes handcrafted bread lames from black walnut — built to last, balanced in the hand, and sharp enough to glide through cold dough cleanly every single time. No dragging, no hesitation marks. Just a clean cut.

Wire Monkey Handcrafted Bread Lames
You Might Also Enjoy
More recipes from our pantry that pair well with this bake.
Get More Recipes in Your Inbox
Join thousands of home bakers receiving weekly recipes, tips, and techniques to elevate your bread game.
No spam, ever. Unsubscribe anytime.
More from Baking Great Bread at Home
Tools, resources, and community to help you bake better bread

Crust & Crumb Academy
Go deeper into your craft. FREE courses, challenges, and real feedback. No gatekeeping. Perfection is not required.

Sourdough Starter Companion
Your AI-powered starter assistant. Track feedings, troubleshoot issues, and keep your starter thriving.

BakingGreatBread.com
Real bread for the rest of us

Baking Great Bread Blog
Recipes, tips, and stories from the bread journey

Recipe Converter
Convert sourdough recipes to yeast and back again

Crust & Crumb App
Your AI-powered baking assistant

Facebook Community
Join 50,000+ bakers sharing, learning, and supporting each other

Sourdough for the Rest of Us
Free beginner's guide to sourdough