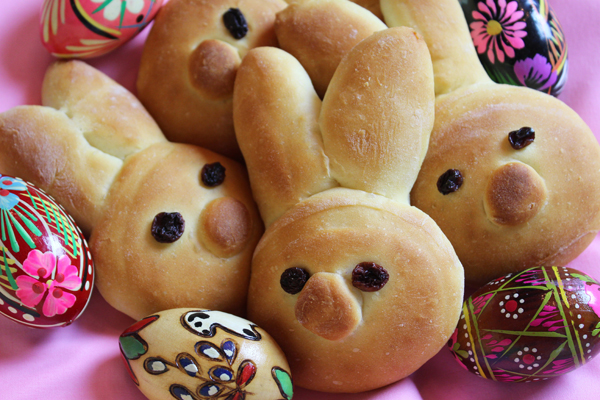
A soft, golden enriched loaf shaped like a bunny — your Easter table centerpiece
IntermediateEaster BunnyBread
by Henry Hunter Jr.
The bake your family will ask for every spring
Rise Time
2-2.5 hours
Bake Time
25-30 minutes
Yield
Serves 8-10. Or make 8 individual bunny rolls.

Perfection is not required
"Perfection is not required. Progress is."— Henry Hunter Jr.
By Henry Hunter Jr., founder of Crust & Crumb Academy and Baking Great Bread at Home.
Authentic Bread Flavor
I've been baking bread for over 20 years, selling at farmers markets and teaching thousands of home bakers how to stop guessing and start understanding what their dough is telling them. This Easter Bunny Bread is one of my favorite bakes to share — it's approachable, it's festive, and it never fails to make people smile.
Equipment Needed
Ingredients
The Dough
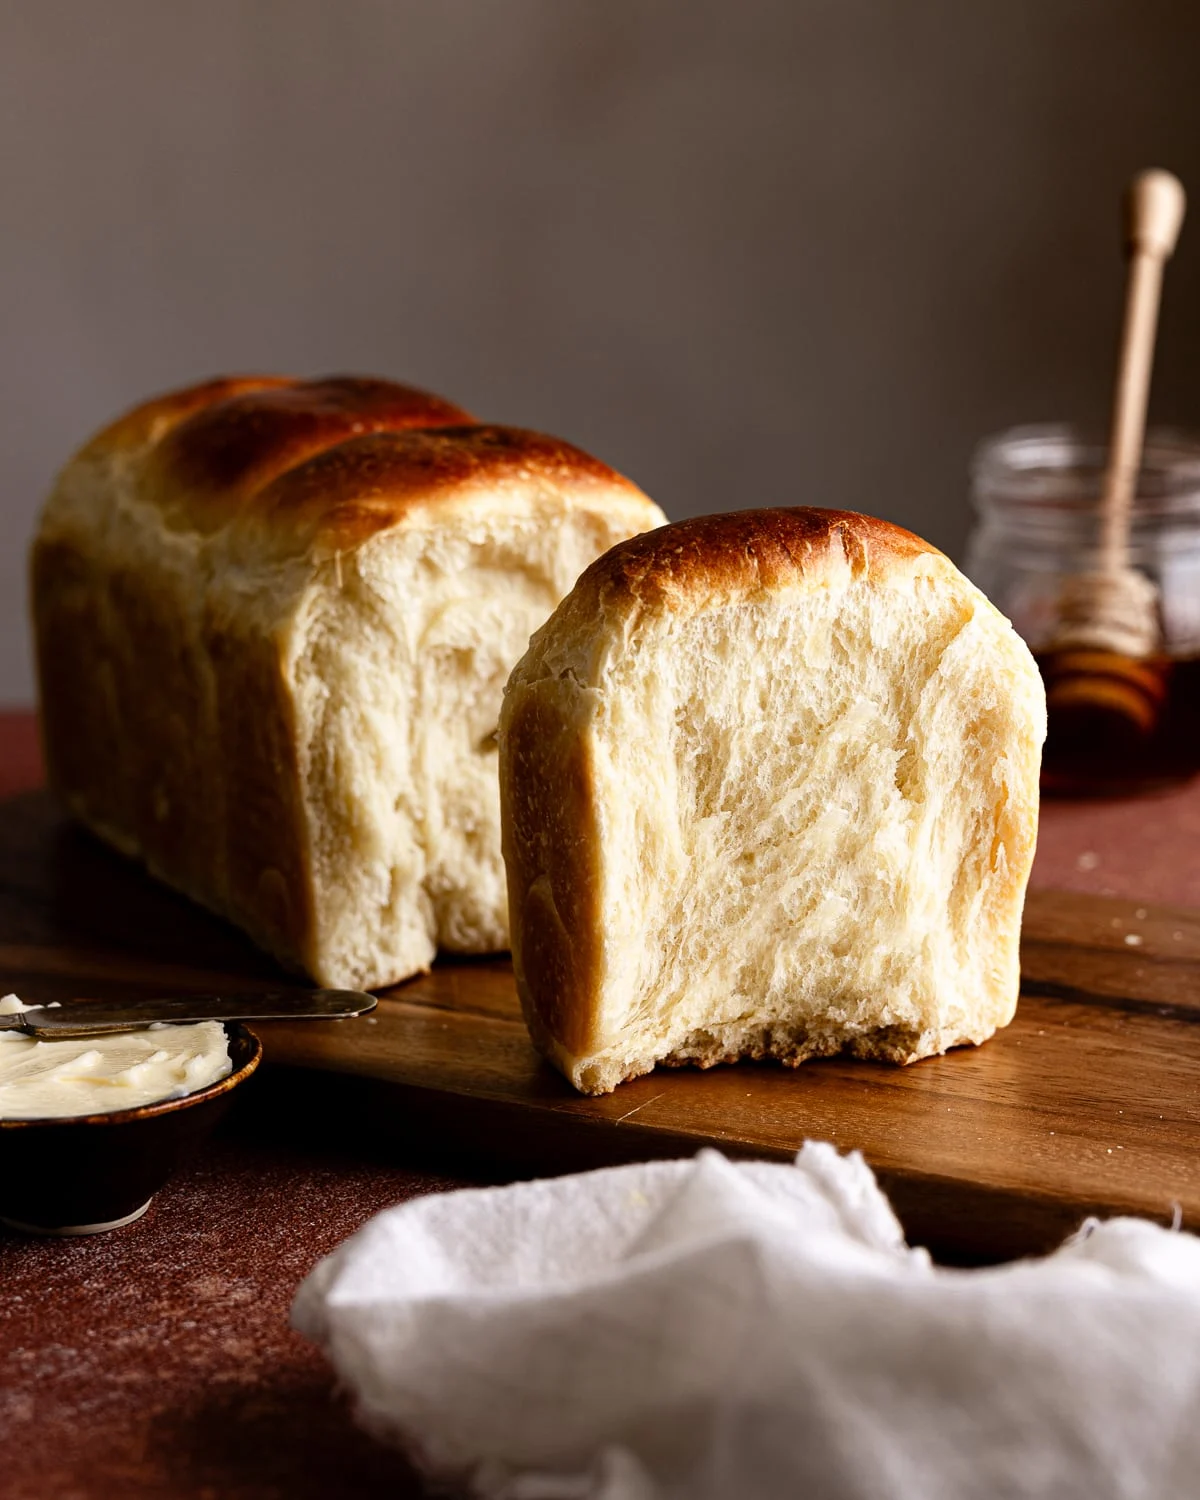
A soft enriched dough with milk, butter, and eggs. Pillowy texture, golden crust, mild sweetness.
Egg Wash
Decoration
For the eyes and nose. Chocolate chips or raisins both work.
Pro Tip
Warm your milk to 110°F (43°C) — warm enough to activate the yeast, cool enough not to kill it. A thermometer takes the guesswork out.
Day 1 — Start
Activate the Yeast
Instant yeast doesn't need proofing, but warming the milk first gives you a faster, more reliable rise with .
Click each step to mark complete
Combine Liquids and Yeast
In a large bowl or the bowl of your stand mixer, whisk together the warm milk, warm water, sugar, and instant yeast. Let it sit for 5 minutes. You should see a light foam forming — that's your yeast waking up.
Pro Tip
No foam after 5-7 minutes? Your milk was too hot or too cold, or your yeast is old. Start over with fresh yeast — don't waste the rest of your ingredients.
Precise Timers
Use these interactive timers to track your stages.
Yeast Rest
Mix
Mix the Dough
Add the eggs and flour first, then develop the gluten before adding butter. Fat coats gluten strands and slows their development — so butter goes in last.
Click each step to mark complete
Add Eggs and Flour
Add the eggs to your yeast mixture and whisk briefly to combine. Add the bread flour and salt. Mix on low speed (or by hand) until a shaggy dough forms, about 2 minutes. All the flour should be hydrated.
Knead Until Smooth
Increase to medium speed and knead for 7-8 minutes, until the dough is smooth and pulls away from the sides of the bowl. If mixing by hand, knead on a lightly floured surface for 10 minutes. You're looking for a soft, elastic dough that's no longer sticky.
Add Butter
With the mixer running on low, add the softened butter one tablespoon at a time, waiting for each piece to incorporate before adding the next. Once all butter is in, increase speed to medium and knead for another 4-5 minutes until the dough is silky and passes the .
The Science
Butter coats flour proteins and prevents them from bonding into gluten strands. If you add it too early, you end up with a weak, crumbly dough that won't hold its shape during shaping. Adding it after the gluten network is established gives you strong structure AND a tender crumb.
The Takeaway
Build the gluten first. Add the fat after. That's the order every enriched dough needs.
Precise Timers
Use these interactive timers to track your stages.
Butter Incorporation
Bulk Rise
First Rise (Bulk Fermentation)
The dough needs to double in size. This is where flavor and structure develop.
Click each step to mark complete
Shape into a Ball and Cover
Lightly oil a large bowl. Shape the dough into a smooth ball, place it in the bowl seam-side down, and cover tightly with plastic wrap or a damp towel. Set in a warm spot (75-80°F / 24-27°C).
⏱ Wait Time
Rise until doubled in size, about 1.5-2 hours
Pro Tip
No warm spot? Set the bowl in your oven with just the light on. The bulb generates enough warmth to give you a reliable rise.
Precise Timers
Use these interactive timers to track your stages.
Bulk Rise
Shape
Divide and Shape the Bunny
This is the fun part. The bunny face is built from three pieces: a large round head, two elongated ears, and a small nose ball. Once you understand the proportions, it's straightforward.
Click each step to mark complete
Divide the Dough
Turn the dough out onto an unfloured surface. Using your bench scraper, divide it into these pieces: one large piece at 350g (the head), two pieces at 70g each (the ears), one small piece at 20g (the nose). You'll have about 40g left over — set it aside for patching or discard.
Shape the Head
Take the large 350g piece. Cup your hand over it on the work surface and use a circular motion to tighten it into a smooth, taut ball. The surface should be taut with no tears. Place it in the center of your parchment-lined baking sheet.
Shape the Ears
Take each 70g piece and roll it into an oval about 4 inches long, slightly tapered at the top. Press the bottom of each ear firmly against the top of the head so they're touching and sealed. The ears should point slightly outward like a lop-eared bunny, not straight up.
Add the Nose
Roll the 20g piece into a small smooth ball. Press it firmly onto the center-lower portion of the head where a nose would naturally sit. Use your finger to press it in so it bonds to the head — don't just set it on top or it'll pop off during baking.
Add the Eyes
Press two chocolate chips or raisins gently into the dough above and on either side of the nose for eyes. Press deep enough that they won't fall out, but don't push all the way through.
Pro Tip
Chill your dough for 15 minutes before shaping if it keeps springing back. Cold dough is easier to work with and holds its shape better.
Final Proof
Second Rise
The shaped bunny needs one more rise before it goes in the oven. This is called .
Click each step to mark complete
Cover and Rest
Loosely cover the shaped bunny with plastic wrap or a clean towel. Let it rise in a warm spot until noticeably puffed, about 45-60 minutes. It won't double, but the dough should look pillowy and feel soft when you gently poke it.
Poke Test
Gently press your finger about half an inch into the dough. If it springs back slowly and only halfway, it's ready. If it springs back immediately, give it more time. If the indentation stays and doesn't move, it may be slightly over-proofed — get it in the oven right away.
⏱ Wait Time
Proof until puffed and pillowy, about 45-60 minutes
Precise Timers
Use these interactive timers to track your stages.
Second Rise
Shaping
Shaping Your Bunny
Two ways to go: one large showpiece bunny loaf (serves a table), or individual bunny rolls (one per person, great for kids).
Large Bunny Loaf
One dramatic centerpiece. Classic bunny face with round head, two floppy ears, and a small nose.
RecommendedClick each step to mark complete
Head
350g piece shaped into a tight round ball, placed center of baking sheet.
Ears
Two 70g pieces rolled into 4-inch ovals, pressed firmly against the top of the head.
Nose
20g ball pressed into the lower center of the head.
Eyes
Two chocolate chips or raisins pressed in above the nose.
Individual Bunny Rolls
Divide the full batch into 8 portions. Each roll gets a small head, two tiny ears, and a mini nose. Great for Easter brunch or kids.
Click each step to mark complete
Divide
Divide dough into 8 equal portions, about 70g each for the heads.
Scale down
For each roll: 45g head, 10g per ear, 5g nose.
Shape each roll
Same technique as the large loaf, just smaller. Arrange on two parchment-lined baking sheets with space between.
Bake time adjustment
Individual rolls bake faster — check at 18-20 minutes.
Proof Test: Gently poke the dough. It should spring back slowly and only halfway. That's ready.
Bake
Egg Wash and Bake
The gives that deep golden color. Apply it gently so you don't deflate the dough.
Step by Step
Preheat and Prepare Egg Wash
Preheat your oven to 350°F (175°C). While it heats, whisk together one egg and one tablespoon of milk until smooth.
Apply Egg Wash
Using a pastry brush, gently brush the entire surface of the bunny with egg wash — head, ears, and nose. Be gentle around the eyes so you don't dislodge the chocolate chips. Don't let the wash pool in the crevices between the pieces.
Bake
Bake at 350°F (175°C) for 25-30 minutes, until deep golden brown. The internal temperature should reach 190°F (88°C) when an instant-read thermometer is inserted into the thickest part of the head. The ears will brown faster than the head — if they darken too quickly, tent them loosely with foil after 15 minutes.
Cool Before Serving
Let the bunny cool on the pan for at least 15 minutes before moving it. The structure needs to set. Serve warm or at room temperature.
Preheat
Bake
Cool
Baking Methods
The only method for this shaped bread. You need the flat surface to hold the shape.
Equipment: Parchment-lined baking sheet
Preheat
Preheat oven to 350°F (175°C) for at least 20 minutes.
Egg wash
Apply egg wash gently to the entire surface.
Bake
Bake 25-30 minutes until deep golden brown and 190°F (88°C) internal.
Ear check
If ears darken before the head reaches temp, tent ears loosely with foil.
Cool
Rest on the pan 15 minutes before moving.
"Don't rush the bake temperature. 350°F (175°C) gives the enriched dough time to cook through without burning the egg wash on the outside."
Nutrition Facts
Per 1 slice (1/10 of loaf) • 10 servings per recipe
* Values are estimates based on standard ingredients
Storage
Room Temperature
Best eaten day-of. Wrap in plastic or store in a bread bag at room temperature for up to 2 days.
Frozen
Freeze the fully baked and cooled loaf wrapped tightly in plastic wrap, then foil. Up to 2 months. Thaw overnight at room temperature.
💡 Warm individual slices at 300°F (150°C) for 8-10 minutes to revive the soft texture.
Your Feedback
Rate This Recipe
Loading ratings...
Troubleshooting
Baker's Notes
Common questions and solutions for perfect results
Temperature is the invisible ingredient. I use the Goldie and DoughBed from SourHouse to keep my starter and dough at the perfect temperature, every time.
SourHouse Temperature Control Products
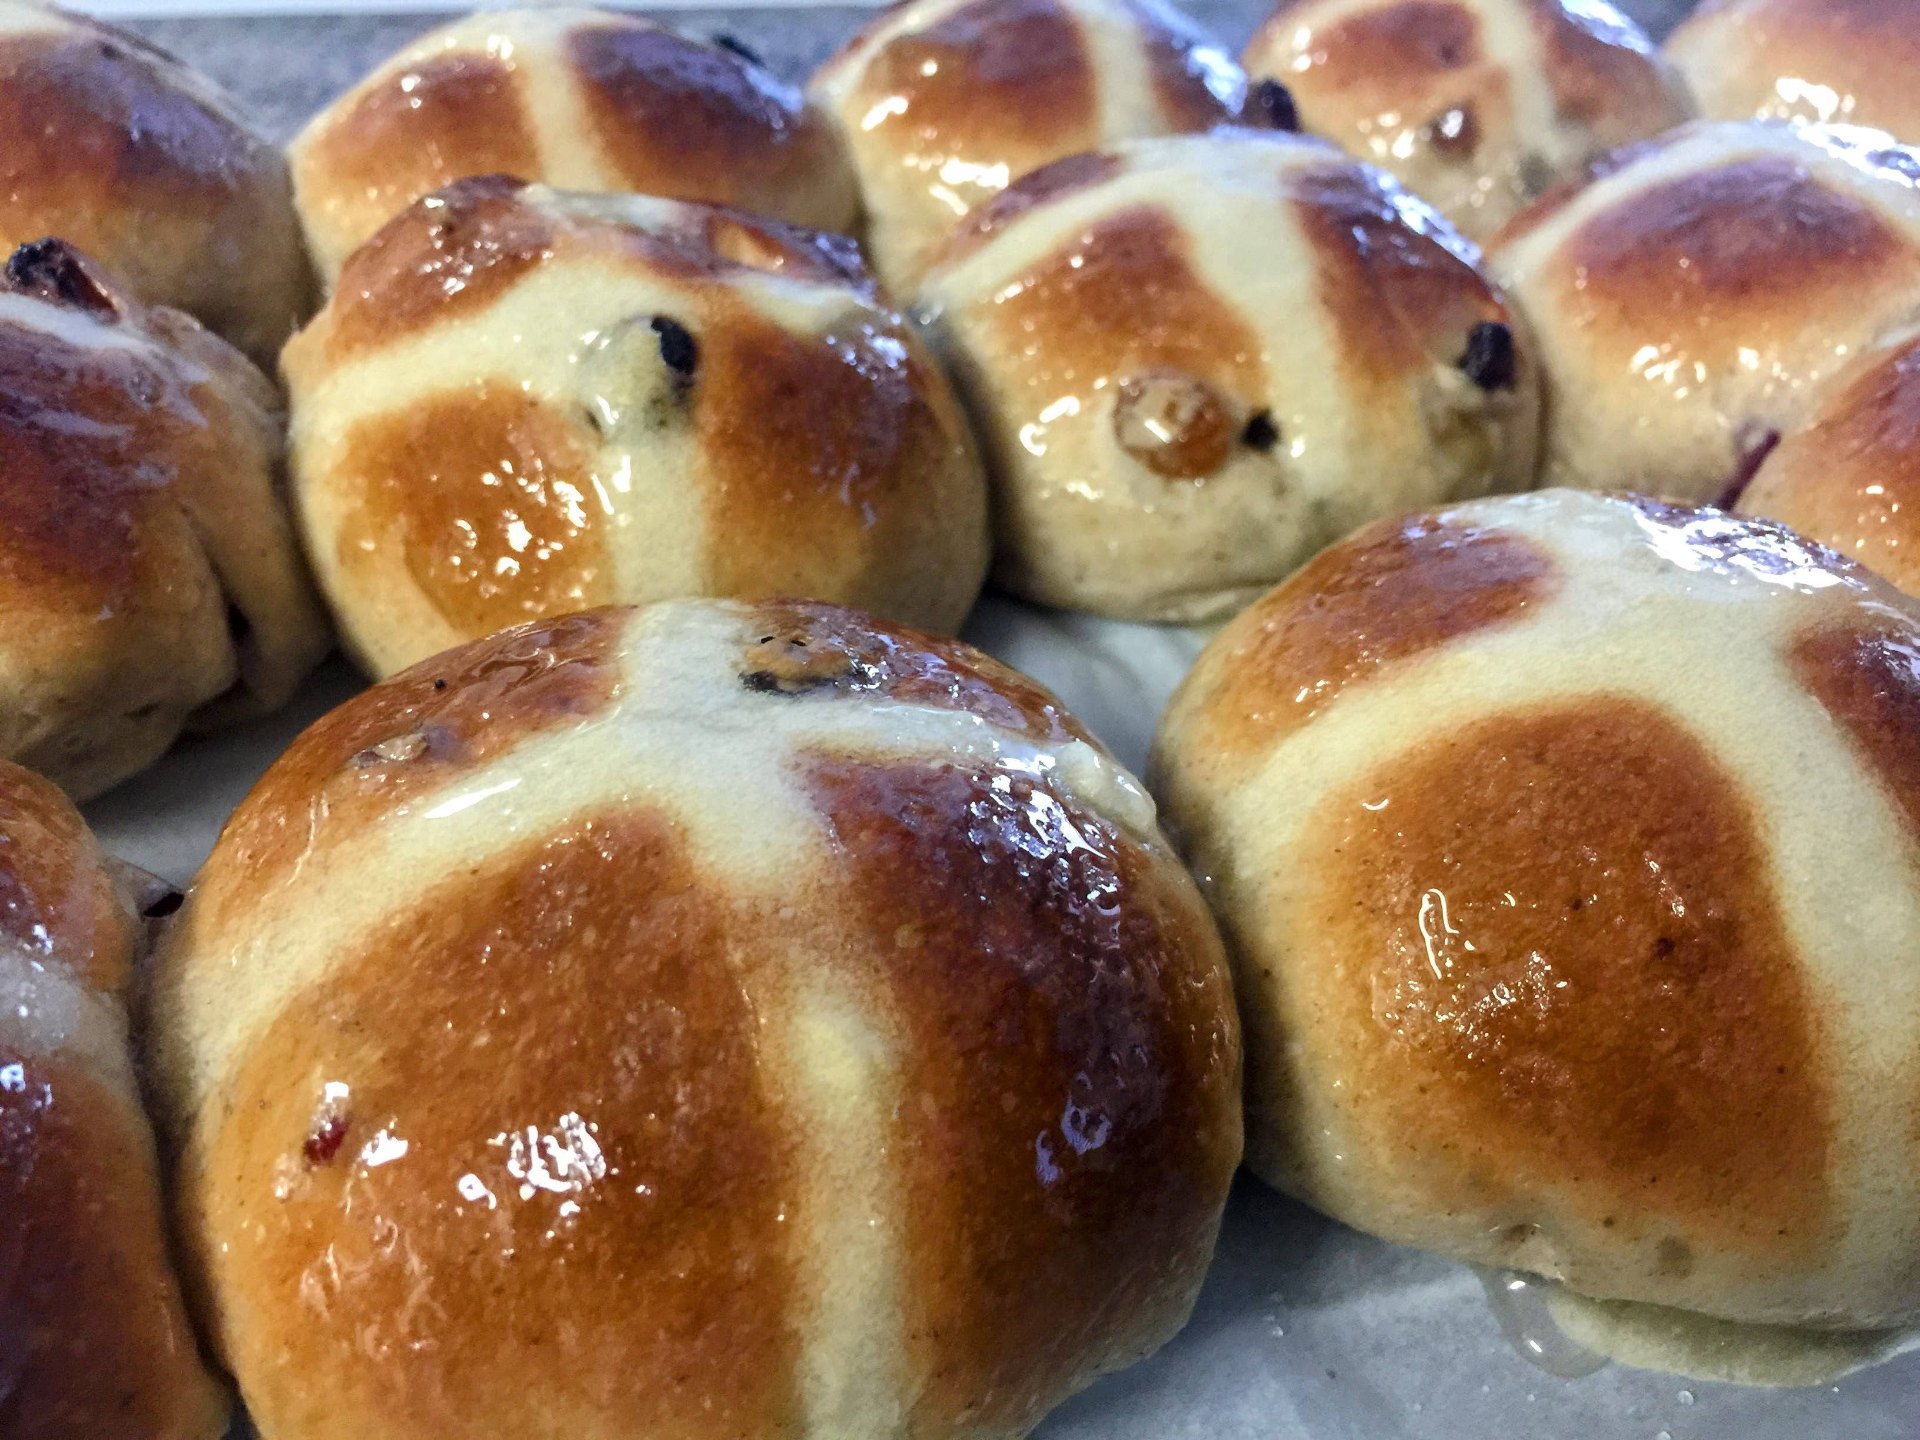
You Might Also Enjoy
More recipes from our pantry that pair well with this bake.
Get More Recipes in Your Inbox
Join thousands of home bakers receiving weekly recipes, tips, and techniques to elevate your bread game.
No spam, ever. Unsubscribe anytime.
More from Baking Great Bread at Home
Tools, resources, and community to help you bake better bread

Crust & Crumb Academy
Go deeper into your craft. FREE courses, challenges, and real feedback. No gatekeeping. Perfection is not required.

Sourdough Starter Companion
Your AI-powered starter assistant. Track feedings, troubleshoot issues, and keep your starter thriving.

BakingGreatBread.com
Real bread for the rest of us

Baking Great Bread Blog
Recipes, tips, and stories from the bread journey

Recipe Converter
Convert sourdough recipes to yeast and back again

Crust & Crumb App
Your AI-powered baking assistant

Facebook Community
Join 50,000+ bakers sharing, learning, and supporting each other

Sourdough for the Rest of Us
Free beginner's guide to sourdough