Crusty, tender, and on the table in under an hour
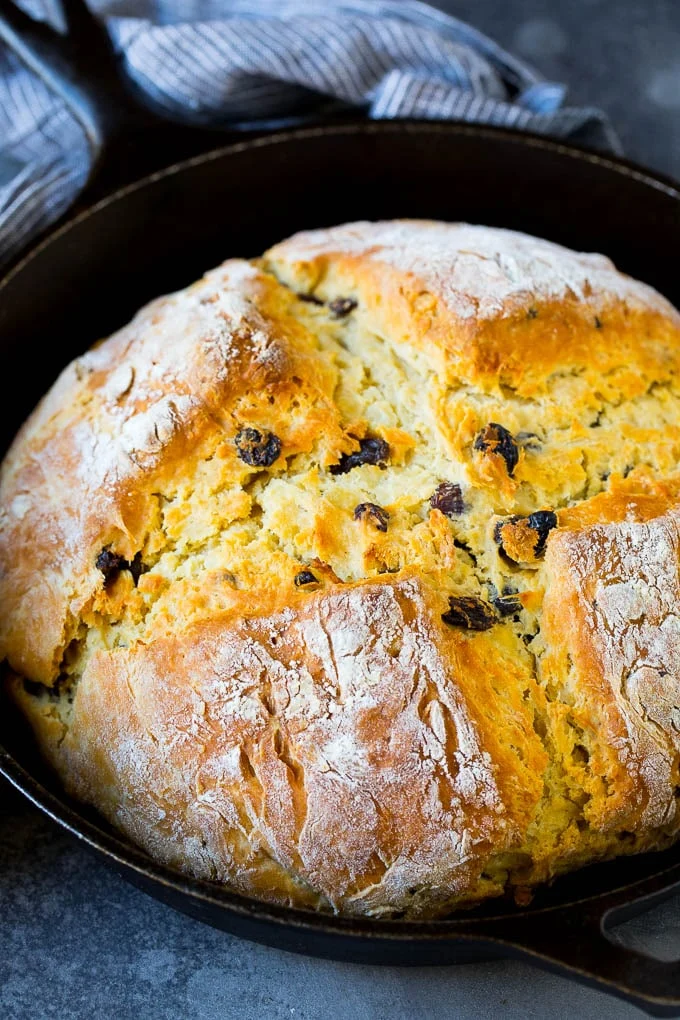
BeginnerIrish SodaBread
by Henry Hunter Jr.
No yeast, no wait, no excuses.
Bake Time
40-45 minutes
Yield
Serves 8-10

Perfection is not required
"Perfection is not required. Progress is."— Henry Hunter Jr.
By Henry Hunter Jr., founder of Crust & Crumb Academy and Baking Great Bread at Home.
Authentic Bread Flavor
Irish soda bread was my first lesson in what baking really is — chemistry, not magic. No yeast, no wait, no guesswork. Just four ingredients and a hot oven. Once you understand why it works, you can bake it confidently every single time.
Equipment Needed
Ingredients
The Dough
This is a true quick bread — baking soda does all the work. No yeast, no starter, no waiting around.
Optional Add-Ins
Traditional soda bread is plain. But these take it somewhere worth talking about.
Pro Tip
Cold buttermilk is not optional. Warm liquid activates the baking soda too fast before the gluten can develop. Keep it cold right up until you mix.
Mix
Mix the Dough
Fast, minimal, intentional
The whole secret to great soda bread is knowing when to stop. develops fast in a quick bread, and the more you work it, the tougher it gets. You're not kneading — you're barely mixing.
Click each step to mark complete
Combine the Dry Ingredients
In a large bowl, whisk together the all-purpose flour, whole wheat flour, baking soda, and salt. Add caraway seeds or raisins here if you're using them.
Add the Buttermilk
Make a well in the center. Pour in the cold buttermilk all at once. Use a fork or your hand to bring the dough together. Stop as soon as you have a shaggy, cohesive mass — it should look rough, not smooth. If it's too dry to come together, add 1 tbsp cold buttermilk at a time.
Pro Tip
Use your hand like a claw — scoop and fold, scoop and fold. Don't squeeze or knead. 30 seconds of mixing is plenty.
The Chemistry
Baking soda (sodium bicarbonate) is a base. Buttermilk is acidic. When they meet, they react instantly and release carbon dioxide gas. That CO2 is what makes soda bread rise. There's no waiting because the reaction happens in real time — which is exactly why you can't dawdle once you mix the dough. Get it in the oven within 10-15 minutes or you lose the lift.
Why Buttermilk
Regular milk won't cut it — it doesn't have enough acid to trigger the reaction properly. Buttermilk's acidity is also what gives soda bread its subtle tang. If you're in a pinch, add 1 tbsp white vinegar or lemon juice to 1¼ cups of regular milk and let it sit 5 minutes.
The Takeaway
Mix fast, shape fast, bake fast. The rise is already happening.
Shape
Shape the Loaf
Rough is right
Turn the dough out onto a lightly floured surface. Shape it into a round ball about 6 inches across. Don't overwork it — the rougher surface gives you a better crust.
Click each step to mark complete
Shape into a Round
Flour your hands and a clean surface lightly. Turn the dough out and use your hands to gently pull it into a round shape, tucking the edges underneath. It won't be perfectly smooth and that's correct.
Score the Top
Place the loaf on a piece of parchment. Using a sharp knife or lame, cut a deep cross (about ½ inch deep) across the top of the loaf. Extend the cuts nearly to the edges. Then cut a shallower X through the cross to make an 8-point pattern if you want the traditional look. The deep cross is functional — it allows the bread to expand as it bakes and helps the center cook through.
Pro Tip
Cold hands help here. If the dough is sticking, dust your surface with a little more flour — but don't go overboard. A sticky dough bakes up more tender.
Function First
The cross score on soda bread isn't decorative in origin — it was practical. It lets the heat penetrate to the center of a dense, flat loaf and helps it expand evenly. Without it, the bread can split unpredictably on the sides or stay raw in the middle.
The Old Story
Irish bakers used to say the cross was to let the fairies out (or ward them off, depending on who you asked). Either way, score it deep. At least half an inch.
The Takeaway
Score deep, nearly to the edges. Shallow scoring won't do the job.
Shaping
Shape the Loaf
Soda bread doesn't need fancy shaping. It just needs to be a consistent round so it bakes evenly.
Traditional Round Boule
The classic shape — a round, slightly flat ball about 6 inches wide and 3 inches tall.
RecommendedClick each step to mark complete
Flour your hands
Lightly flour your hands and surface.
Round it gently
Shape the dough into a ball by folding the edges underneath, rotating as you go. Don't squeeze.
Flatten slightly
Press down gently to about 3 inches tall. This helps the center bake through.
Score deeply
Cut the cross about ½ inch deep, nearly to the edges.
Individual Rolls (Soda Farls)
Divide the dough into 8 equal pieces and shape into small rounds. Reduce bake time to 20-22 minutes total.
Click each step to mark complete
Divide
Divide dough into 8 equal pieces (about 75g each).
Shape
Roll each into a smooth ball, score a small cross on top.
Bake
Bake at 425°F (220°C) for 18-20 minutes.
Proof Test: No proof test needed — there's no yeast fermentation happening. Shape and bake immediately.
Bake
Bake the Loaf
Soda bread loves high heat. You want the crust to set fast and the inside to cook through without drying out.
Step by Step
Preheat Your Oven
Preheat to 425°F (220°C). If you're using a cast iron skillet or Dutch oven, place it in the oven while it preheats. A hot vessel gives you a better bottom crust.
Transfer and Bake
Carefully transfer the shaped loaf (on its parchment) into your hot Dutch oven or cast iron skillet. If using a baking sheet, place it on the center rack. Bake at 425°F (220°C) for 20 minutes, then reduce to 400°F (205°C) and bake another 20-25 minutes until deep golden brown.
Test for Doneness
Tap the bottom of the loaf — it should sound hollow, like a drum. If it sounds dense or thuddy, put it back in for 5 more minutes directly on the oven rack. Internal temperature should hit 195-200°F (90-93°C).
First Bake (High Heat)
Second Bake (Reduced Heat)
The loaf will split along the cross as it bakes. That's what you want — that's the bread doing its job.
Baking Methods
Preheating the vessel gives you exceptional bottom crust and helps with even heat distribution. A cast iron Dutch oven is what I use — [this is my go-to](https://challengerbreadware.com/?ref=henryhunterjr). Highly recommended.
Equipment: Dutch oven or 10-inch cast iron skillet
Preheat vessel
Place Dutch oven or skillet in oven as it preheats to 425°F (220°C).
Transfer loaf
Carefully lift the parchment with the loaf and lower it into the hot vessel.
First bake
Bake at 425°F (220°C) for 20 minutes uncovered.
Reduce heat
Lower to 400°F (205°C) and bake 20-25 more minutes until deeply golden and hollow-sounding when tapped.
"Tap the bottom. If it sounds hollow, it's done. If it sounds dense, give it 5 more minutes directly on the rack."
Cool
Cool Before Cutting
The hardest part
This is where most people go wrong. Soda bread needs time to finish cooking through on the inside after it comes out of the oven.
Click each step to mark complete
Rest on a Wire Rack
Transfer to a wire rack immediately — don't let it sit in the pan or it'll steam itself soft on the bottom. Wait at least 30 minutes before cutting. The crumb is still setting up during this time.
⏱ Wait Time
30-45 minutes
Carryover Cooking
When soda bread comes out of the oven, the internal temperature is still rising for a few minutes. More importantly, the starches in the crumb are still gelatinizing — they need time to set. Cut too early and you get a gummy, dense crumb even if the bread was baked perfectly.
The Takeaway
30 minutes minimum. The bread is worth the wait.
Precise Timers
Use these interactive timers to track your stages.
Cooling Time
Nutrition Facts
Per 1 slice (1/10 loaf) • 10 servings per recipe
* Values are estimates based on standard ingredients
Storage
Room Temperature
Best the day it's baked. Wrap in a clean cloth or paper bag for up to 2 days.
Refrigerated
Not recommended — refrigeration accelerates staling in quick breads.
Frozen
Slice first, wrap tightly, freeze up to 4 weeks. Toast slices directly from frozen.
Refresh
Toast slices or warm the whole loaf at 350°F (175°C) for 8-10 minutes.
Your Feedback
Rate This Recipe
Loading ratings...
Troubleshooting
Baker's Notes
Common questions and solutions for perfect results
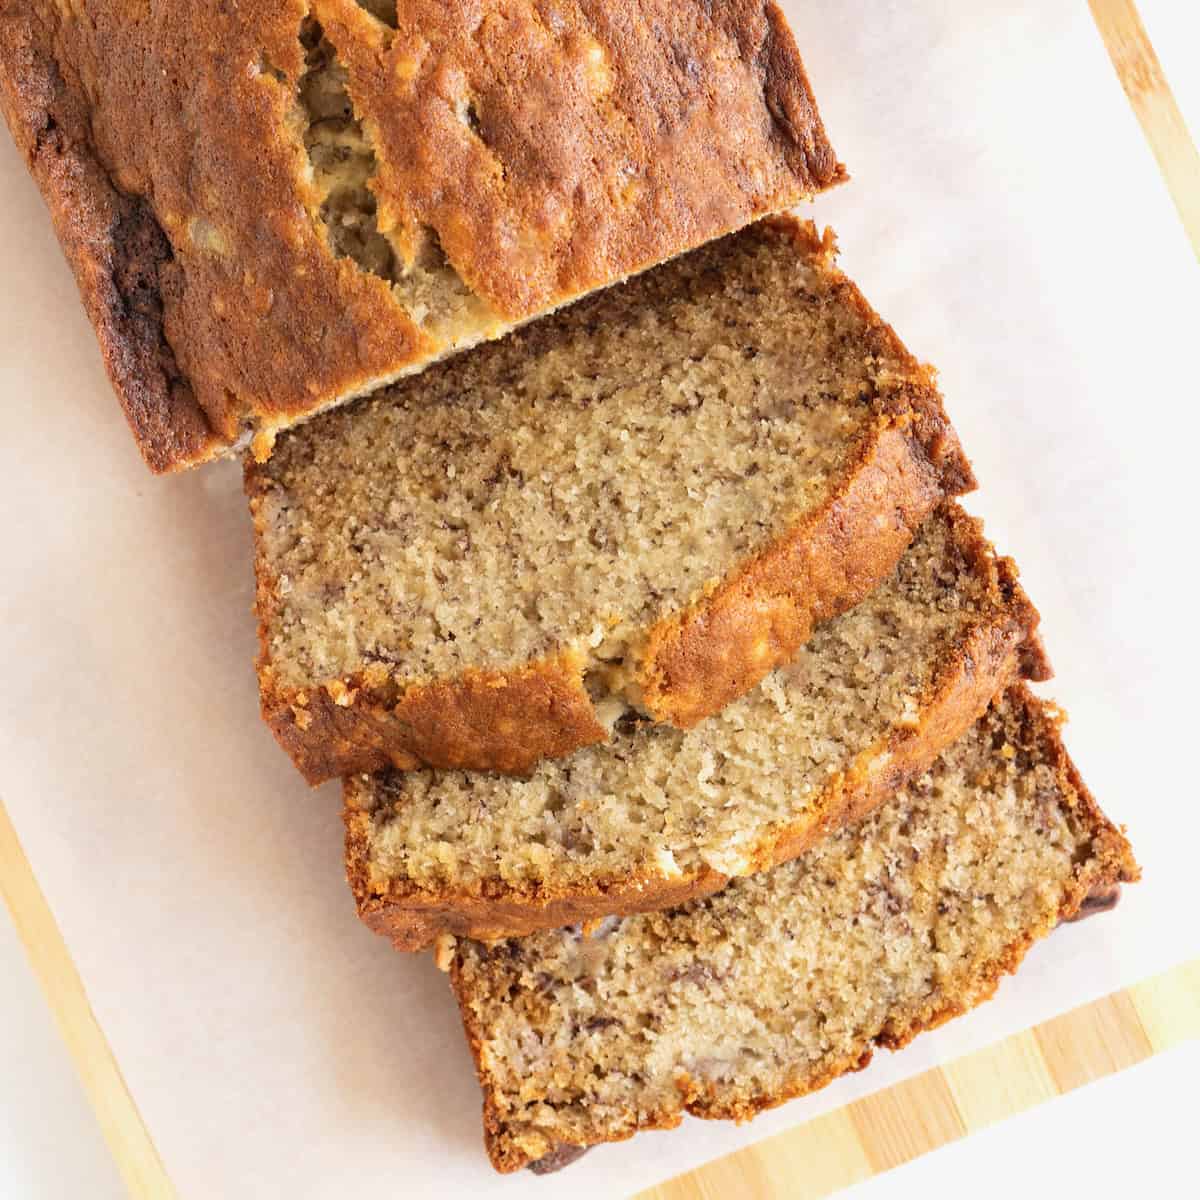
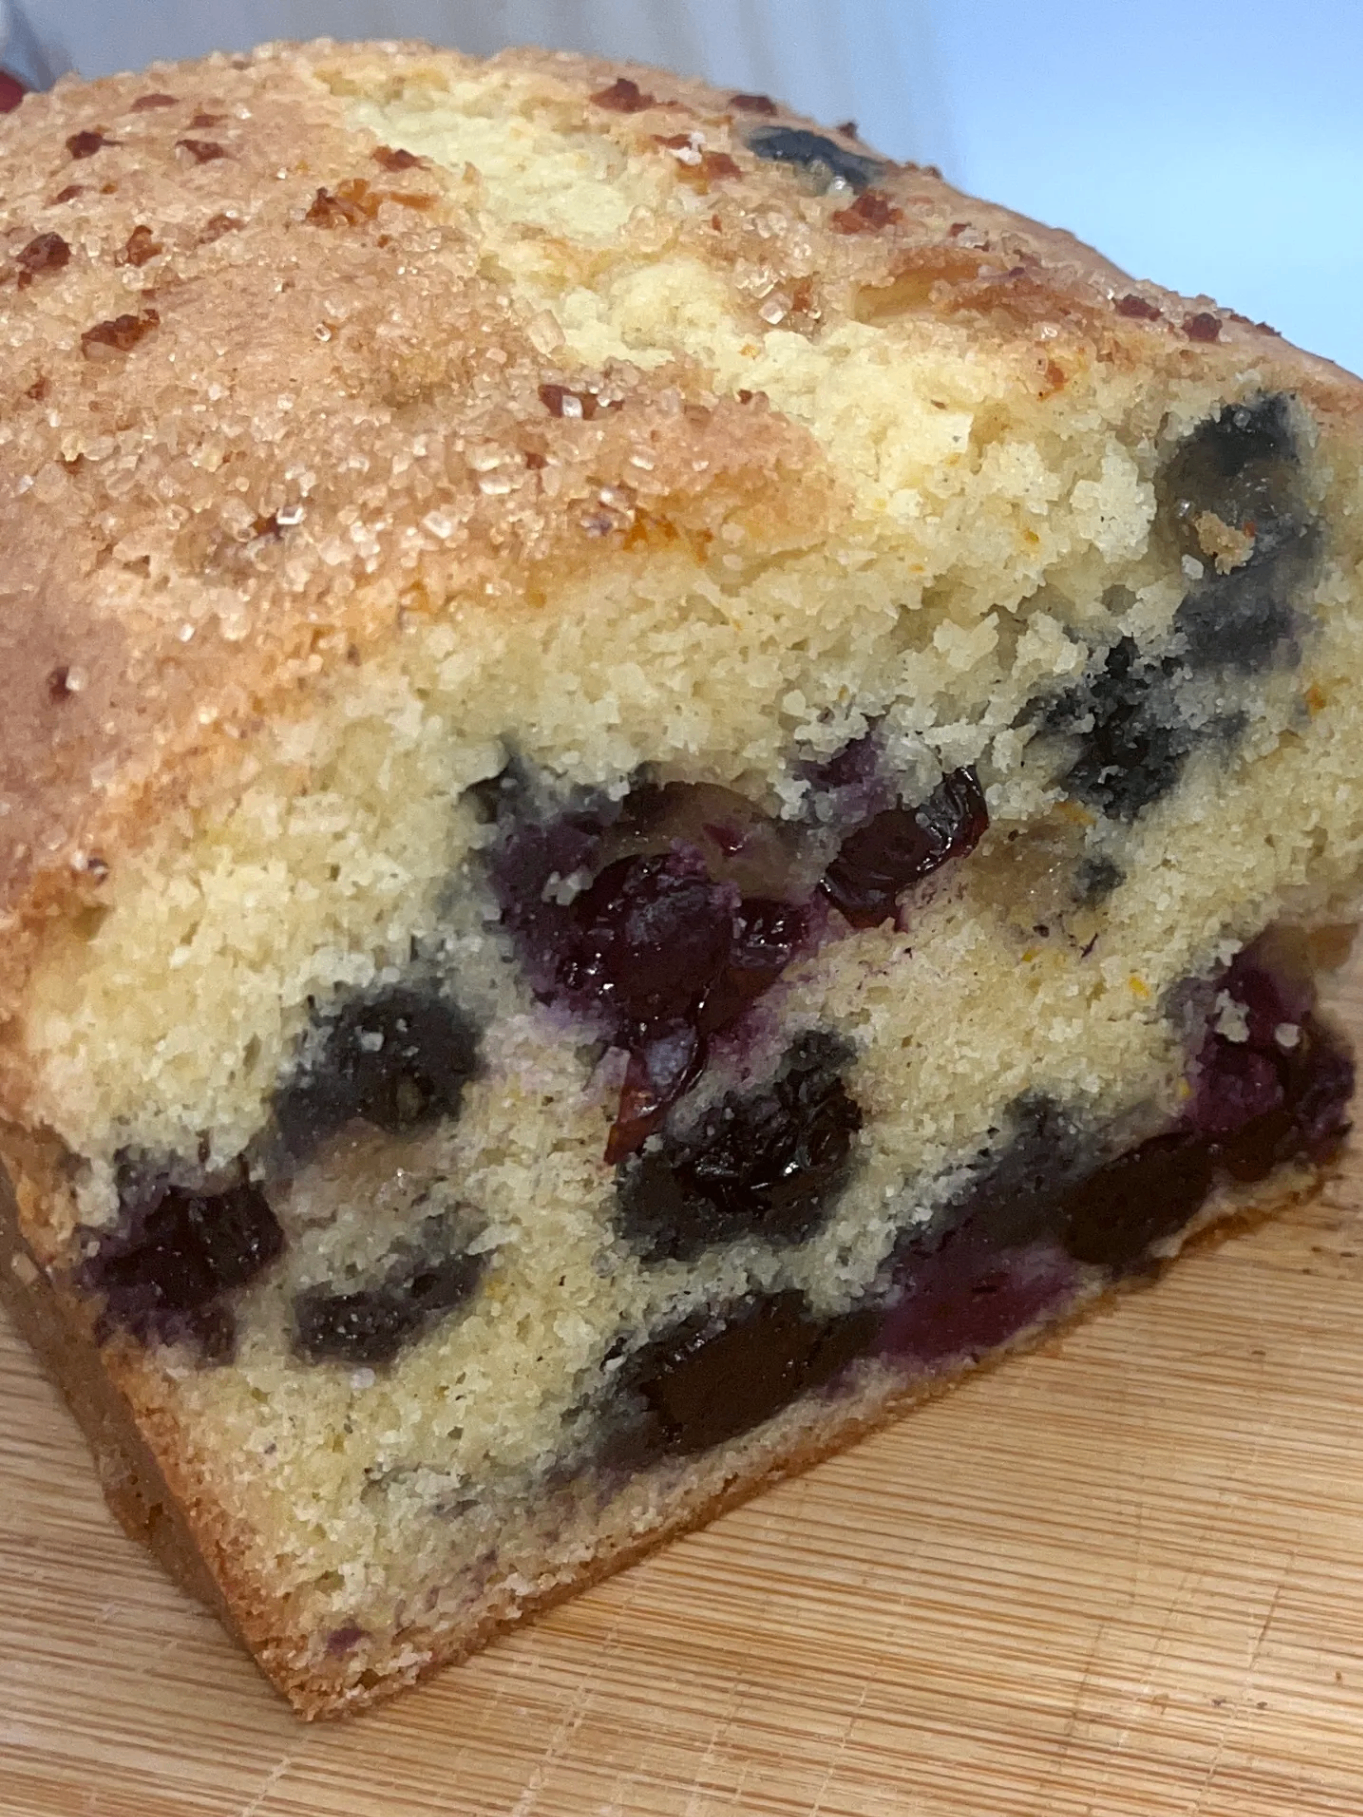
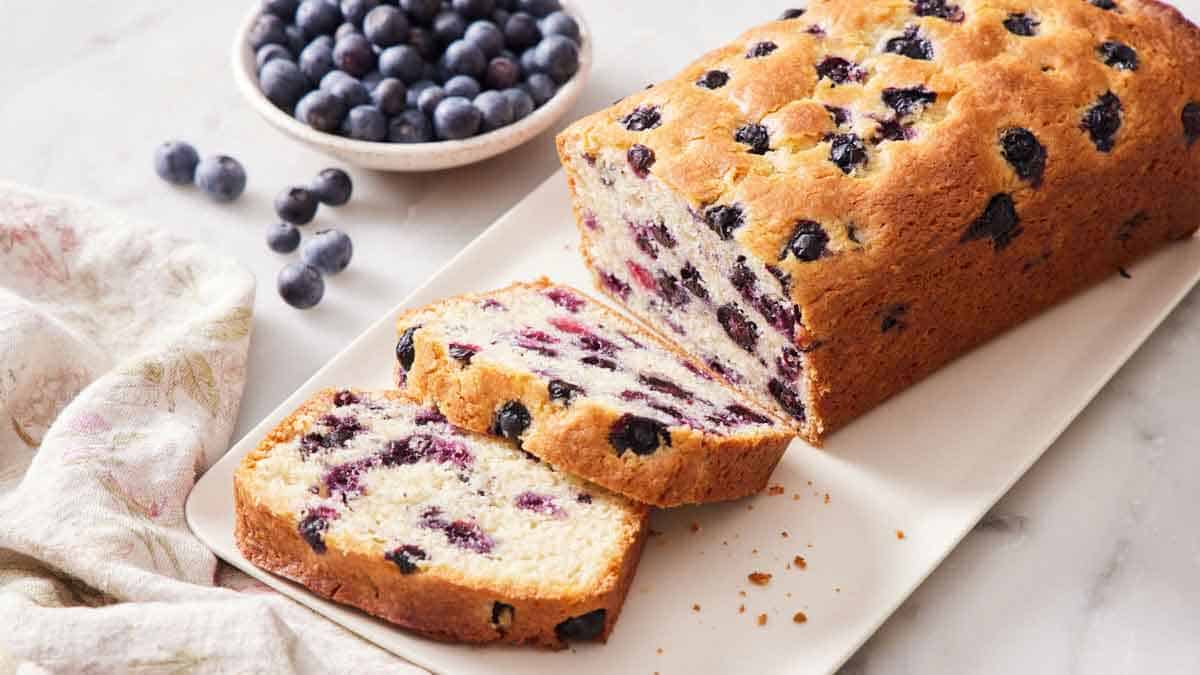
You Might Also Enjoy
More recipes from our pantry that pair well with this bake.

Get More Recipes in Your Inbox
Join thousands of home bakers receiving weekly recipes, tips, and techniques to elevate your bread game.
No spam, ever. Unsubscribe anytime.
More from Baking Great Bread at Home
Tools, resources, and community to help you bake better bread

Crust & Crumb Academy
Go deeper into your craft. FREE courses, challenges, and real feedback. No gatekeeping. Perfection is not required.

Sourdough Starter Companion
Your AI-powered starter assistant. Track feedings, troubleshoot issues, and keep your starter thriving.

BakingGreatBread.com
Real bread for the rest of us

Baking Great Bread Blog
Recipes, tips, and stories from the bread journey

Recipe Converter
Convert sourdough recipes to yeast and back again

Crust & Crumb App
Your AI-powered baking assistant

Facebook Community
Join 50,000+ bakers sharing, learning, and supporting each other

Sourdough for the Rest of Us
Free beginner's guide to sourdough